
HOPR > Left Navigation Bar > Management > Cleaning Planner
Follow the above-mentioned workflow to land on the Cleaning Planner screen.
Click the +Create Plan button located at the top-right corner of the screen.
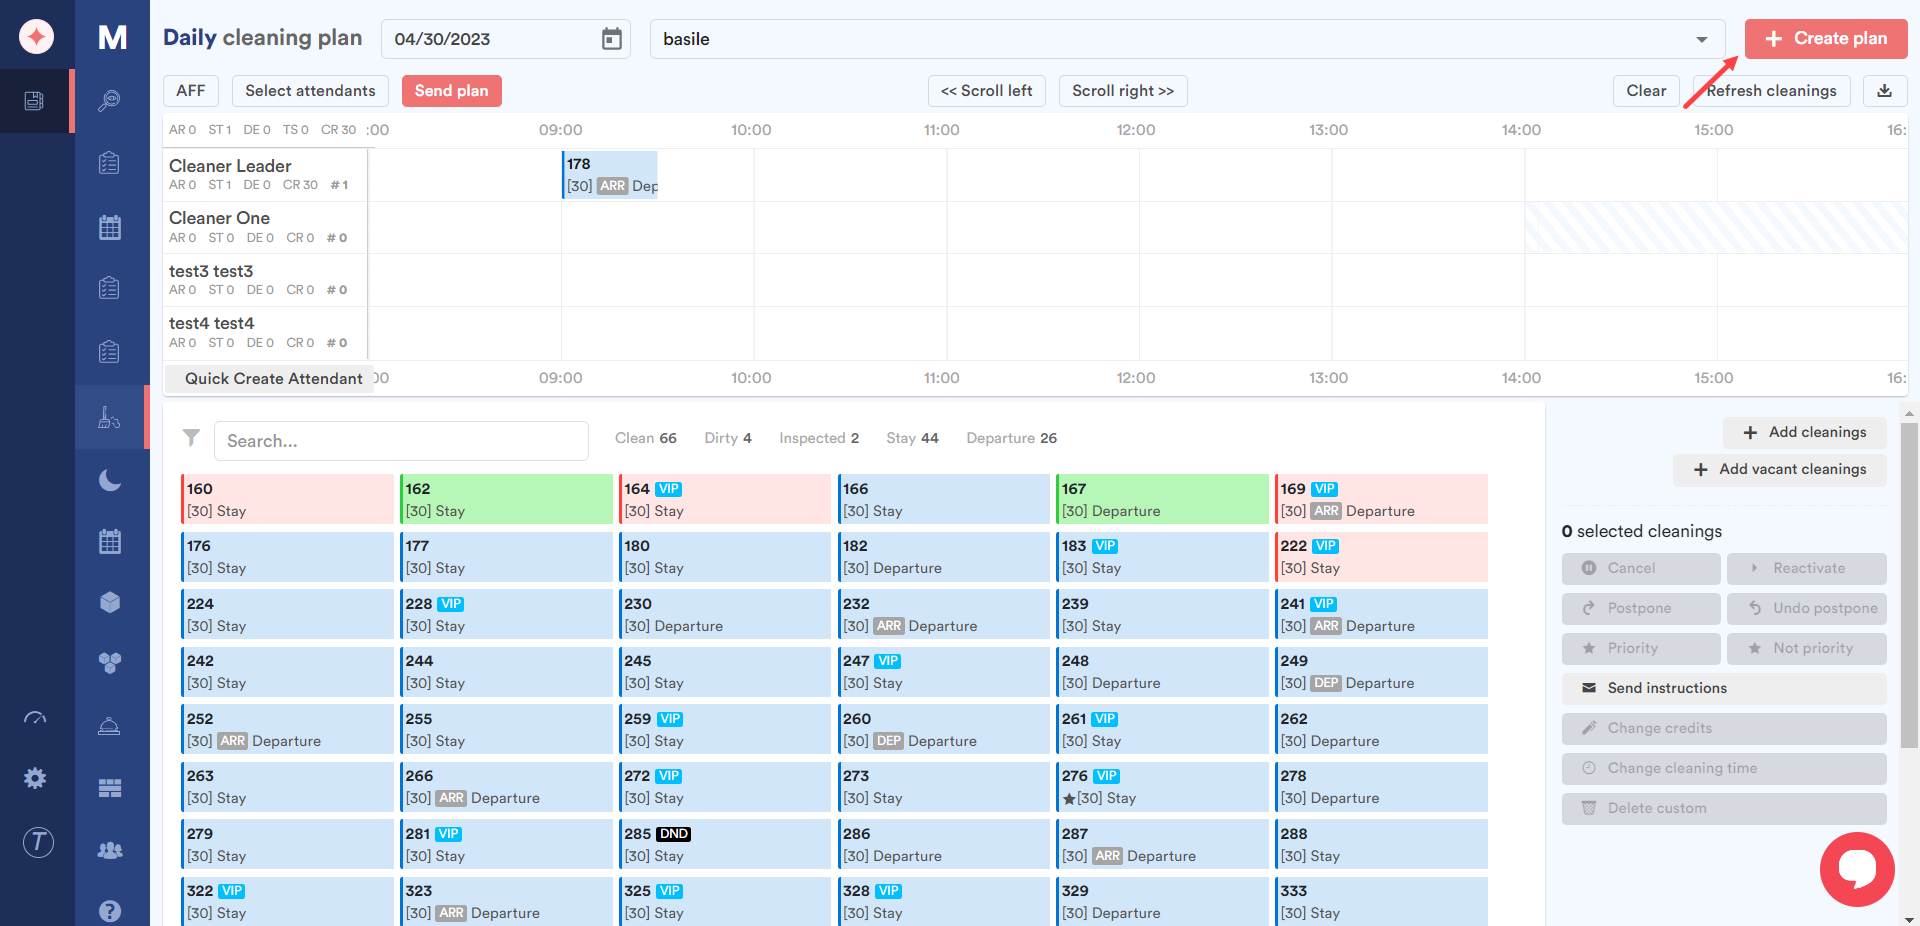
Doing so displays all the scheduled cleanings for the selected date. As the view is editable, you can add a new cleaning record to the plan as well as remove an existing one from it.
You can choose between specific user groups or all attendants by using the AFF button atop the user groups panel. Clicking it changes it to SUM whereas clicking it again changes it back to AFF.
You can choose the cleaners for the cleaning plan by clicking the Select Attendants button. This opens the Available Cleaners window where you can select/deselect the user groups by marking/unmarking the respective checkbox(s).
Once the required selections are made, click the Send Plan button. This reveals a confirmation popup right below the button asking you to confirm sending the plan. To confirm, click Yes. This sends the cleaning plan to all the selected user groups.

Leave a Reply