
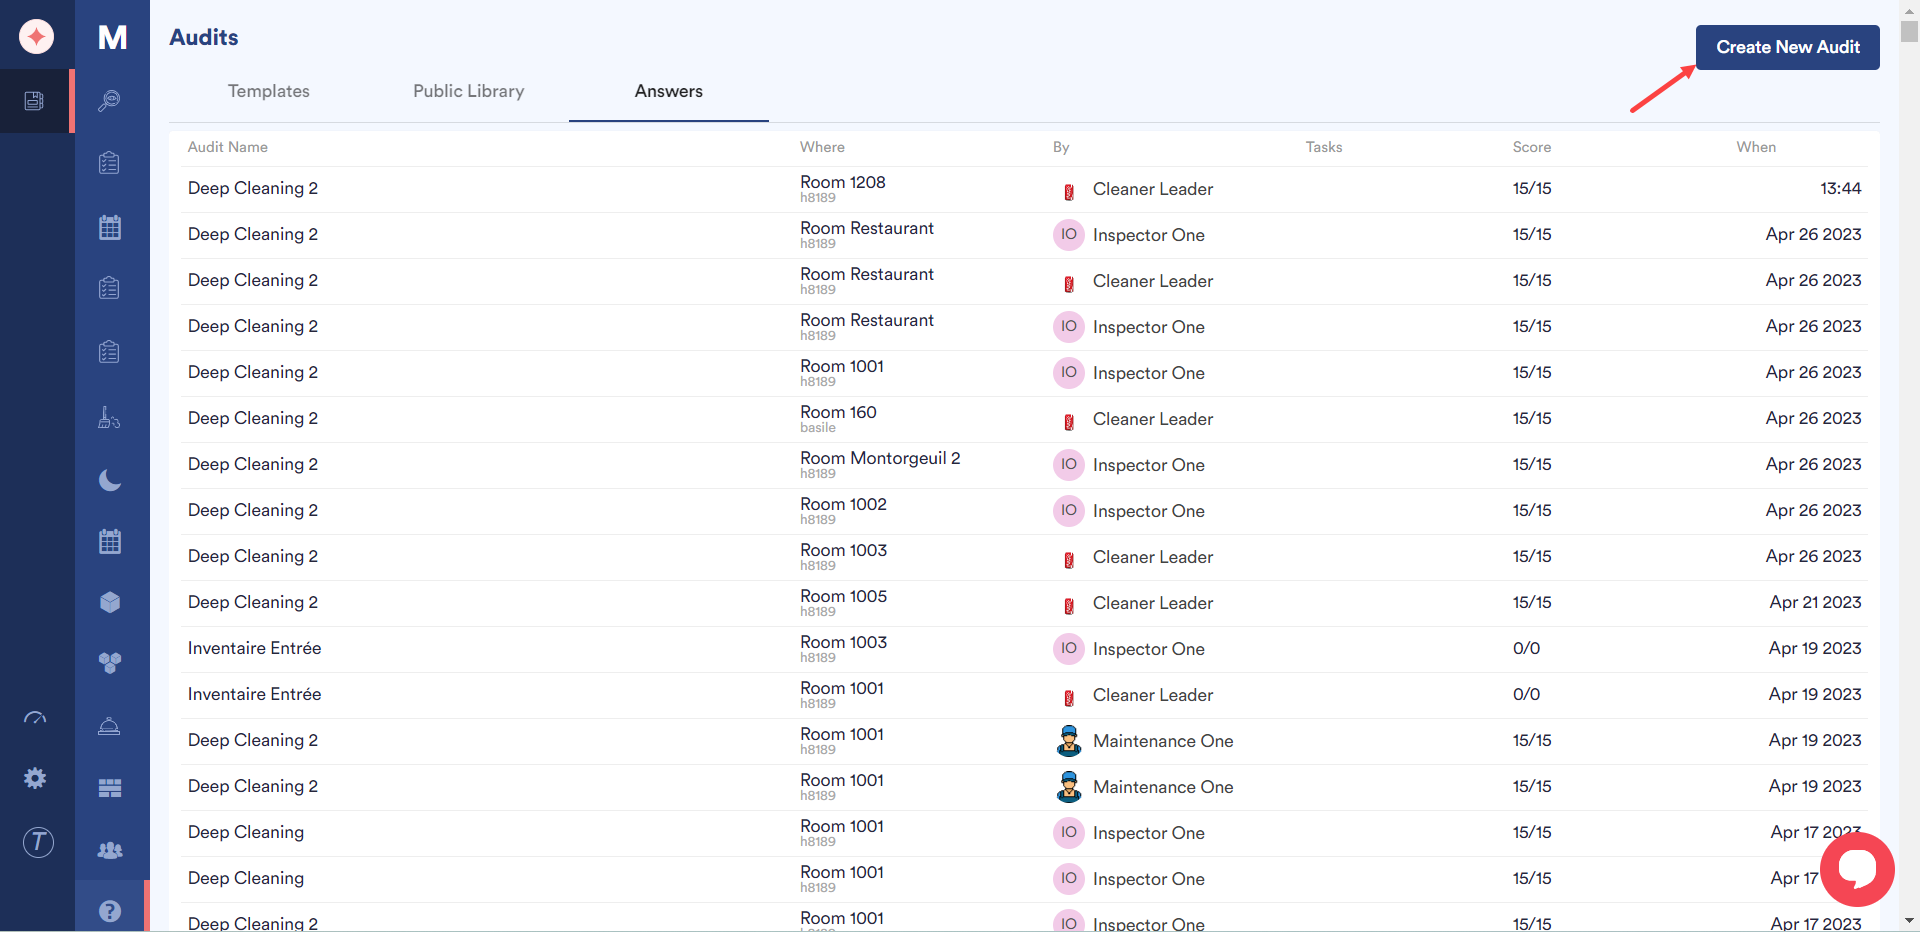
HOPR > Left Navigation Bar > Management > Audits
Follow the above-mentioned workflow to land on the Audits screen.
To create a new audit template, click the Create New Audit button located at the top-right corner of the screen.
From the Create a new audit screen, enter the title for the template in the Title field.
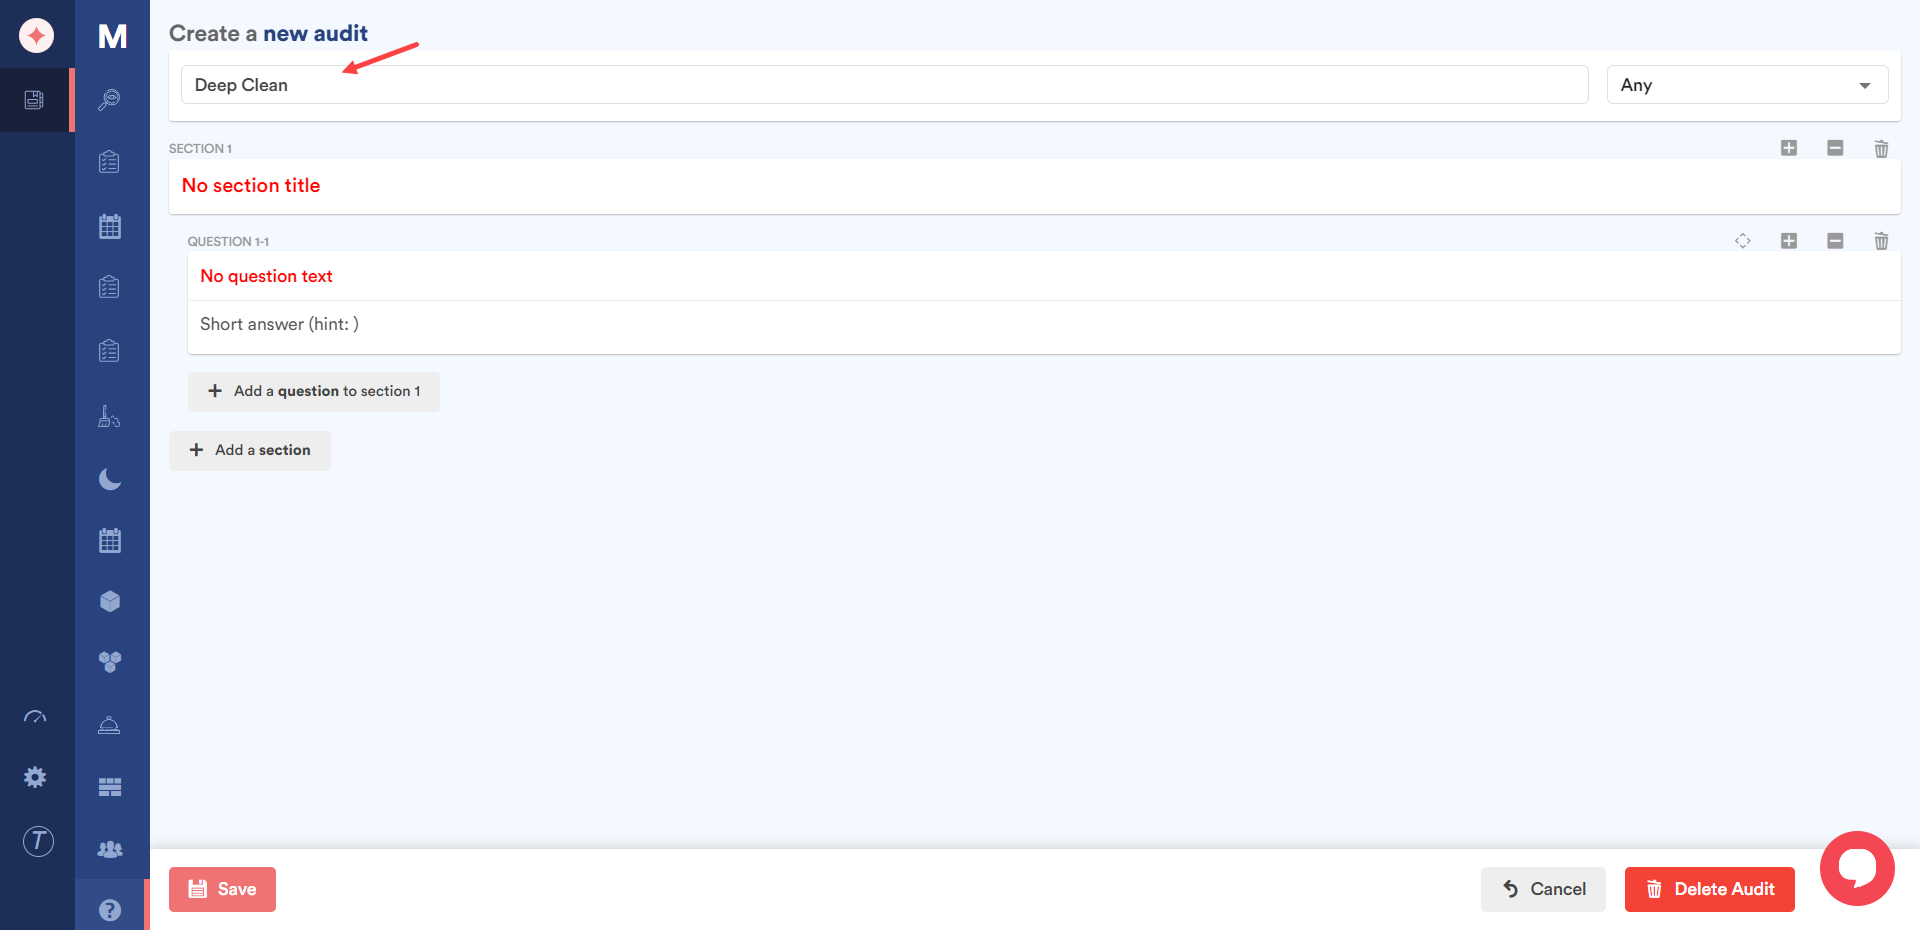
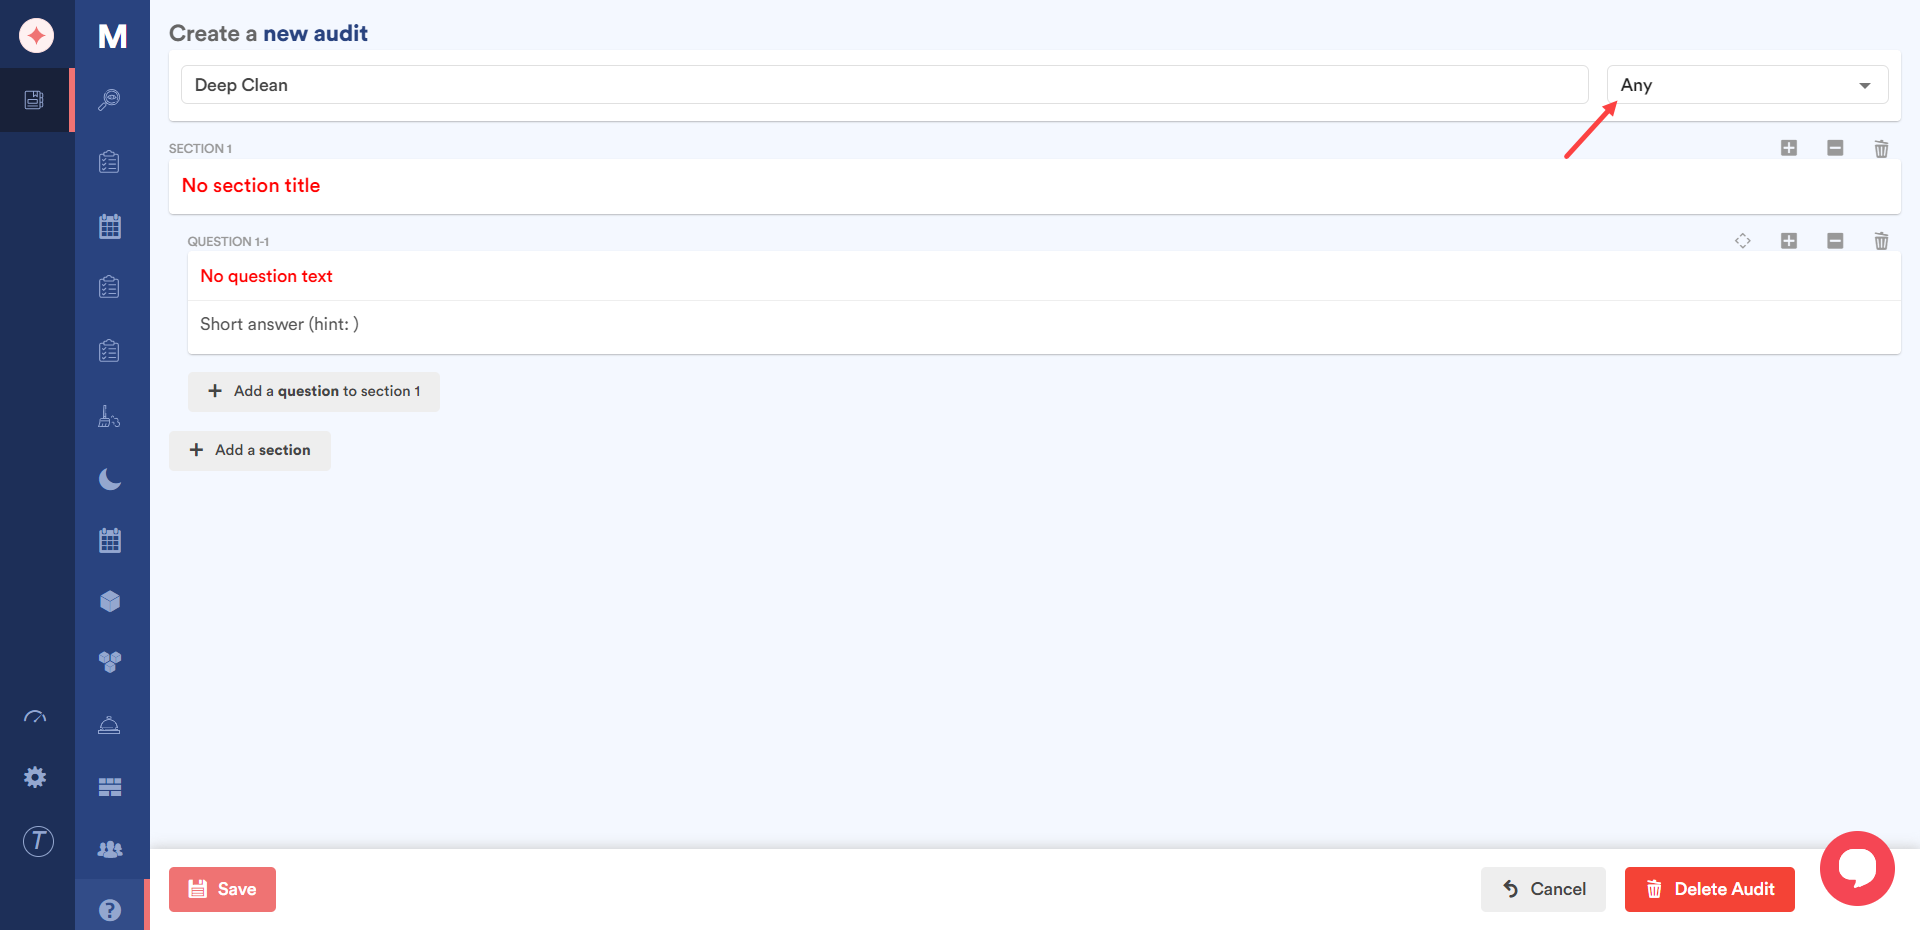
Use the Category dropdown next to it in order to choose the category in which you want to place this template.
Next up is the Section heading. To add a section, click the + icon located at the top-right corner of the container. Doing so reveals a couple of fields.
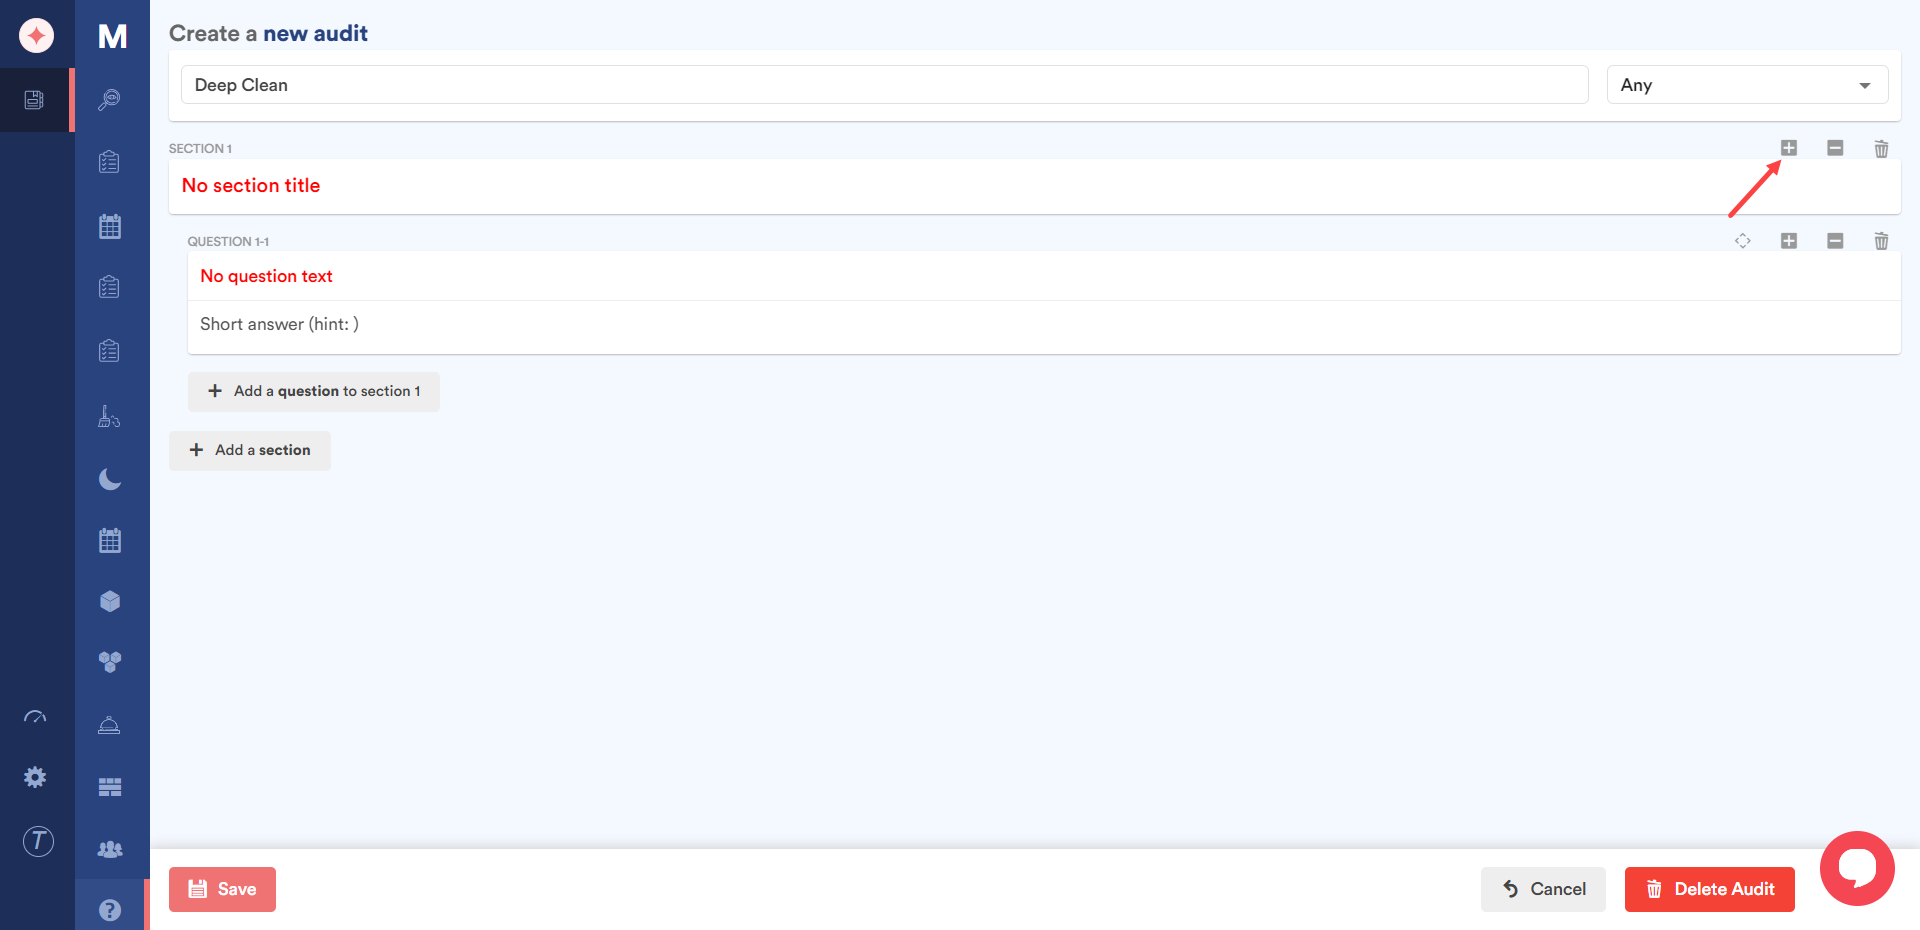
You can remove or delete a section by clicking the - and trashcan icons repsectively.
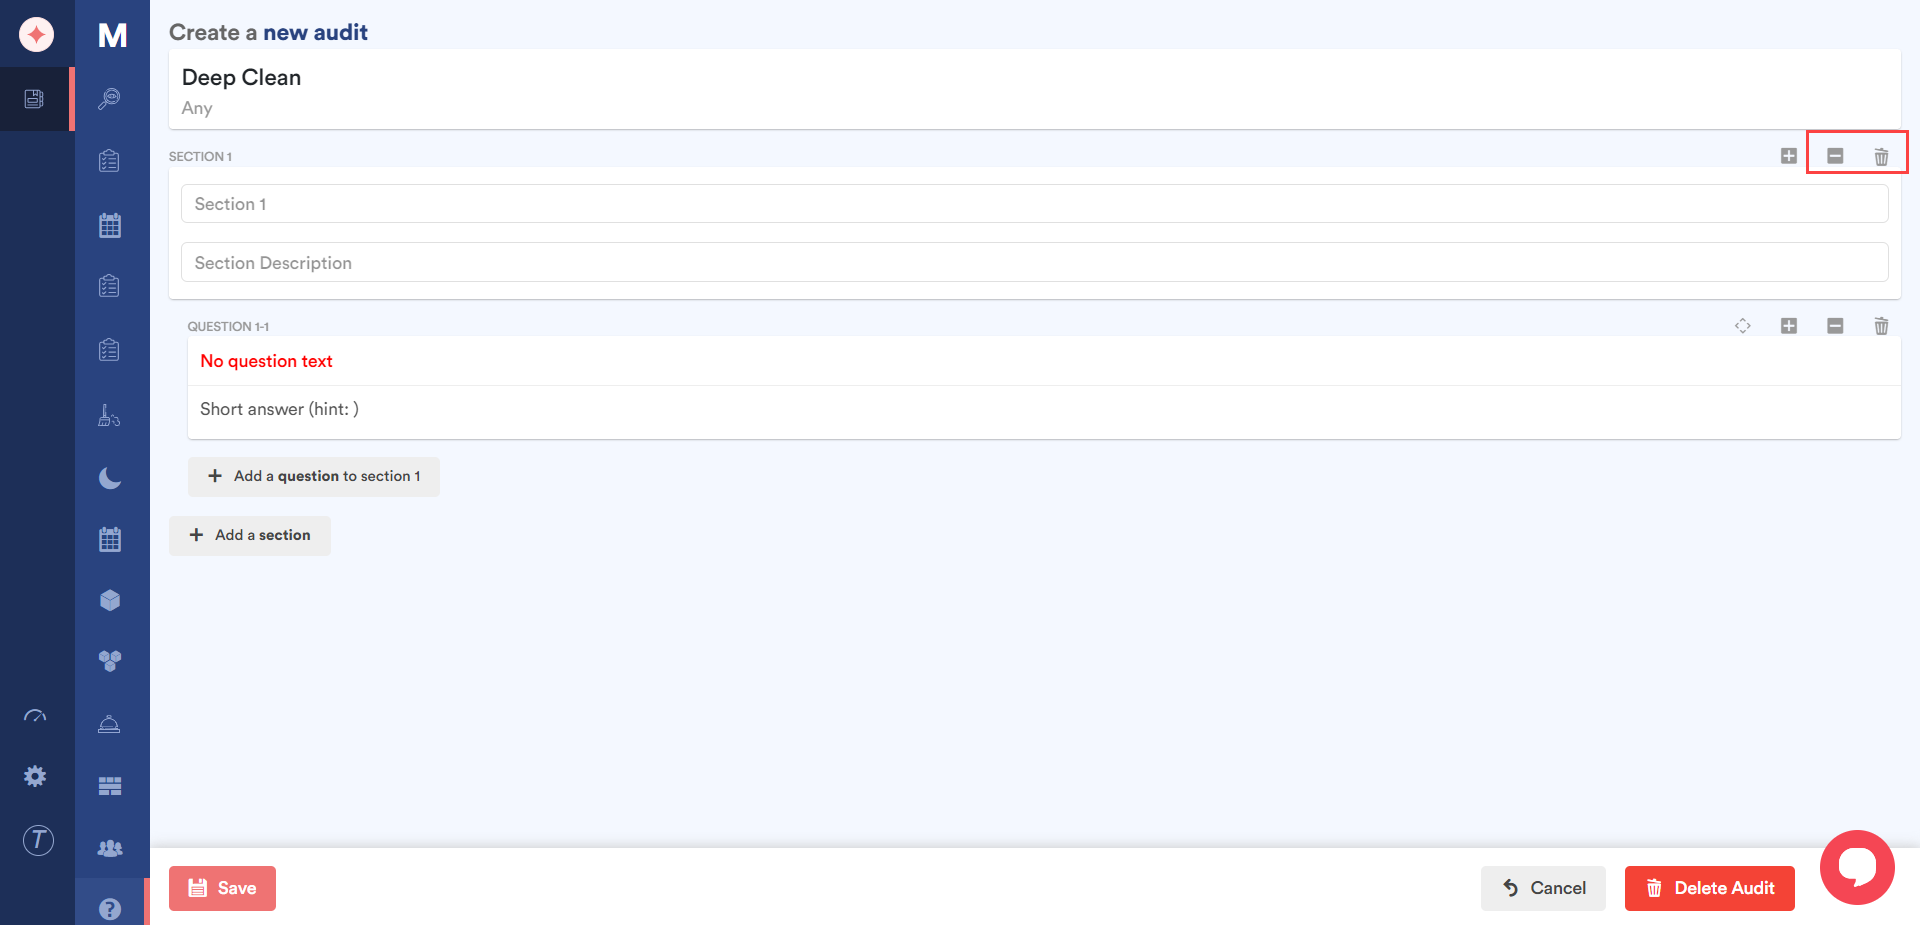
Enter the name of the section in the Section field.

Use the Section Description field to record a description of the section.

Similarly, click the + icon above the Question heading to add a question to the section.

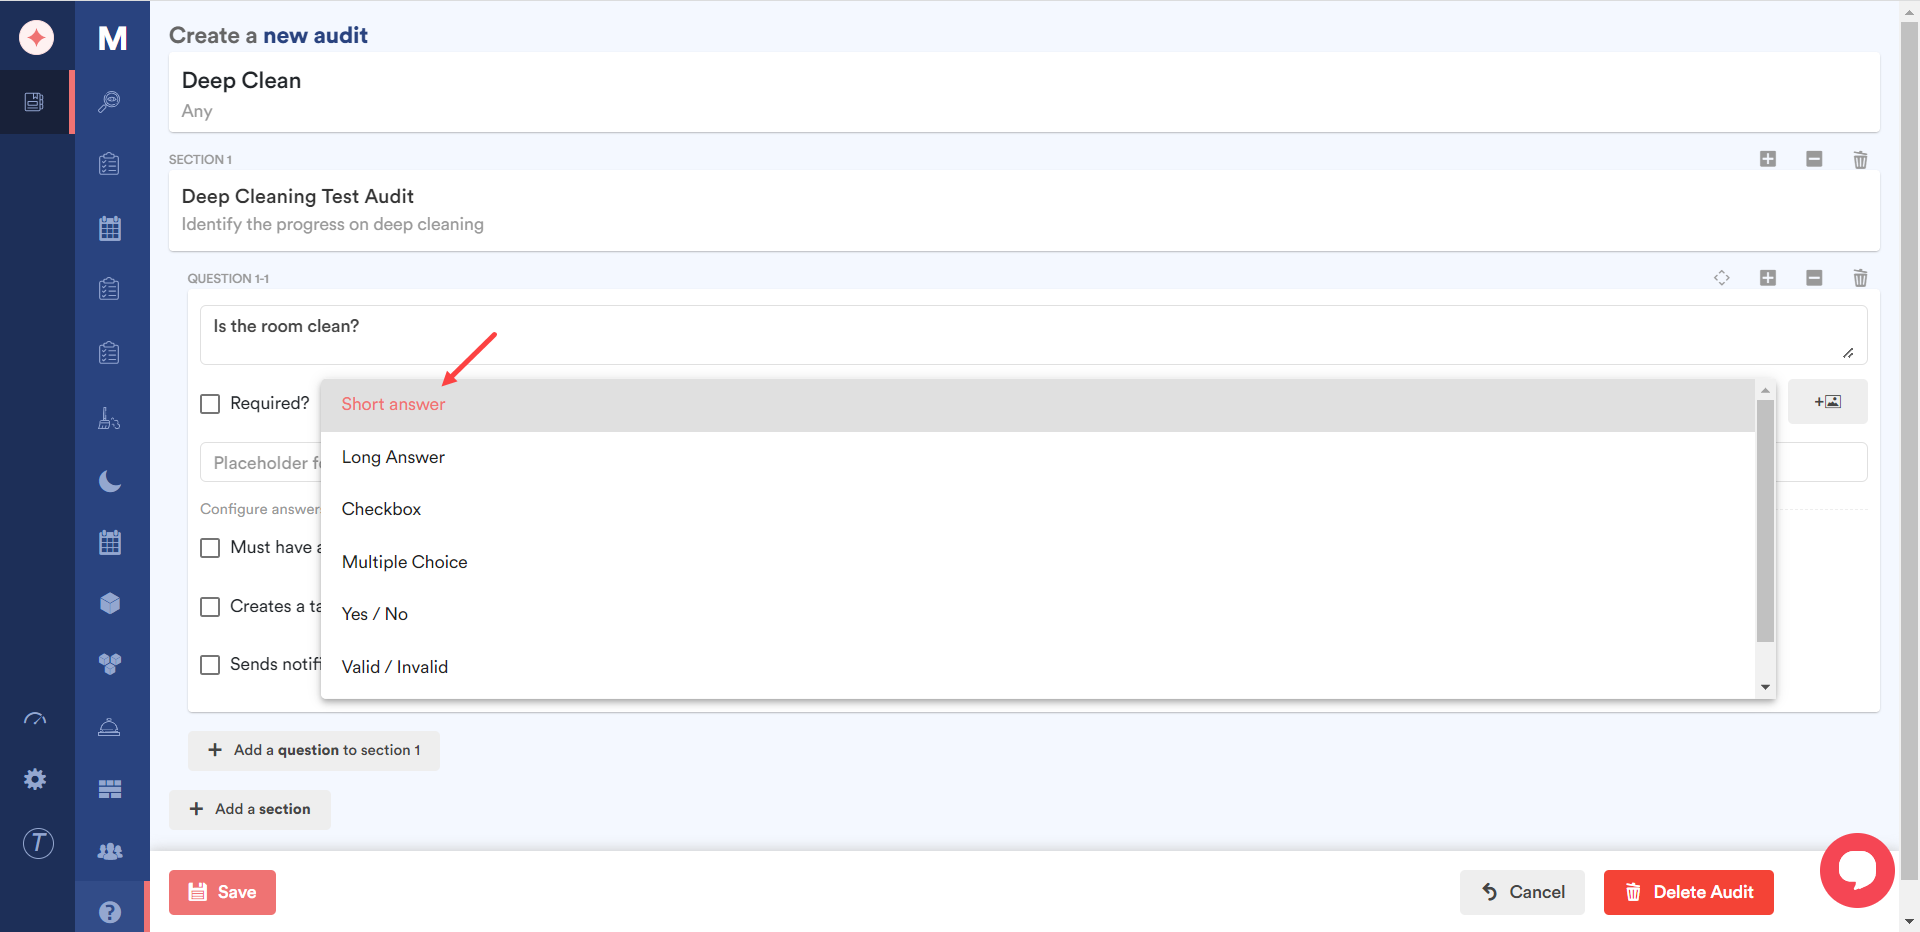
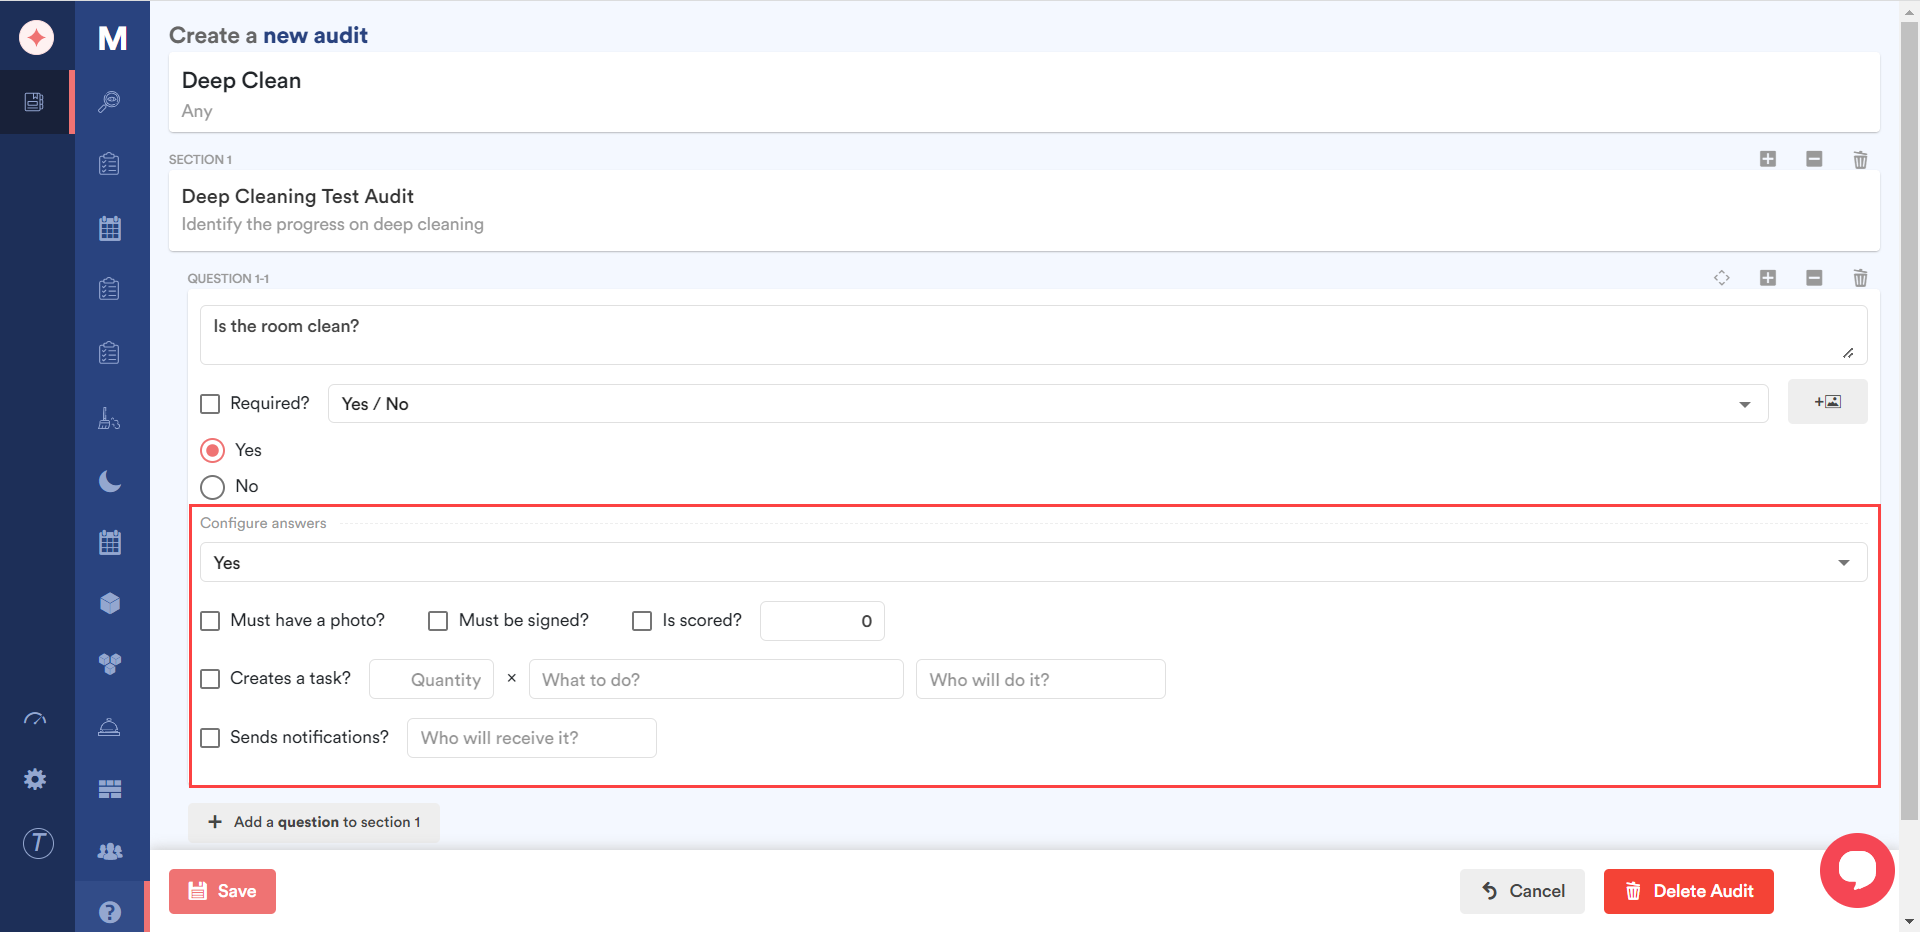
From the options revealed, enter a title for the question in the Question field.
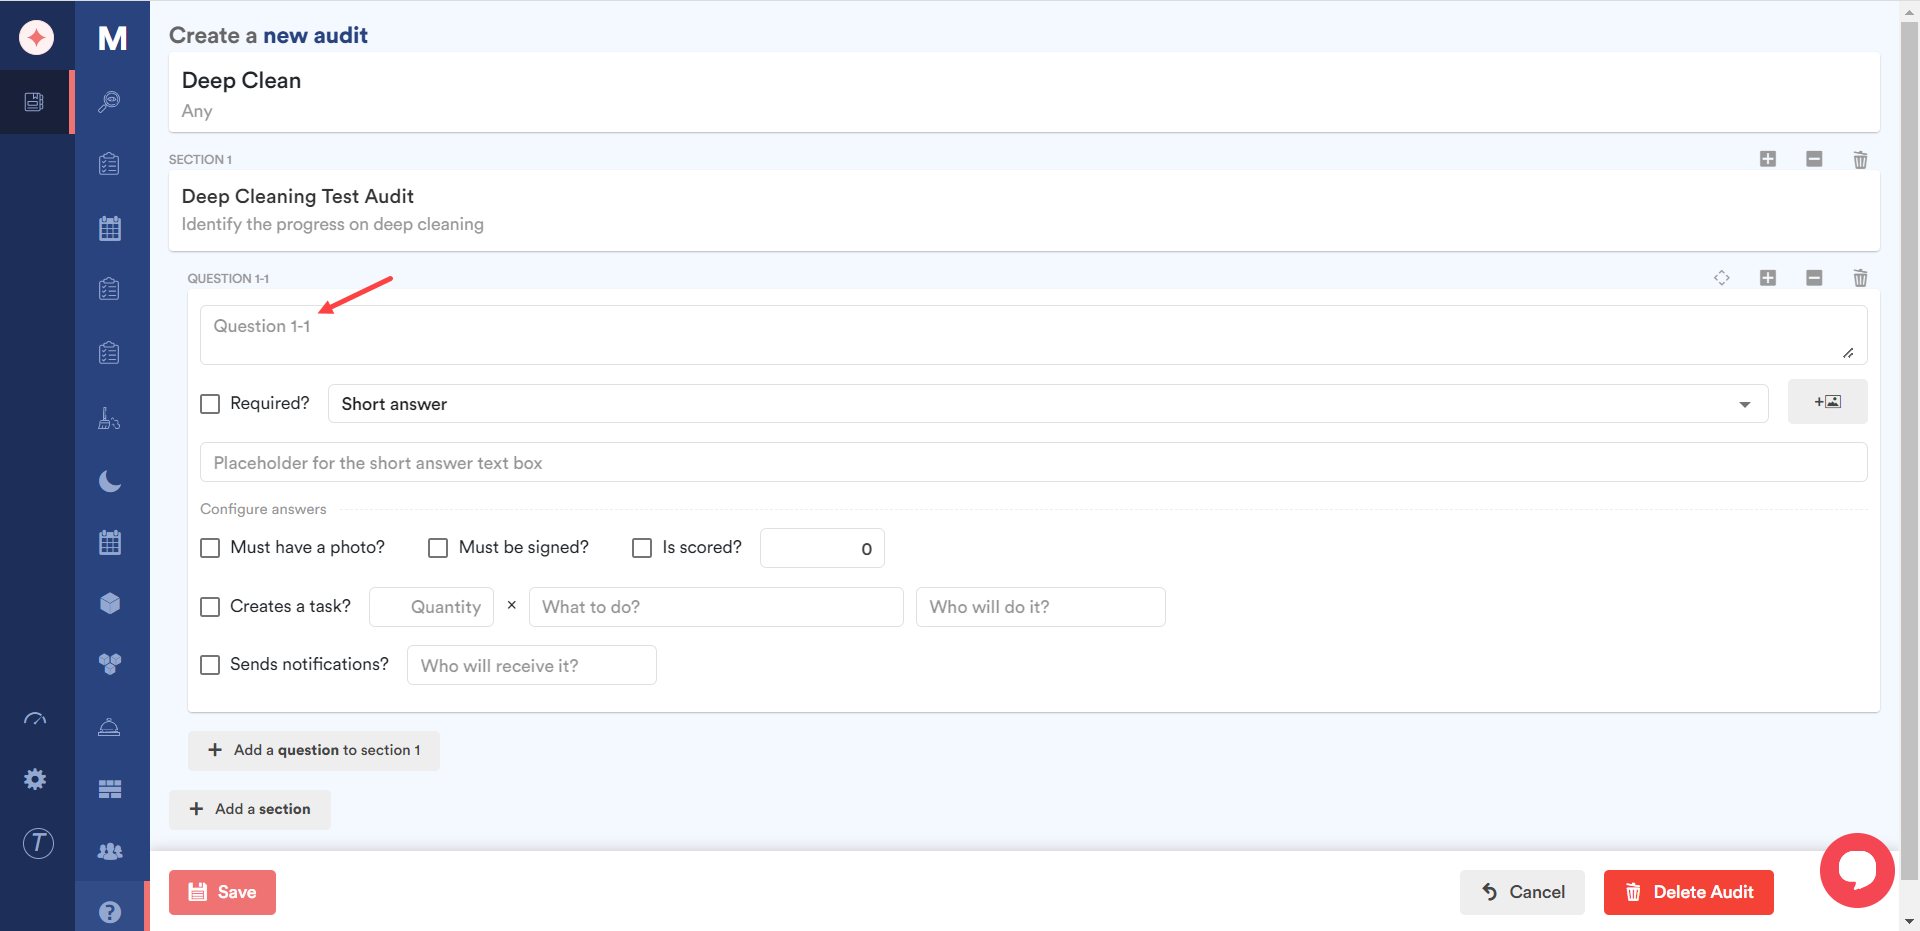
Choose the way you want to record the response to the added question using the next dropdown.
If you want a response to this question made mandatory, mark the Required checkbox.

Clicking the image icon next to the response type dropdown lets you attach image(s) from your system storage.
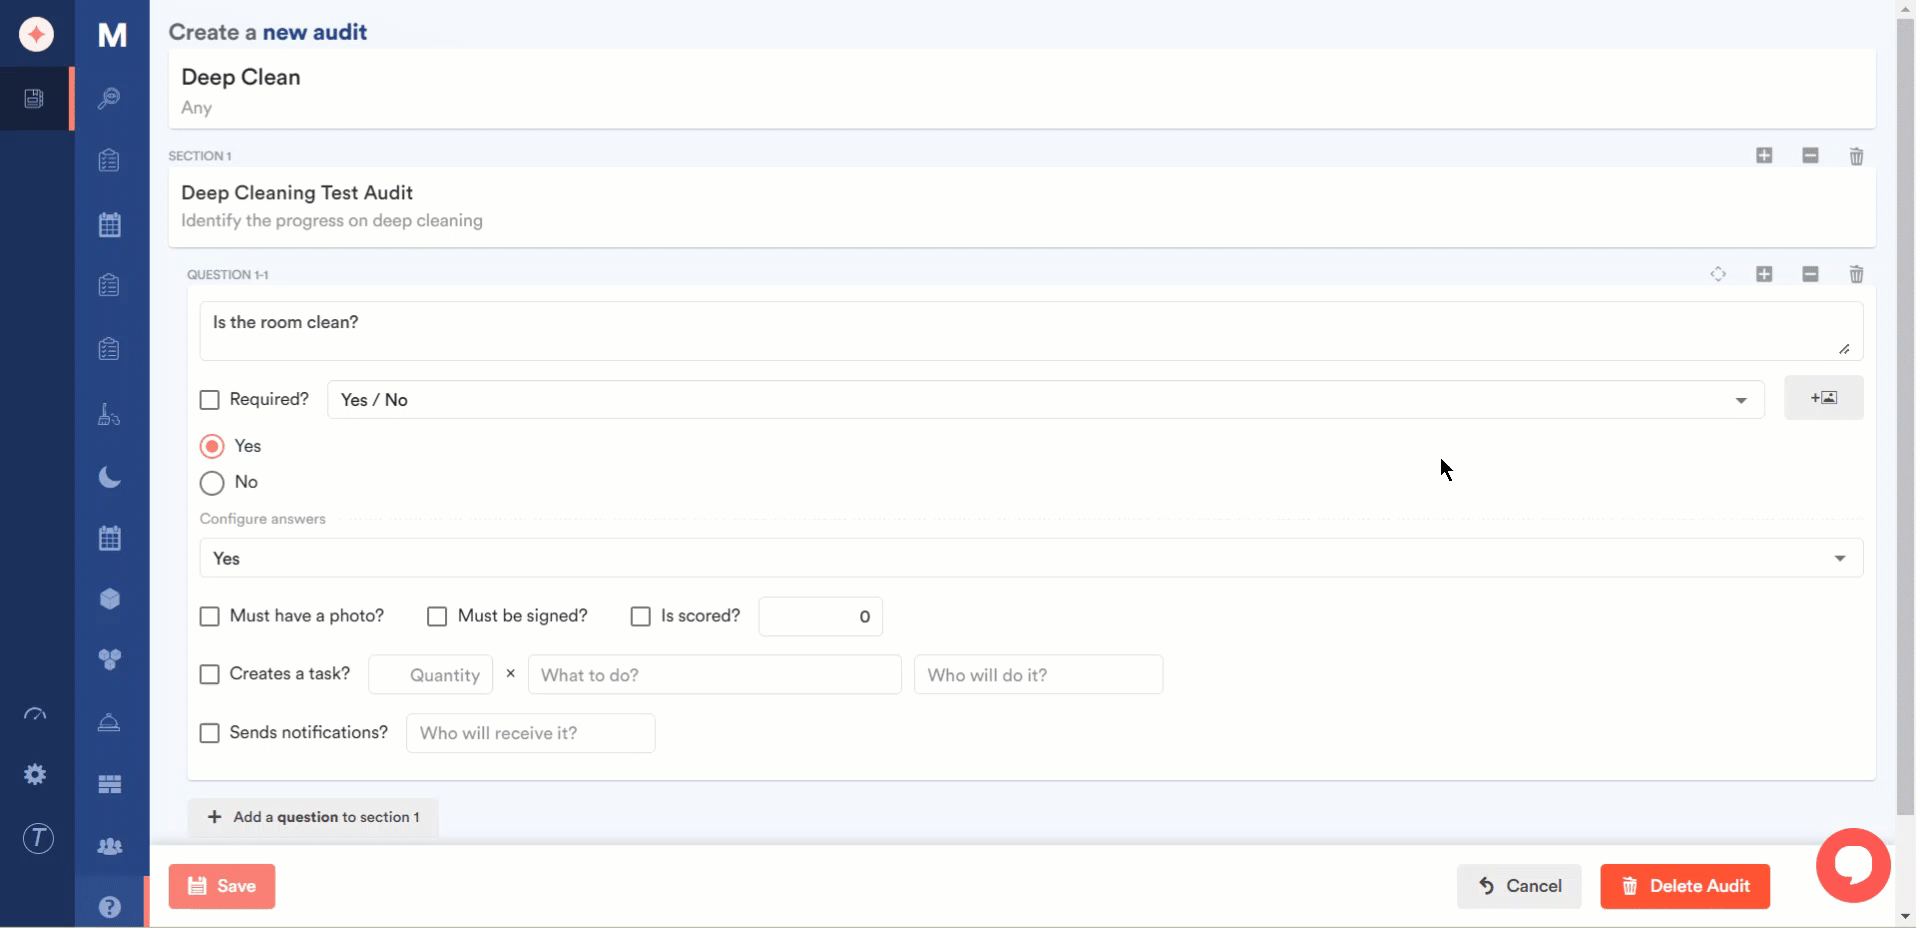
Make the required selections using the checkboxes under the Configure answers heading.
If you want to add another question to this section, click the Add a question to section 1 button.
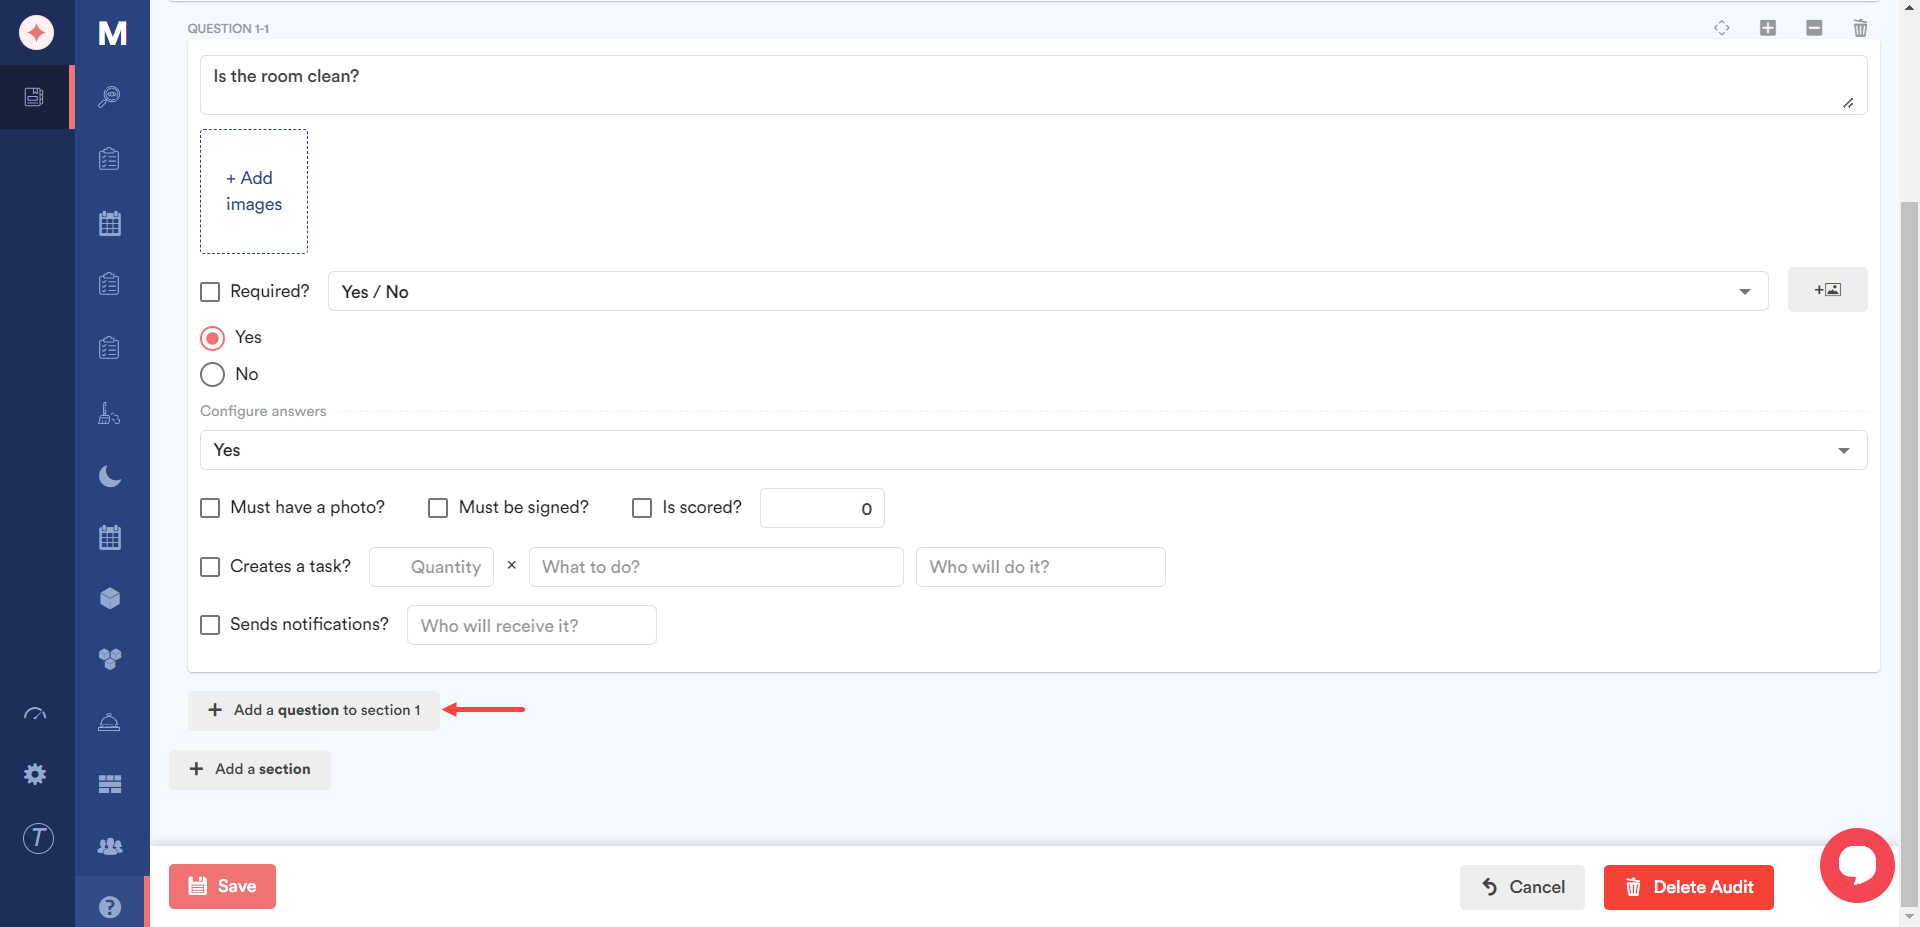
Clicking the Add a section button lets you add another section to the template you are creating.

As the required selections are made, click the Save button. Doing so saves the template and lists it in the Templates tab.

Leave a Reply