
HOPR > Left Navigation Bar > Management > Cleaning Planner
Follow the workflow mentioned above to land on the Cleaning Planner screen.
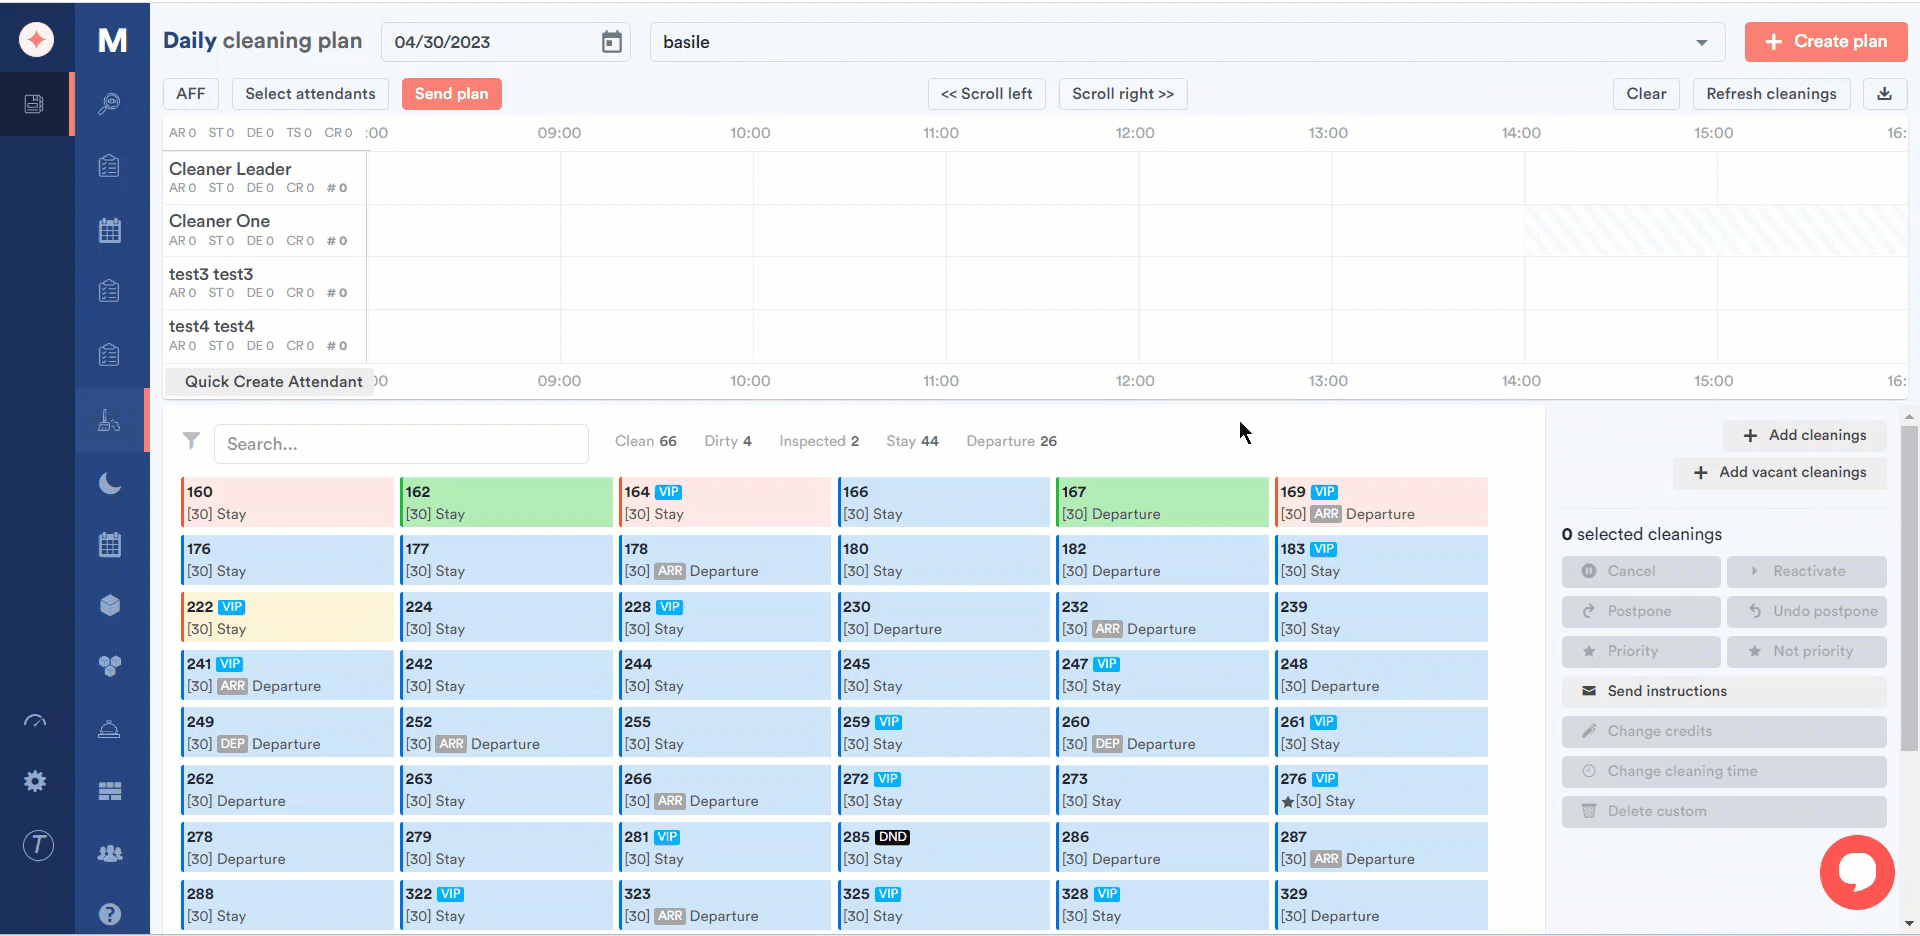
Here, the daily cleaning plan for today's date is displayed. However, you can select the required date using the date selector at the top.

Similarly, select the hotel for which you want to view the cleaning plan using the hotel dropdown next to the date selector.
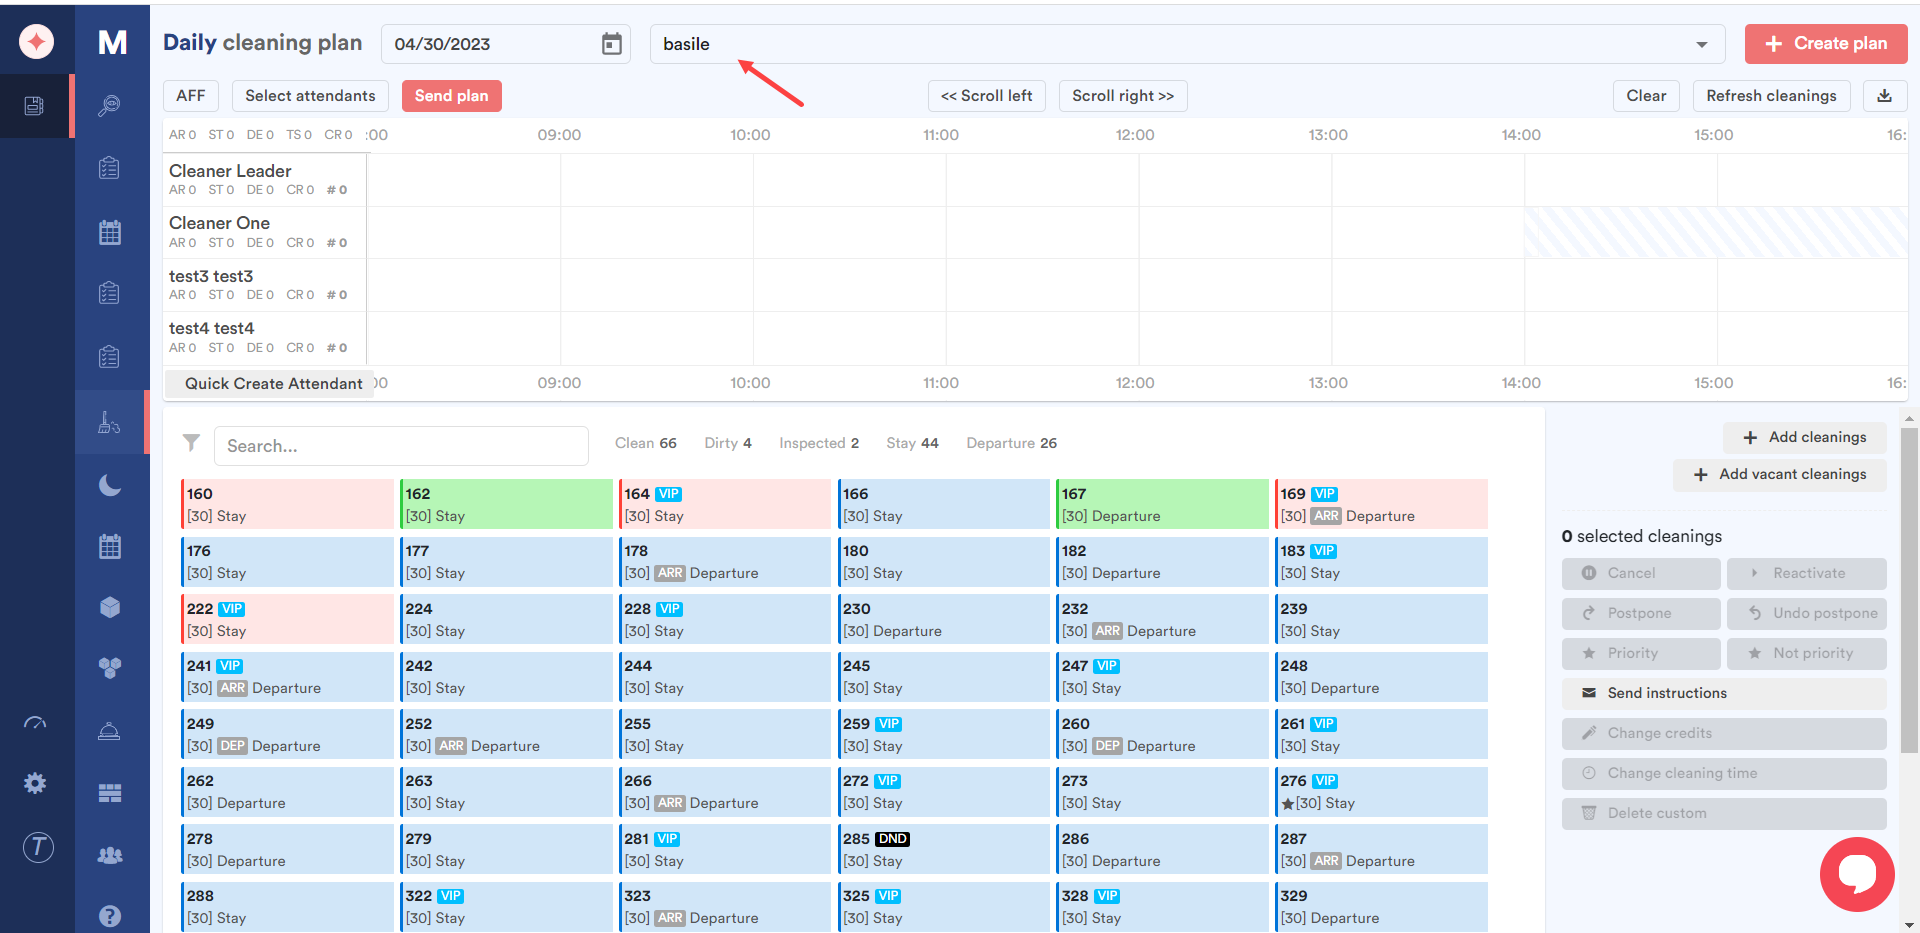
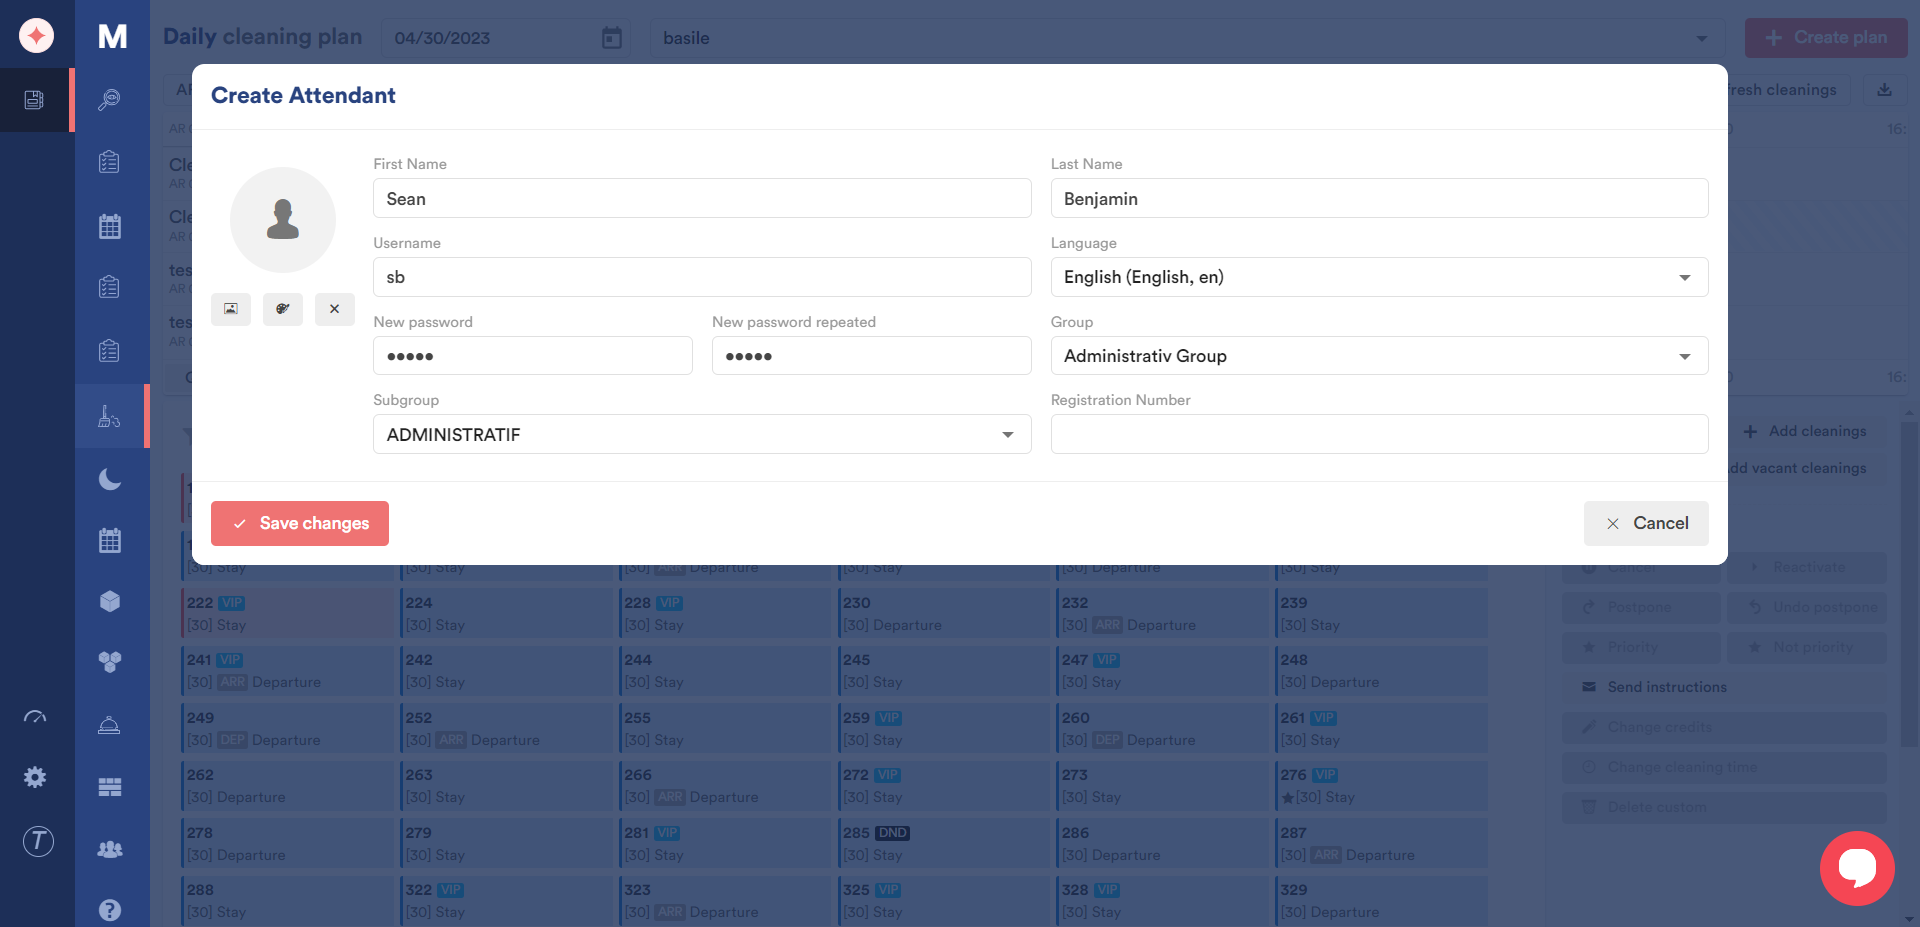
Next up is a calendar view of the scheduled cleanings mapped against the user groups. In case you want to create a user group, click the Quick Create Attendant button right below the user groups panel.

As a result, the Create Attendant window opens where you can record all the details for the attendant you want to add.
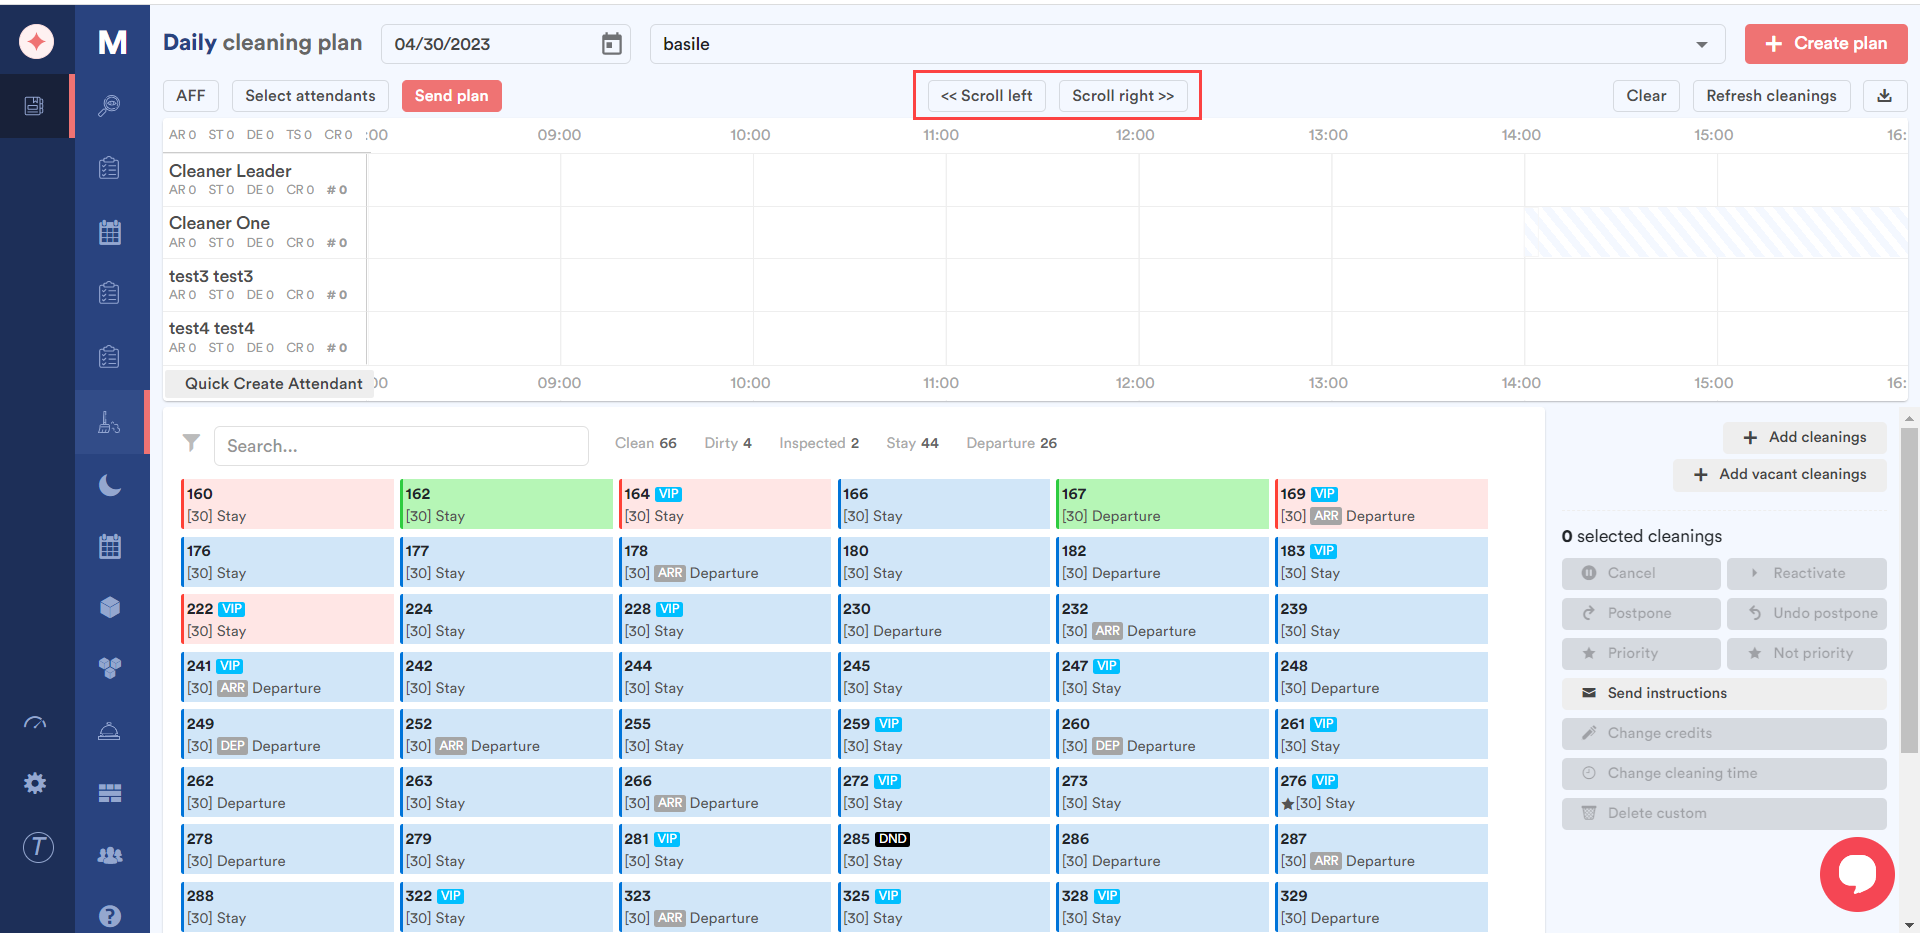
Moving further, you can use the scroll left and scroll right buttons to move to the required time slot for scheduled cleaning.
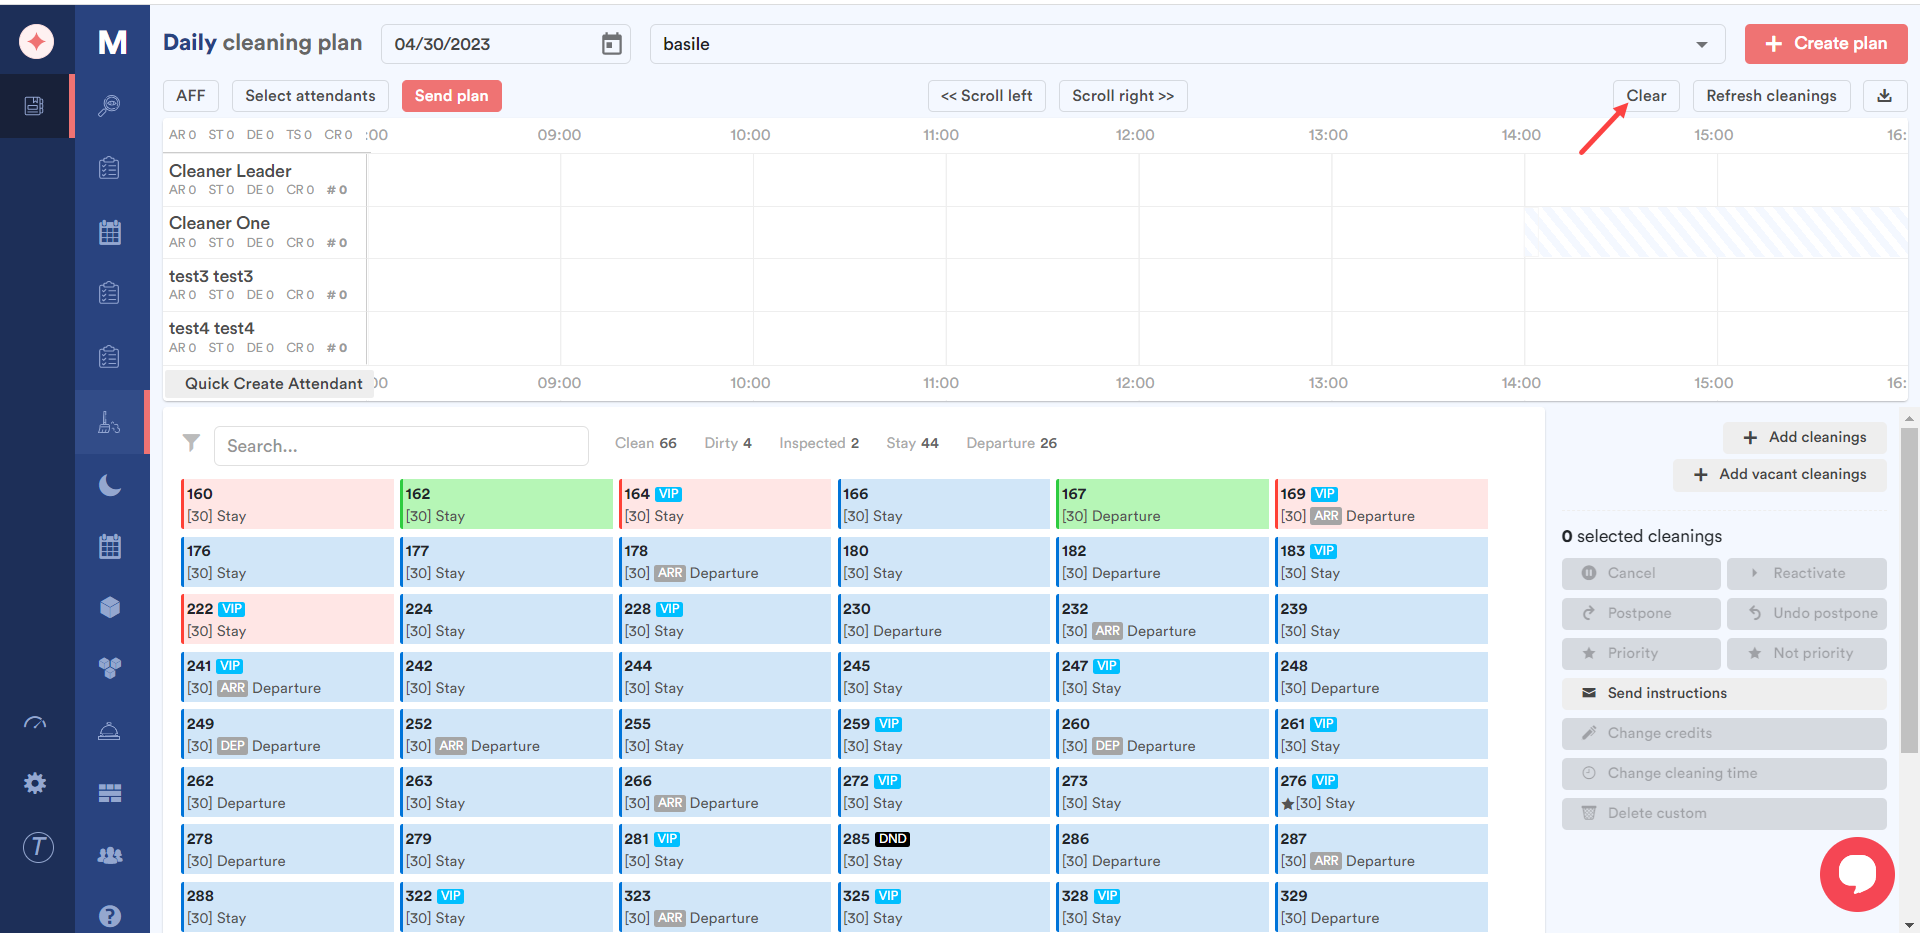
To clear the cleaning records from the calendar, click the Clear button.
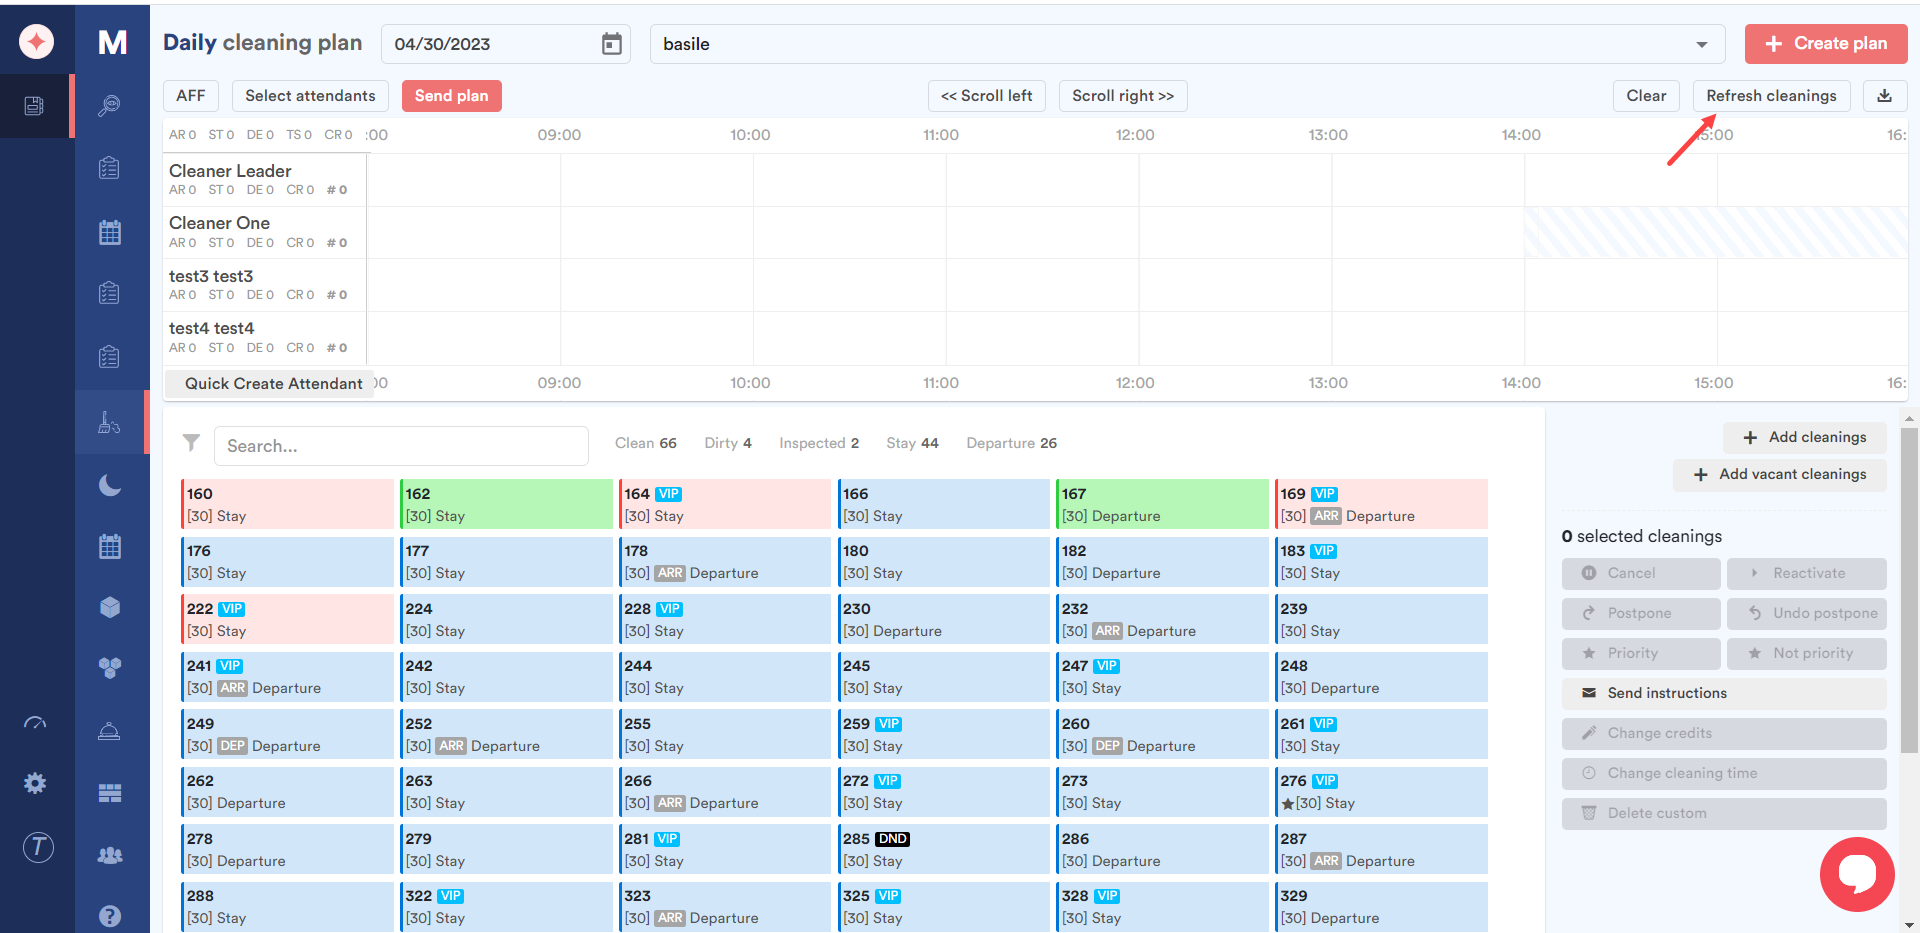
In case you want to refresh the scheduler to get the updated cleaning records, click the Refresh cleanings button.
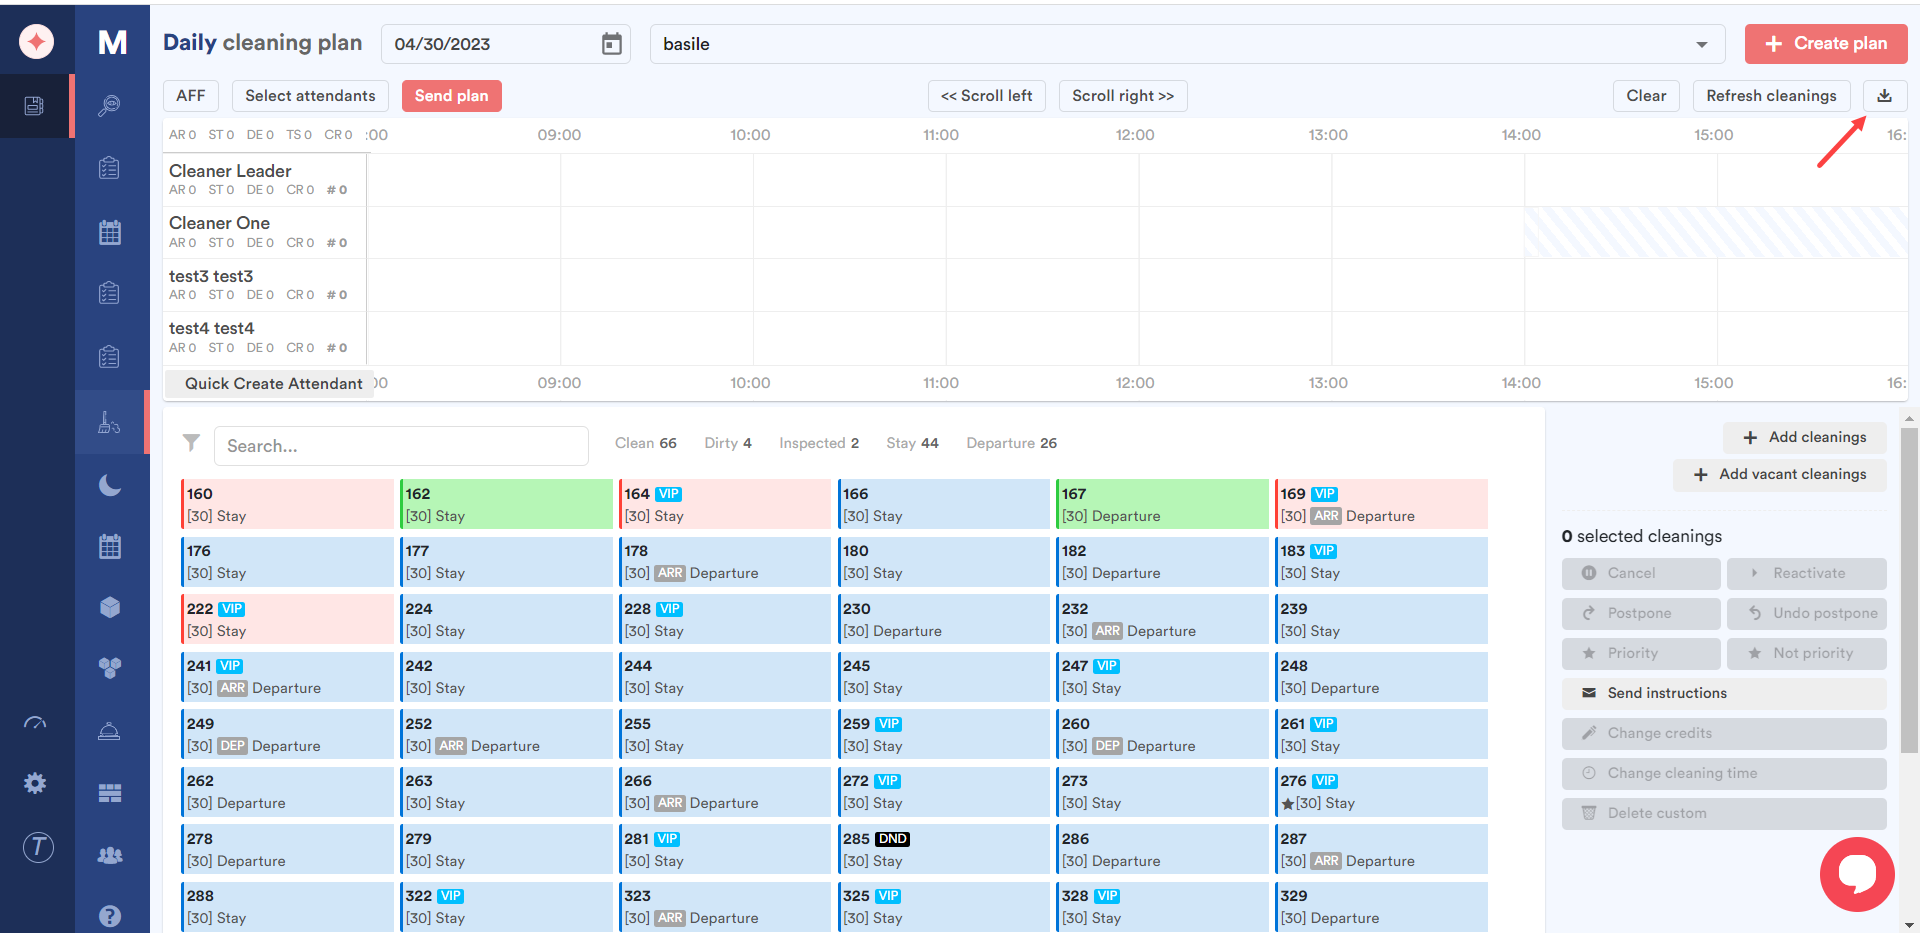
Clicking the download button at the top-right corner downloads the contents of the cleaning planner grid in an excel file.
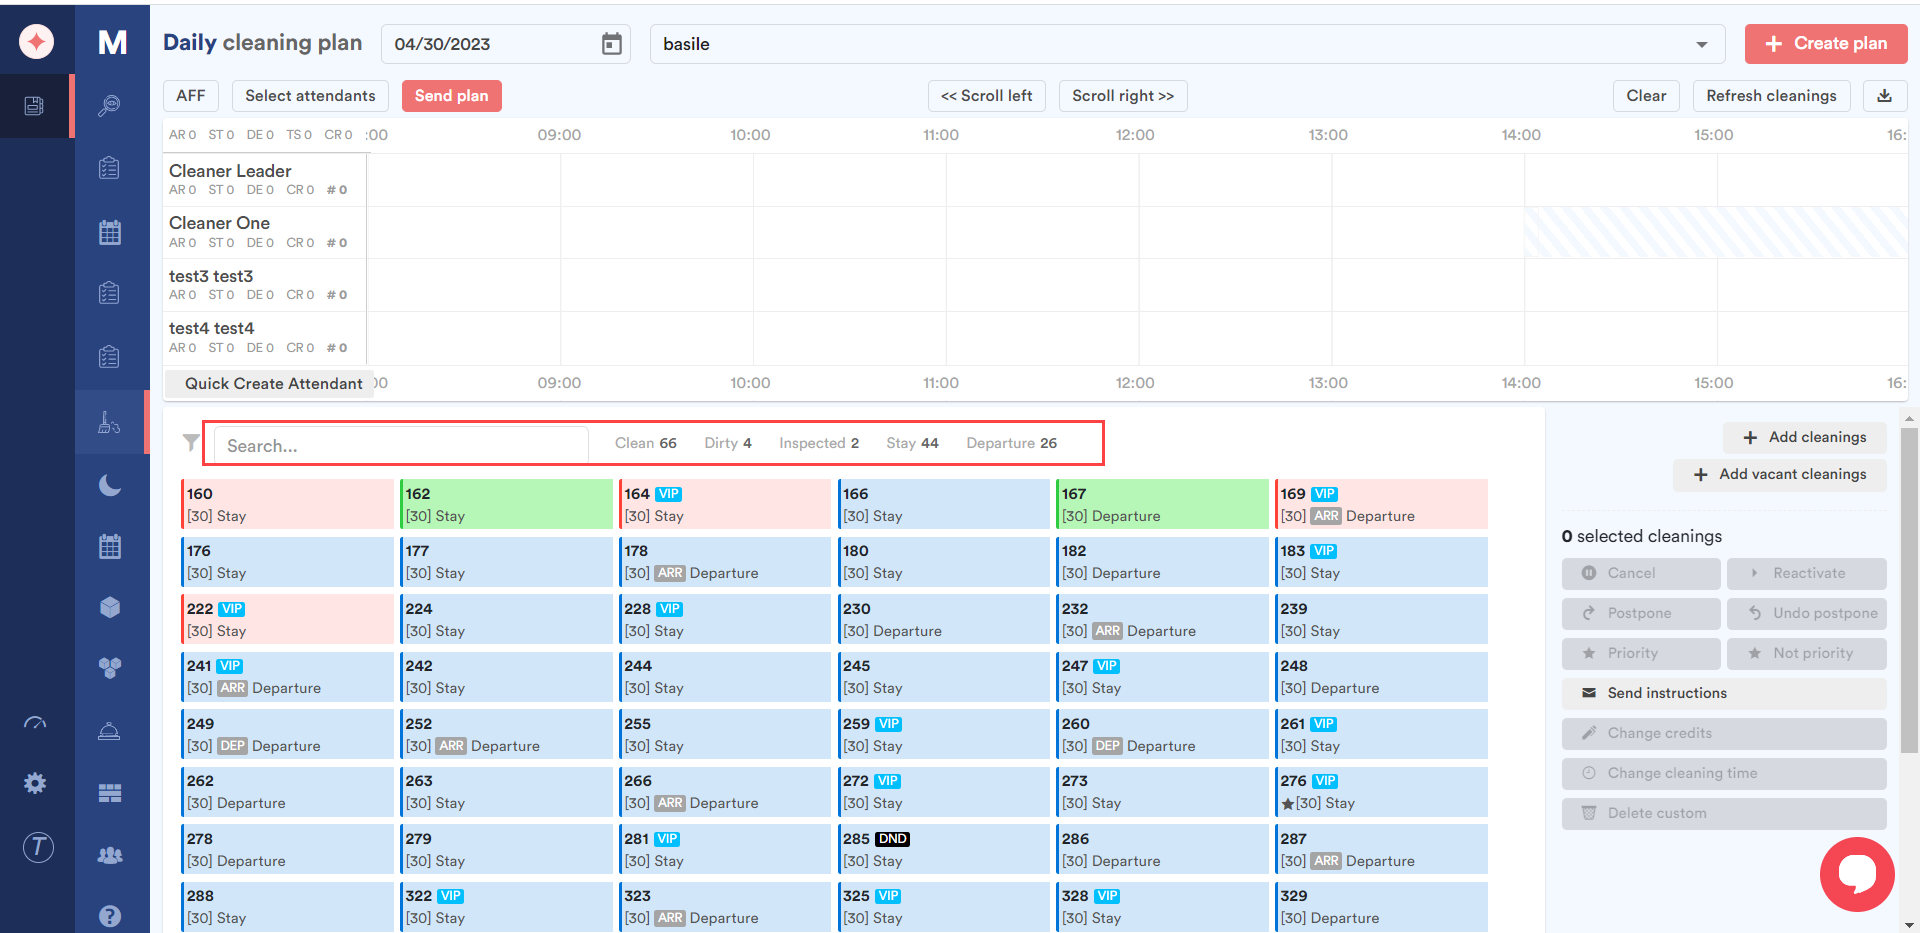
Next up are the cleaning records listed. The color coding used for room numbers in the Rooms Overview section is used to depict the status of the room in these cleaning records. Moreover, a search bar at the top lets you search for a specific cleaning and the number of rooms falling in each status is also displayed next to the search bar.
On the right side of the cleaning records, a panel is displayed displaying the selected cleanings, a button each for adding a cleaning, and adding a vacant cleaning.
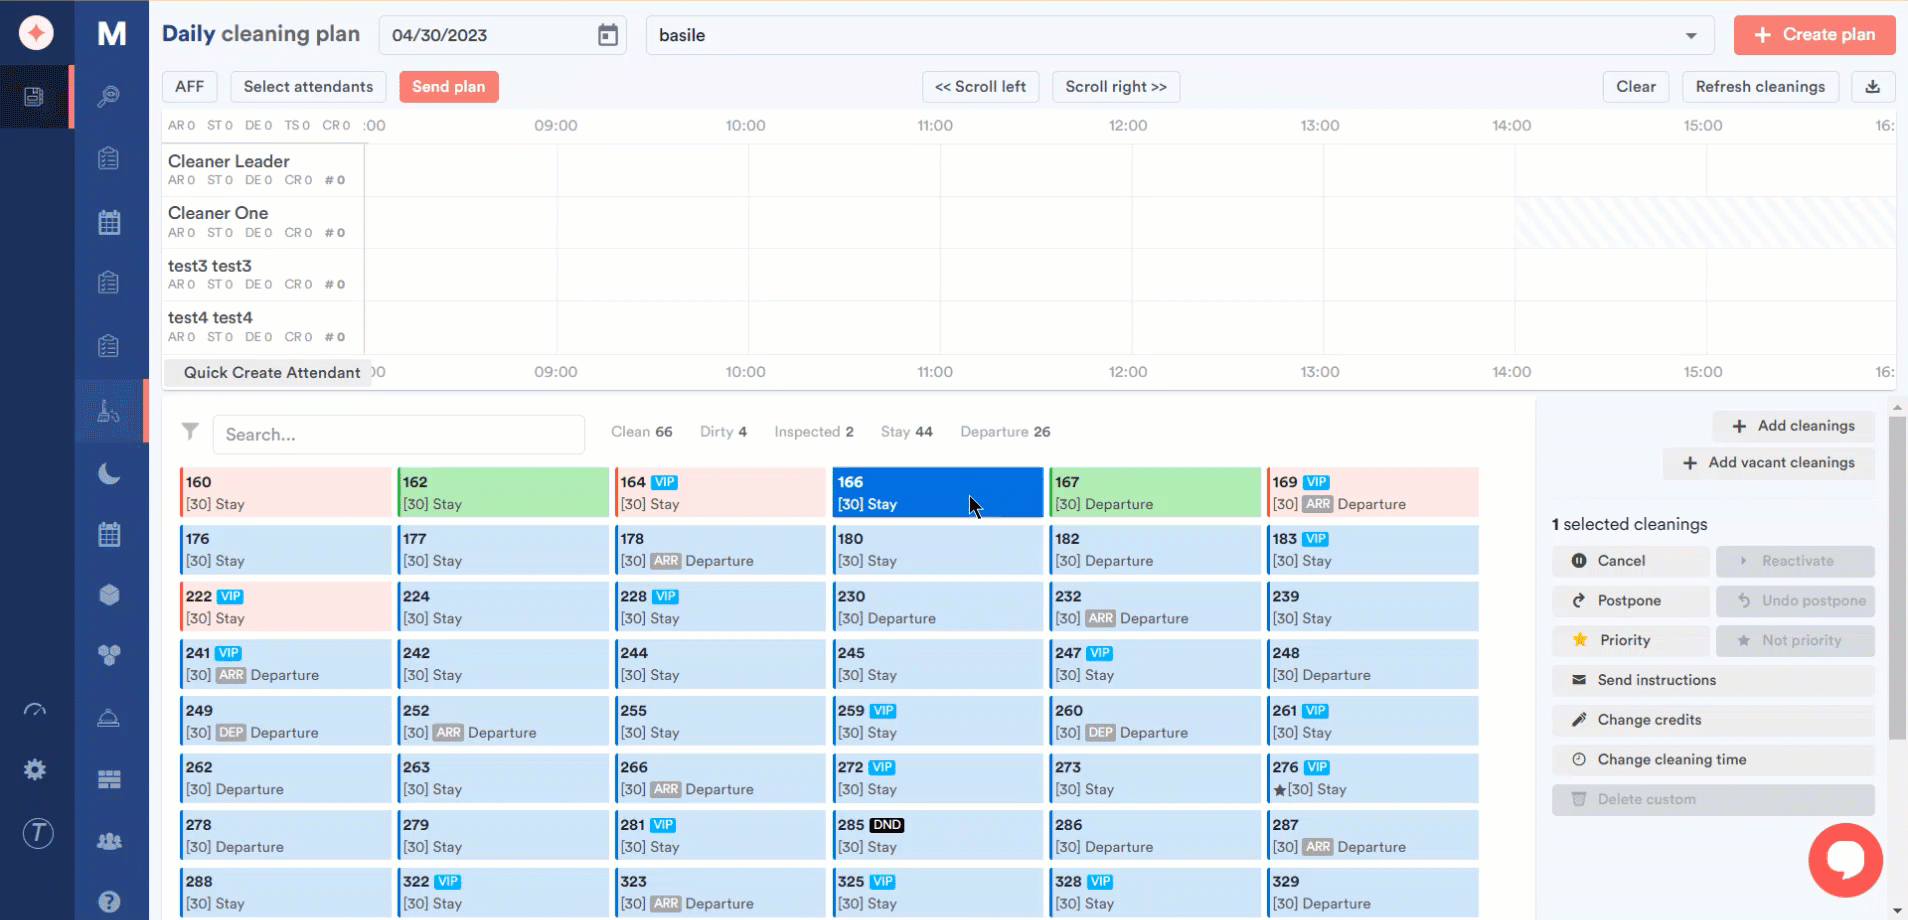
If you want to assign a cleaning to a user group, simply drag the cleaning record and drop it in the desired time slot for the respective user group row.
Leave a Reply