
Upon successful login, navigate to the left navigation bar and select Dashboards.
From the revealed list of options, click Email subscriptions. This takes you to the Report Email Subscriptions screen.
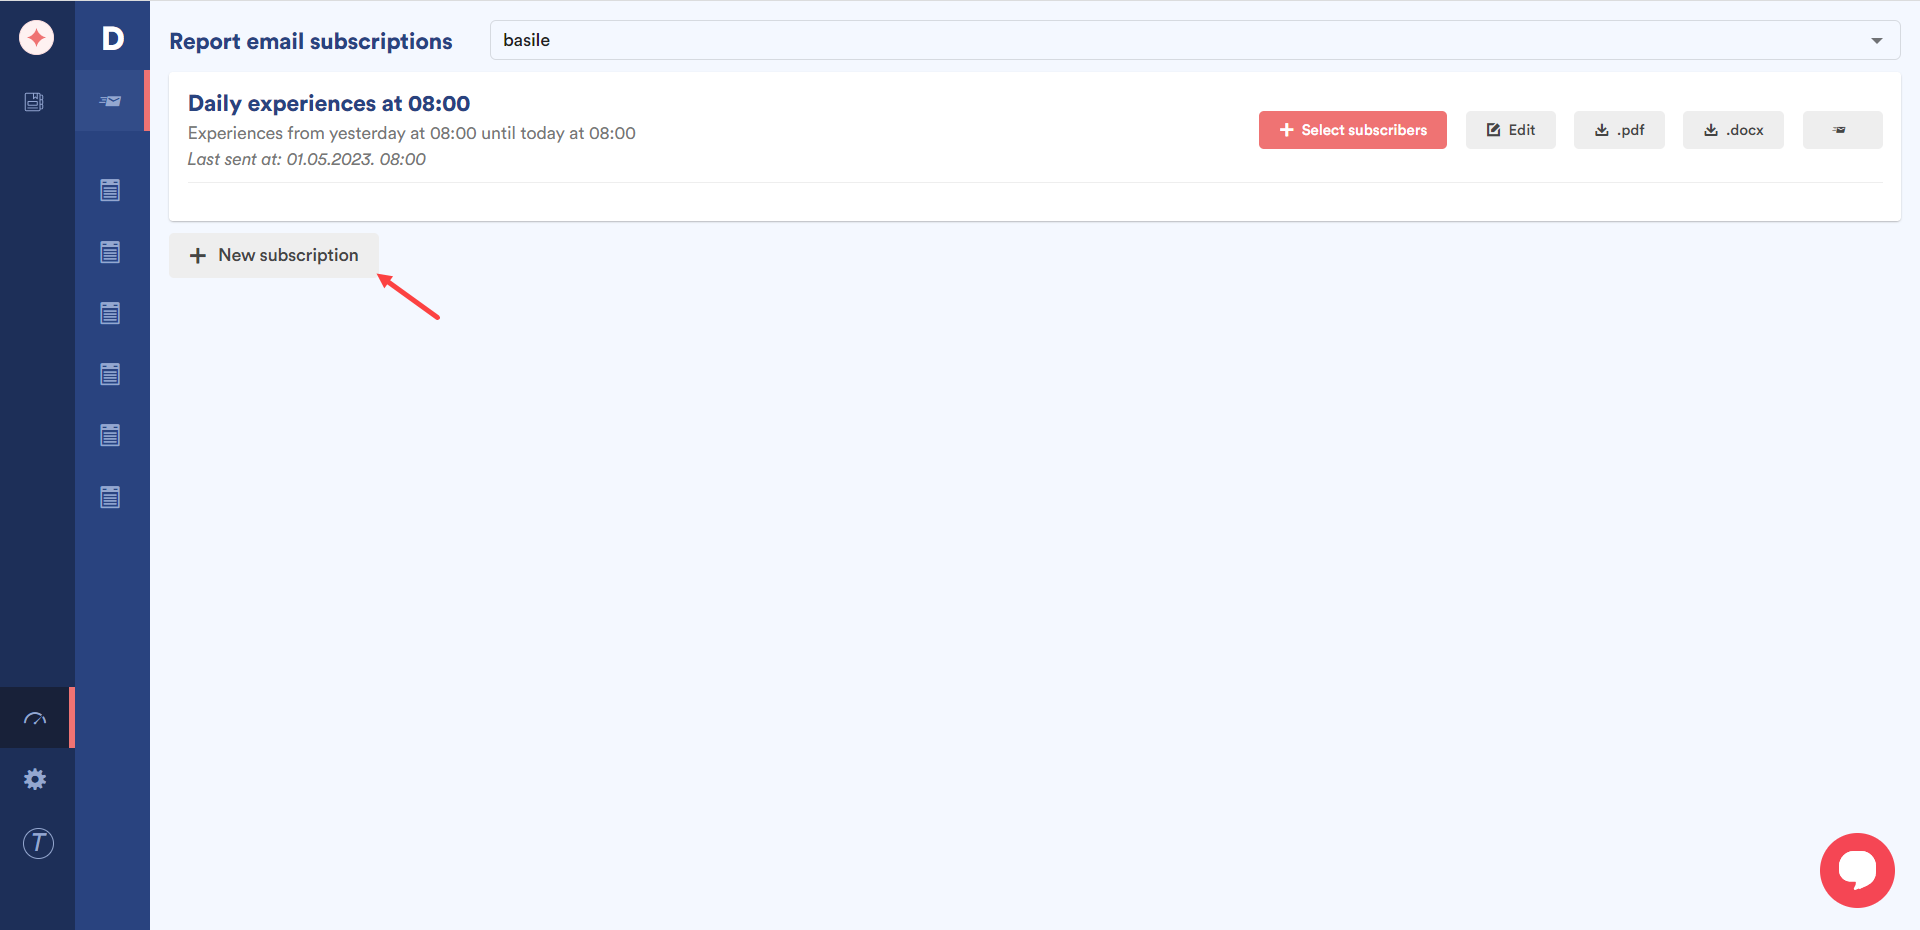
To create a new subscription, click the + New Subscription button.
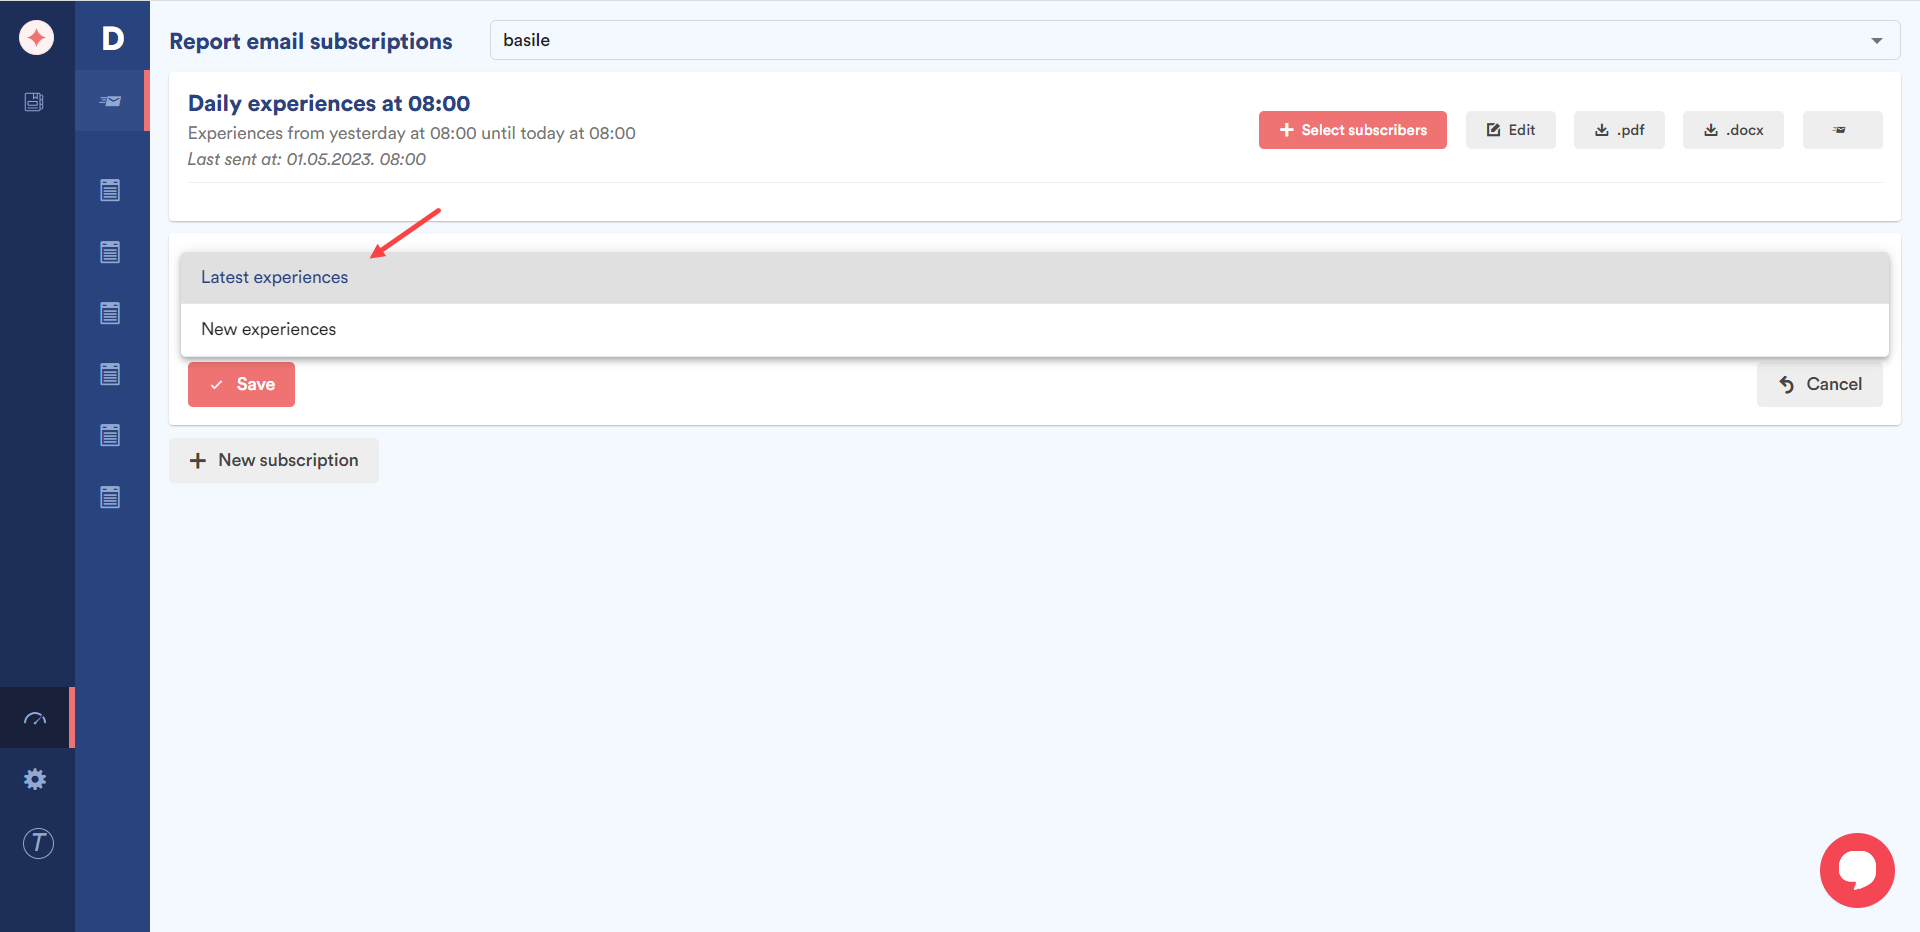
From the fields revealed, choose the experiences you want to be reported via emails using the dropdown at the top.
Select the frequency at which the report is emailed using the Frequency dropdown.
Select the time at which you want the report to be emailed using the time selector next to the Frequency dropdown.
Use the time selectors at the end of the row to define a time range for the experiences to be emailed within.
Once the required selections are made, click the Save button.
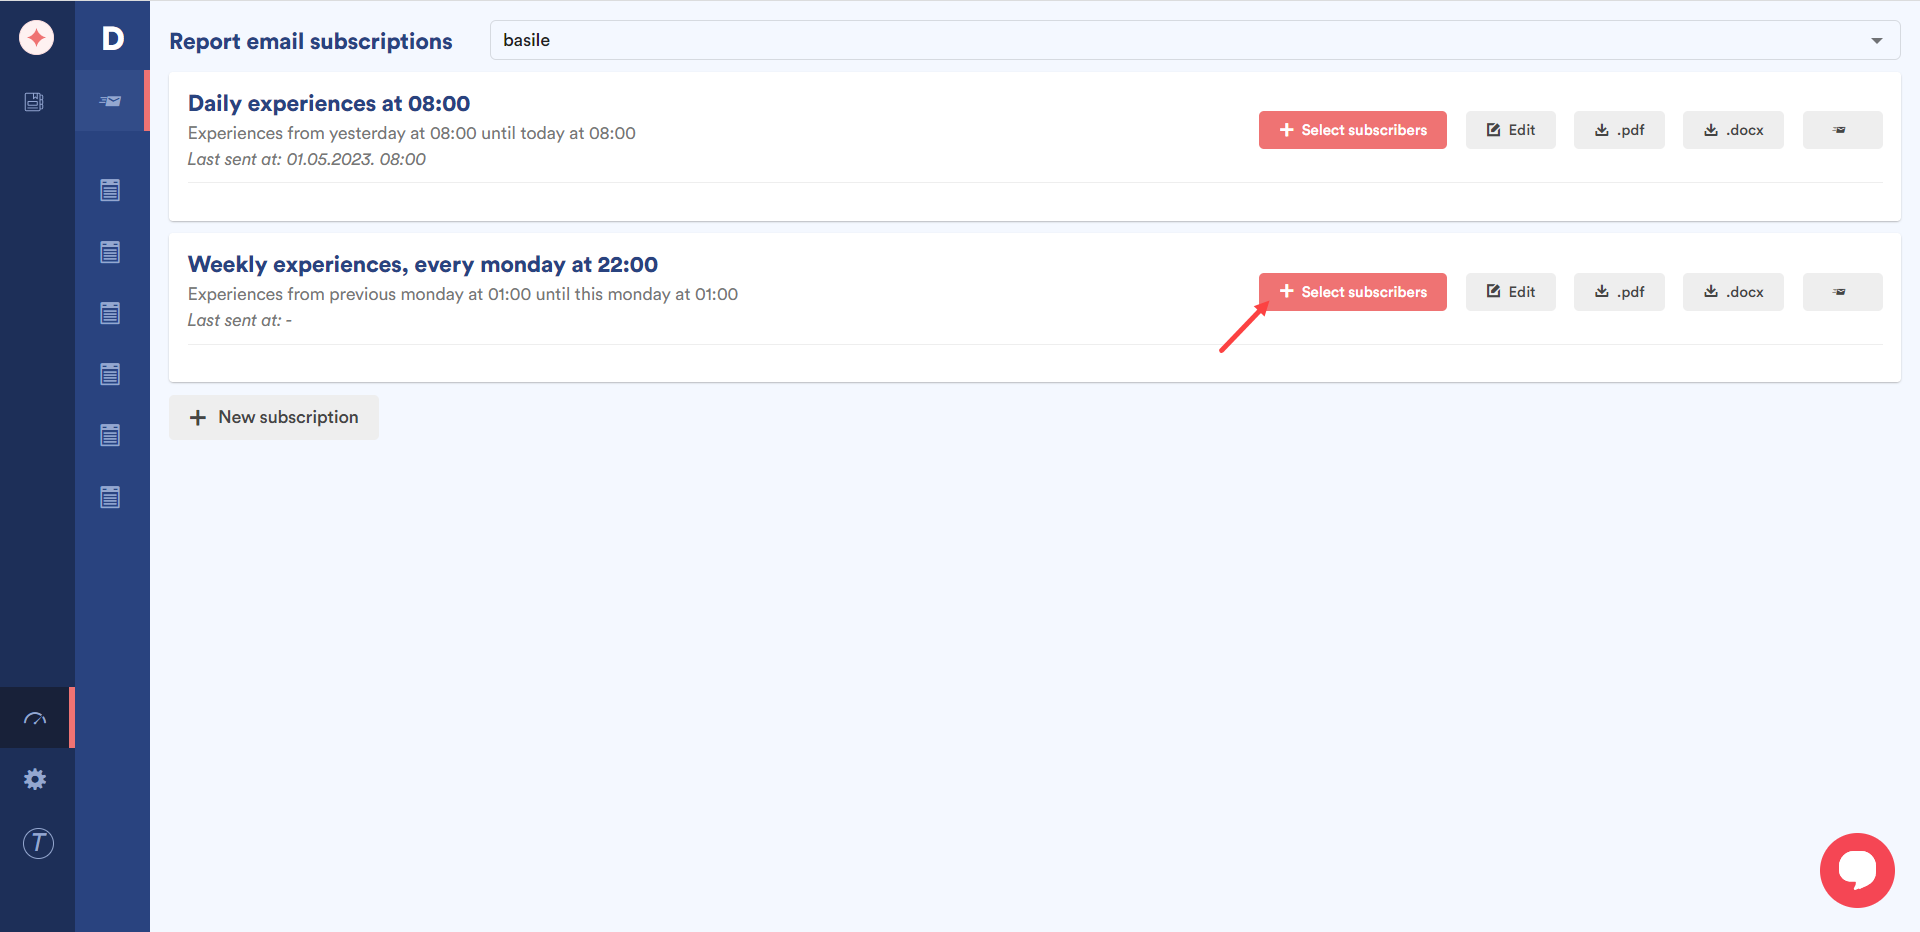
As a subscription is created, the next step is to add subscribers to it. For that, click the +Select subscribers button.
This opens the Subscribers for [selected experience] window. Here, all the users, user groups, and reservations are displayed for you to choose from. You can make the required selections by marking the respective checkboxes.
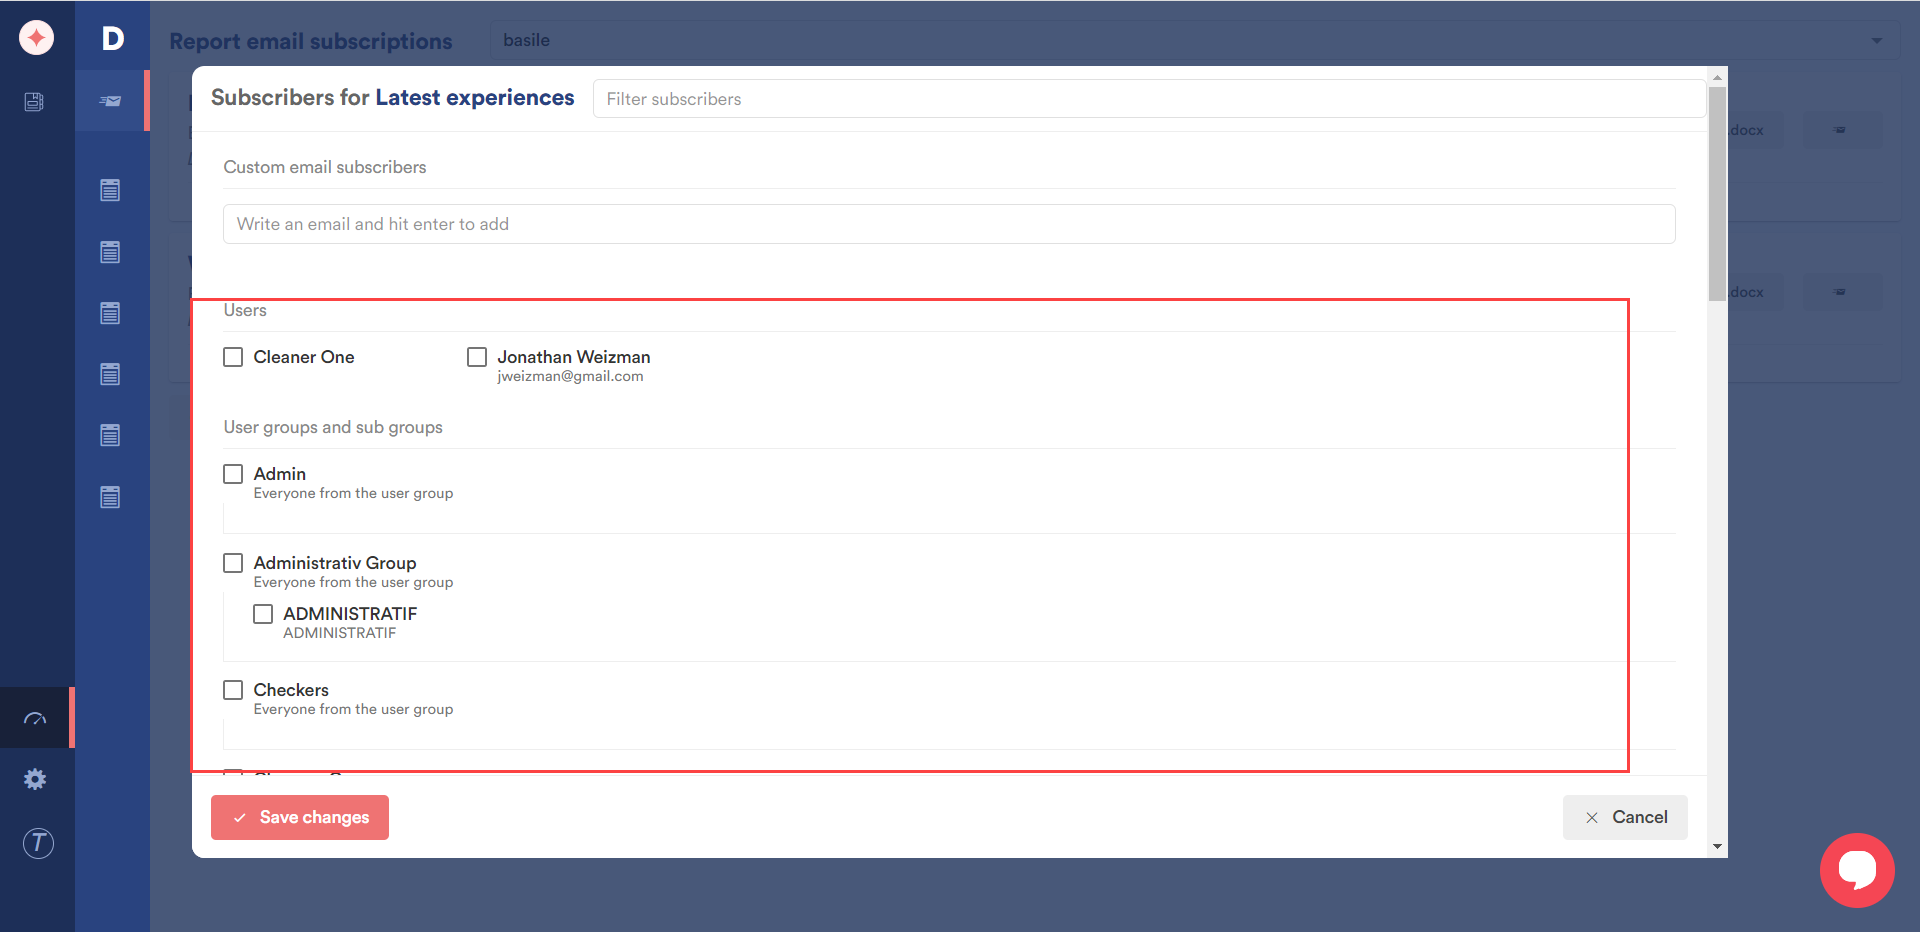
Use the Filter subscribers field to search for a specific subscriber.
In case you want to enter a custom email, use the Custom email subscribers field.
Once the selections are made, click the Save Changes button.
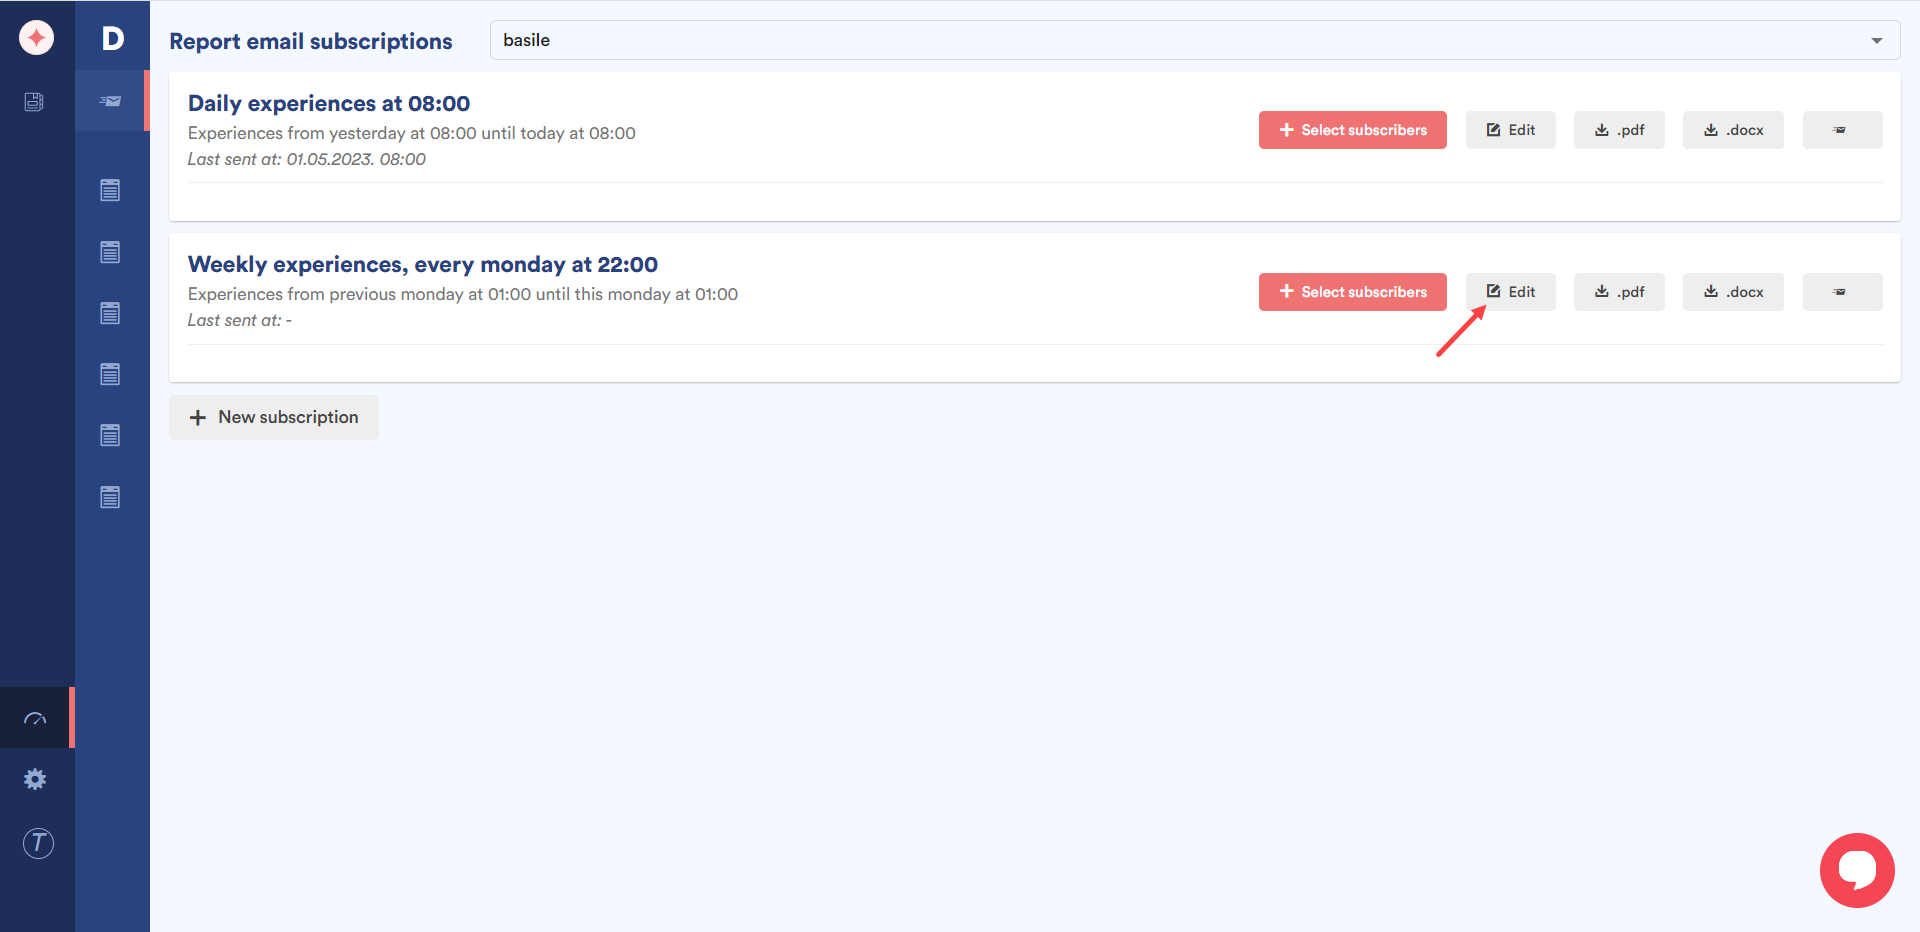
To edit a subscription, click the Edit button.
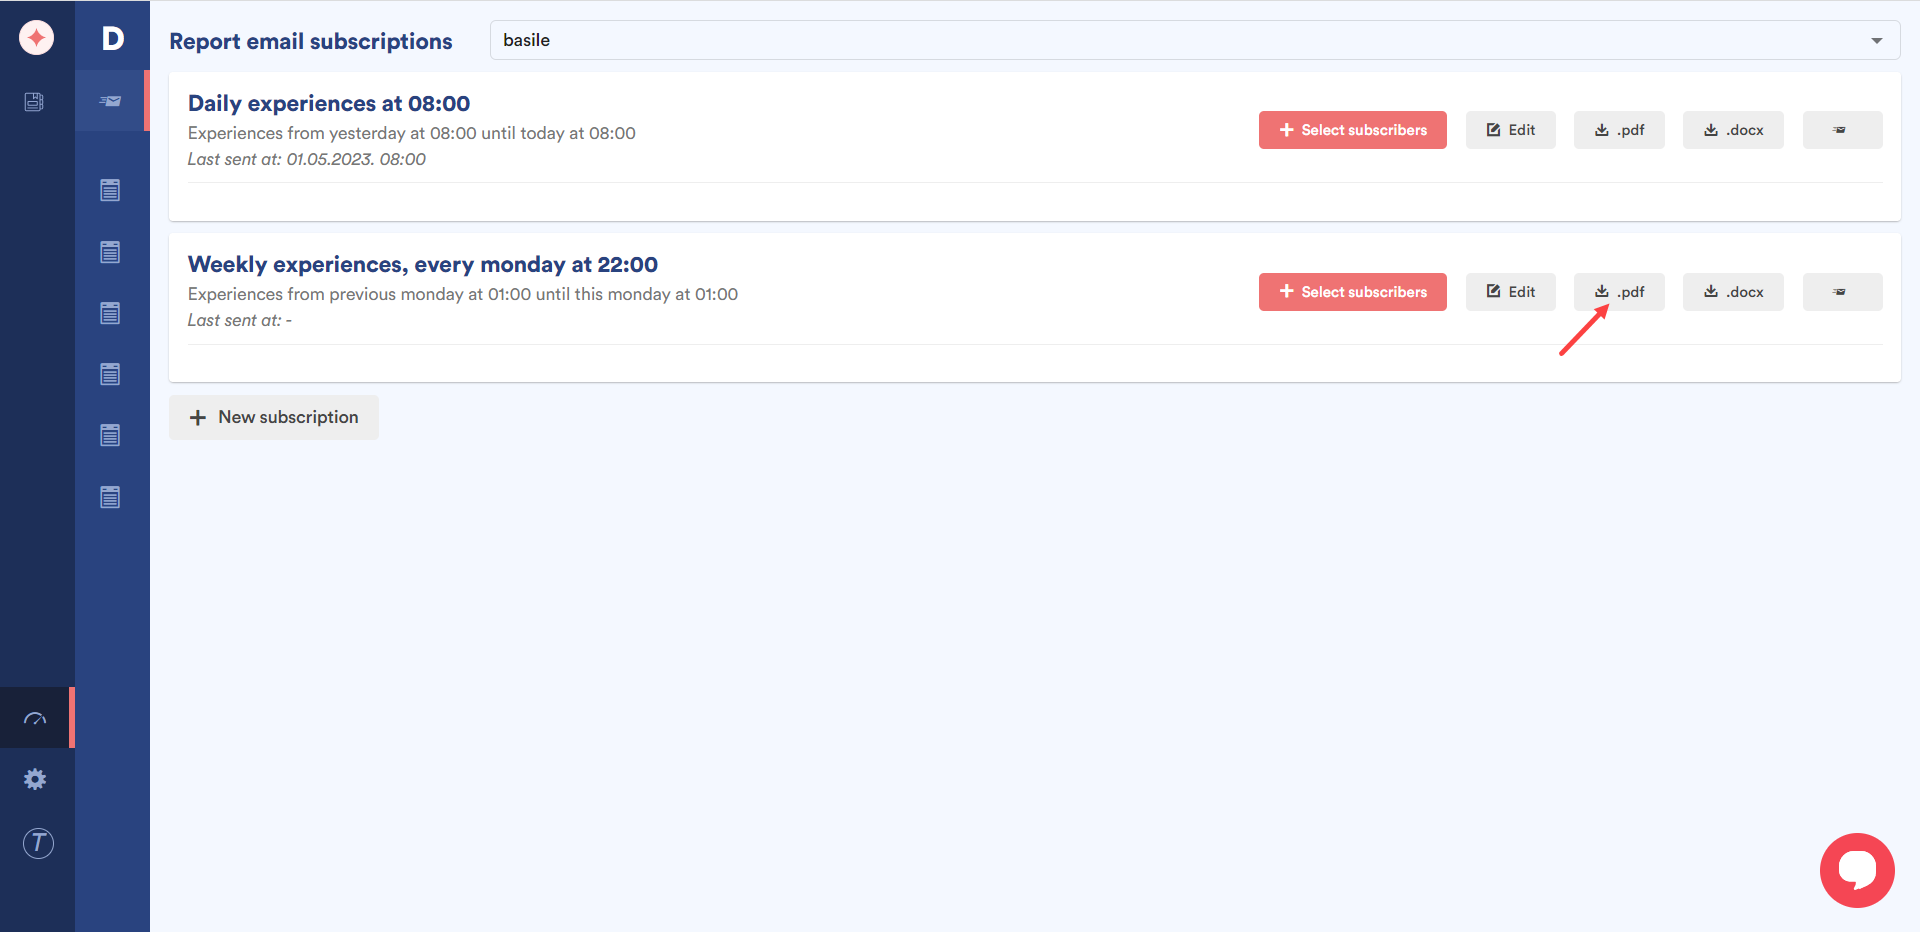
Clicking the .pdf button downloads the subscription contents in a PDF file.
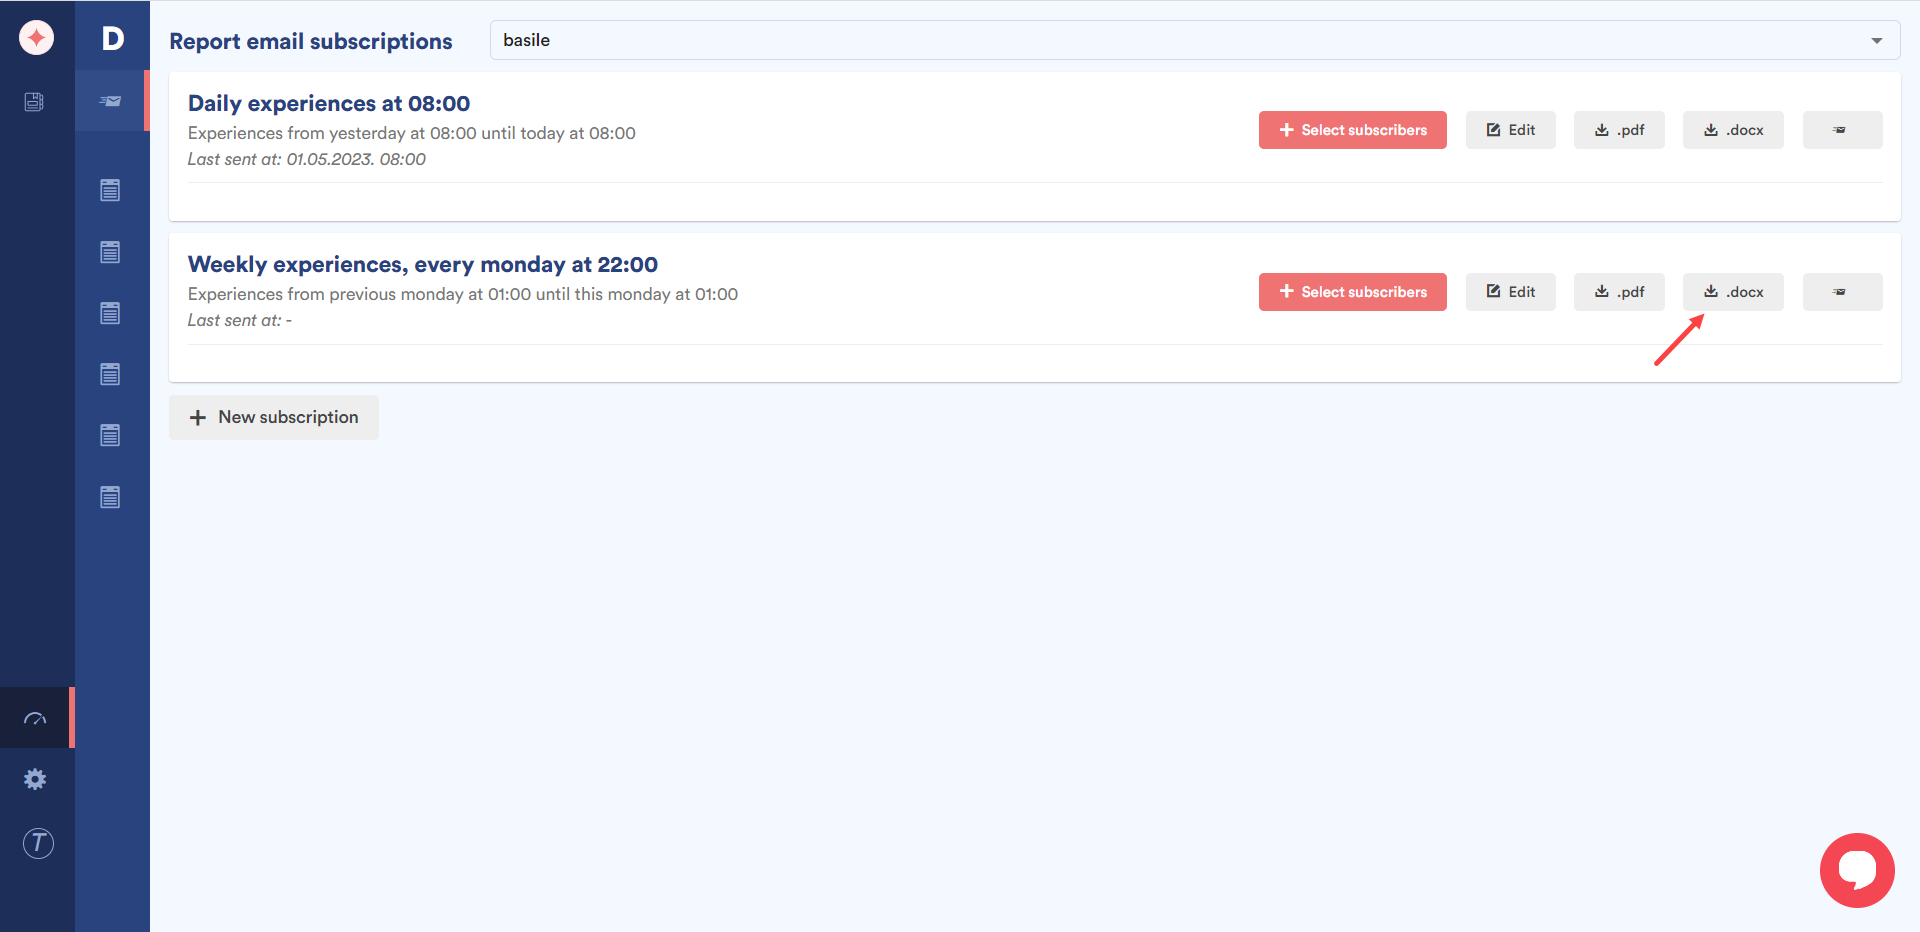
To download the contents in a Word file, click the .docx icon.
Clicking the icon at the end reveals a couple of options that include Send .docx to subscribers now and Send .pdf to subscribers now.
Leave a Reply