
HOPR > Left Navigation Bar > Settings > Users
Follow the workflow mentioned above to land on the User management screen.
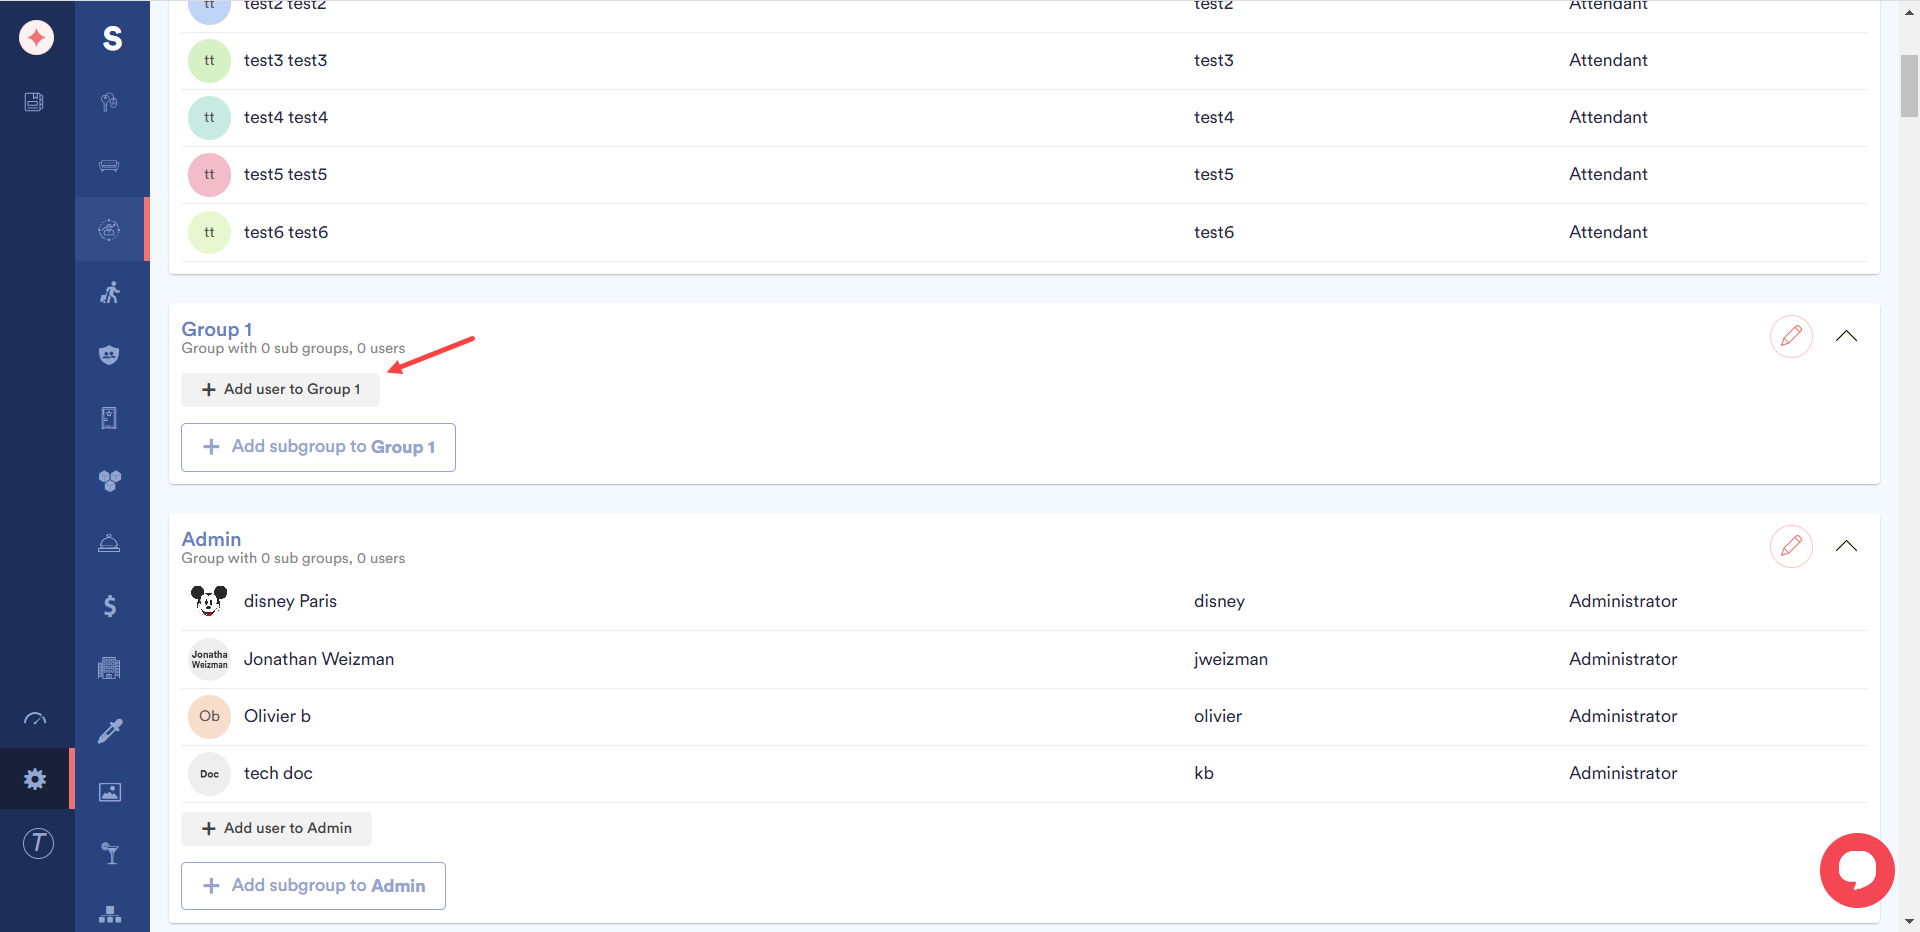
Navigate to the end of the user group to which you want to add the user(s).
Click the +Add user to [group name] button. This opens the Create a new user screen.
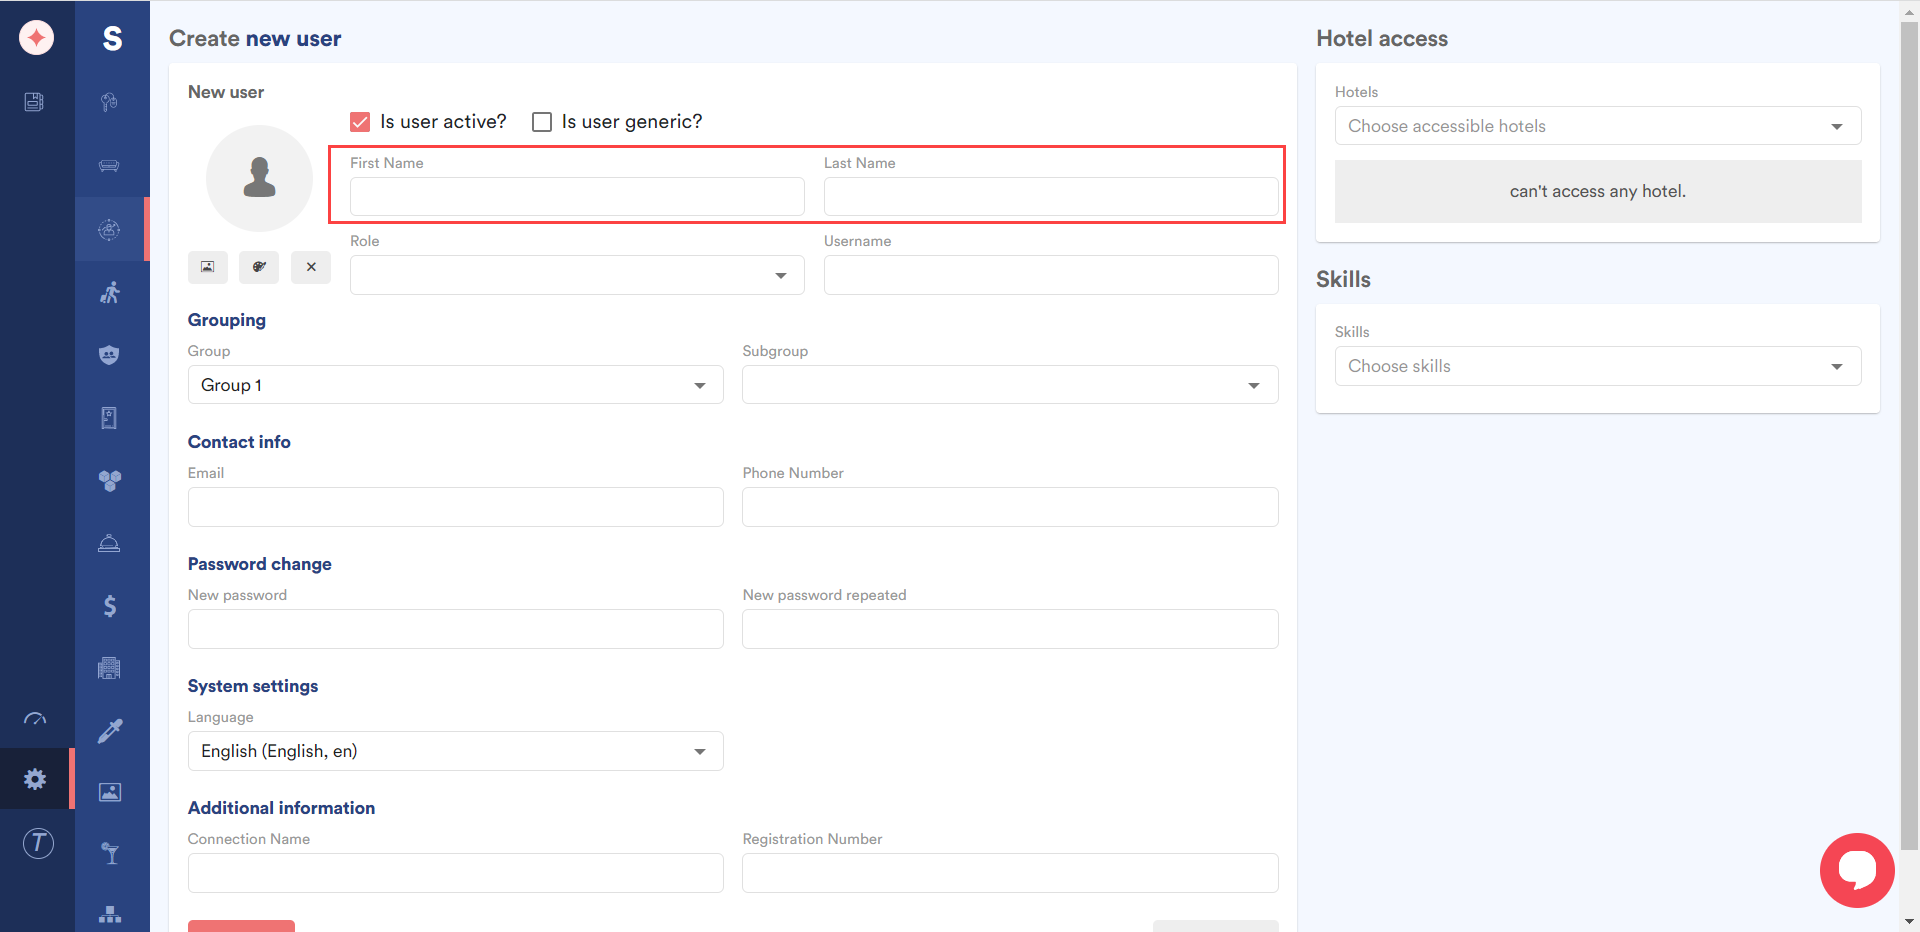
Select the user's active and generic status using the checkboxes at the top.

Use the First Name and Last Name fields to record the name of the user.
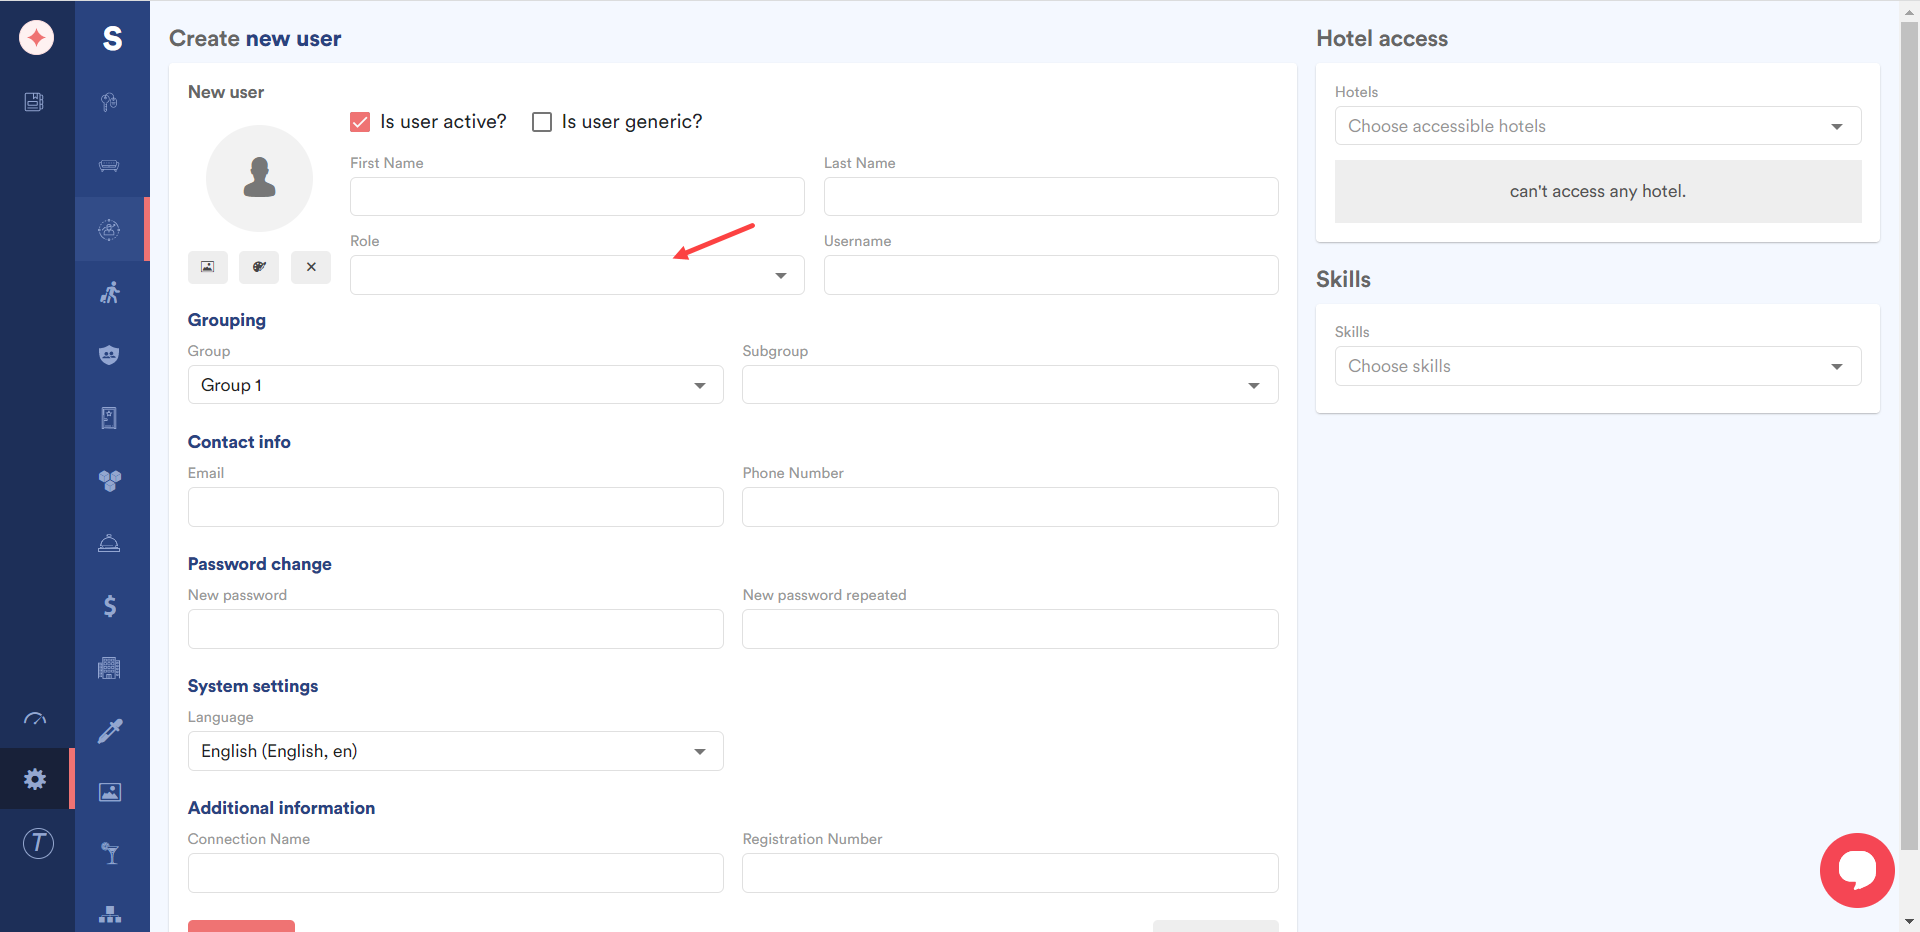
Use the Role dropdown to select the role you want to assign to this user. Here, the options are populated from the ones created via the Role management section. You can learn about how a user role is created by reading the How to Create a User Role? article.
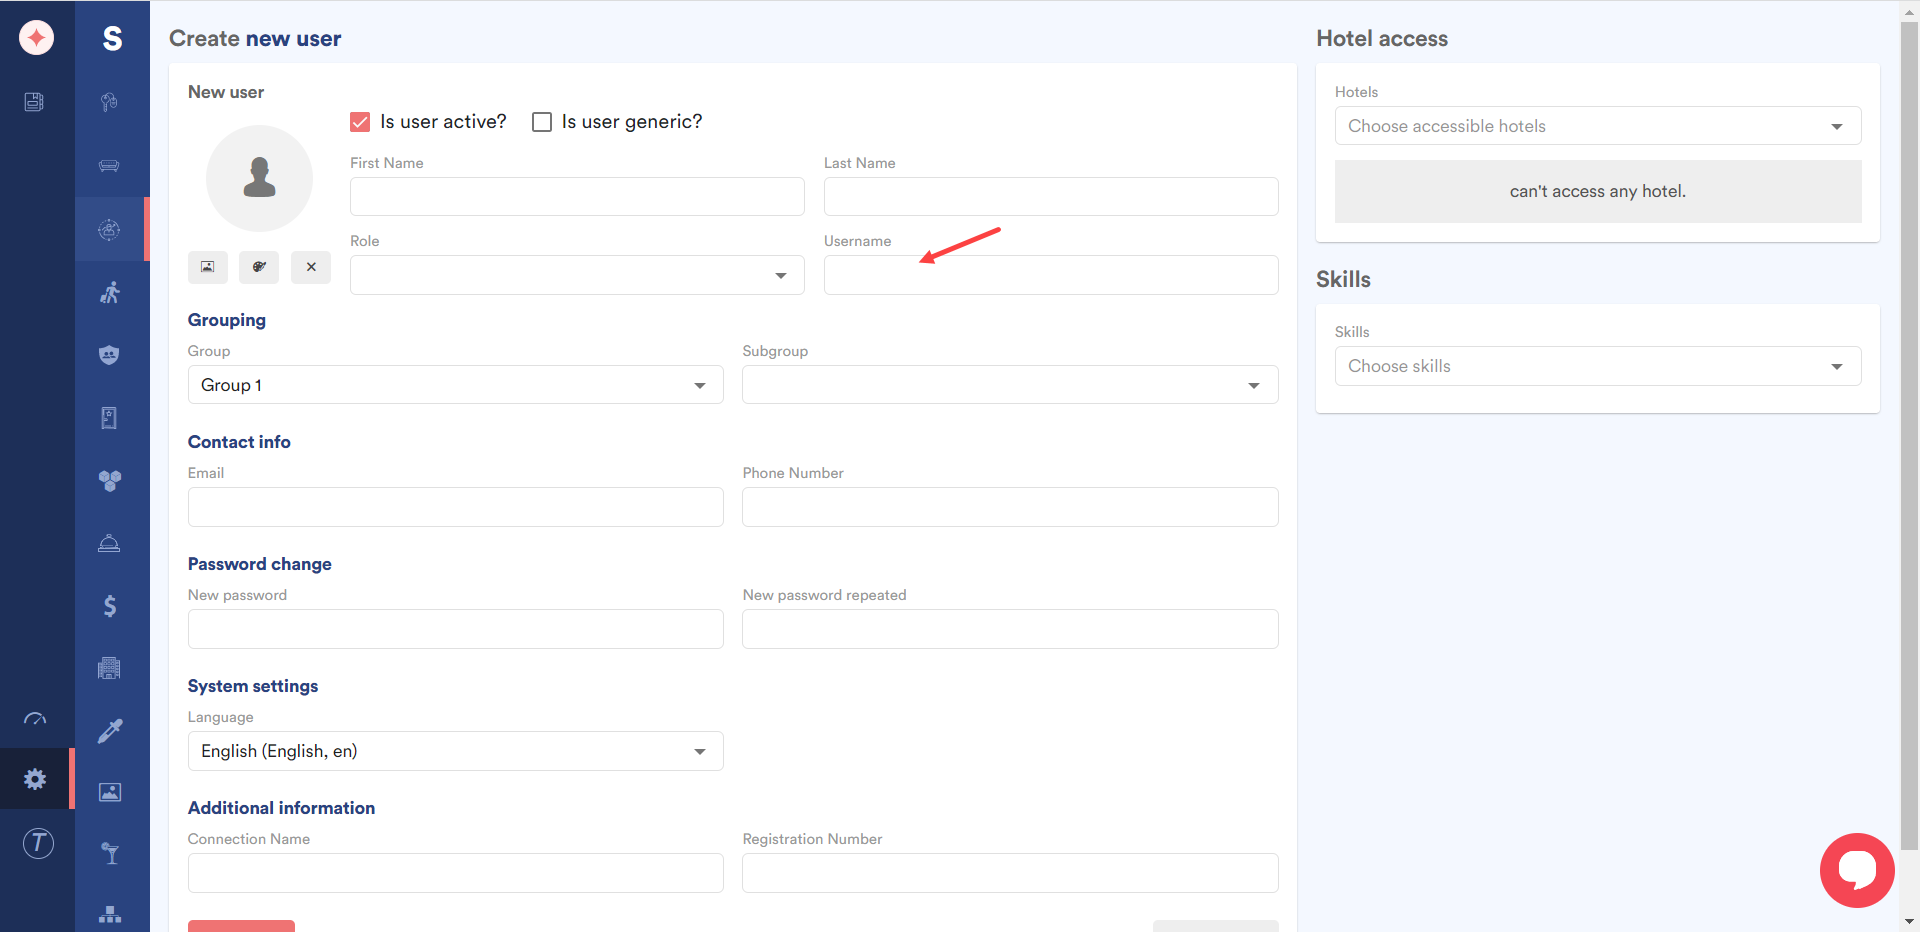
Enter the user name for the user using the Username field.
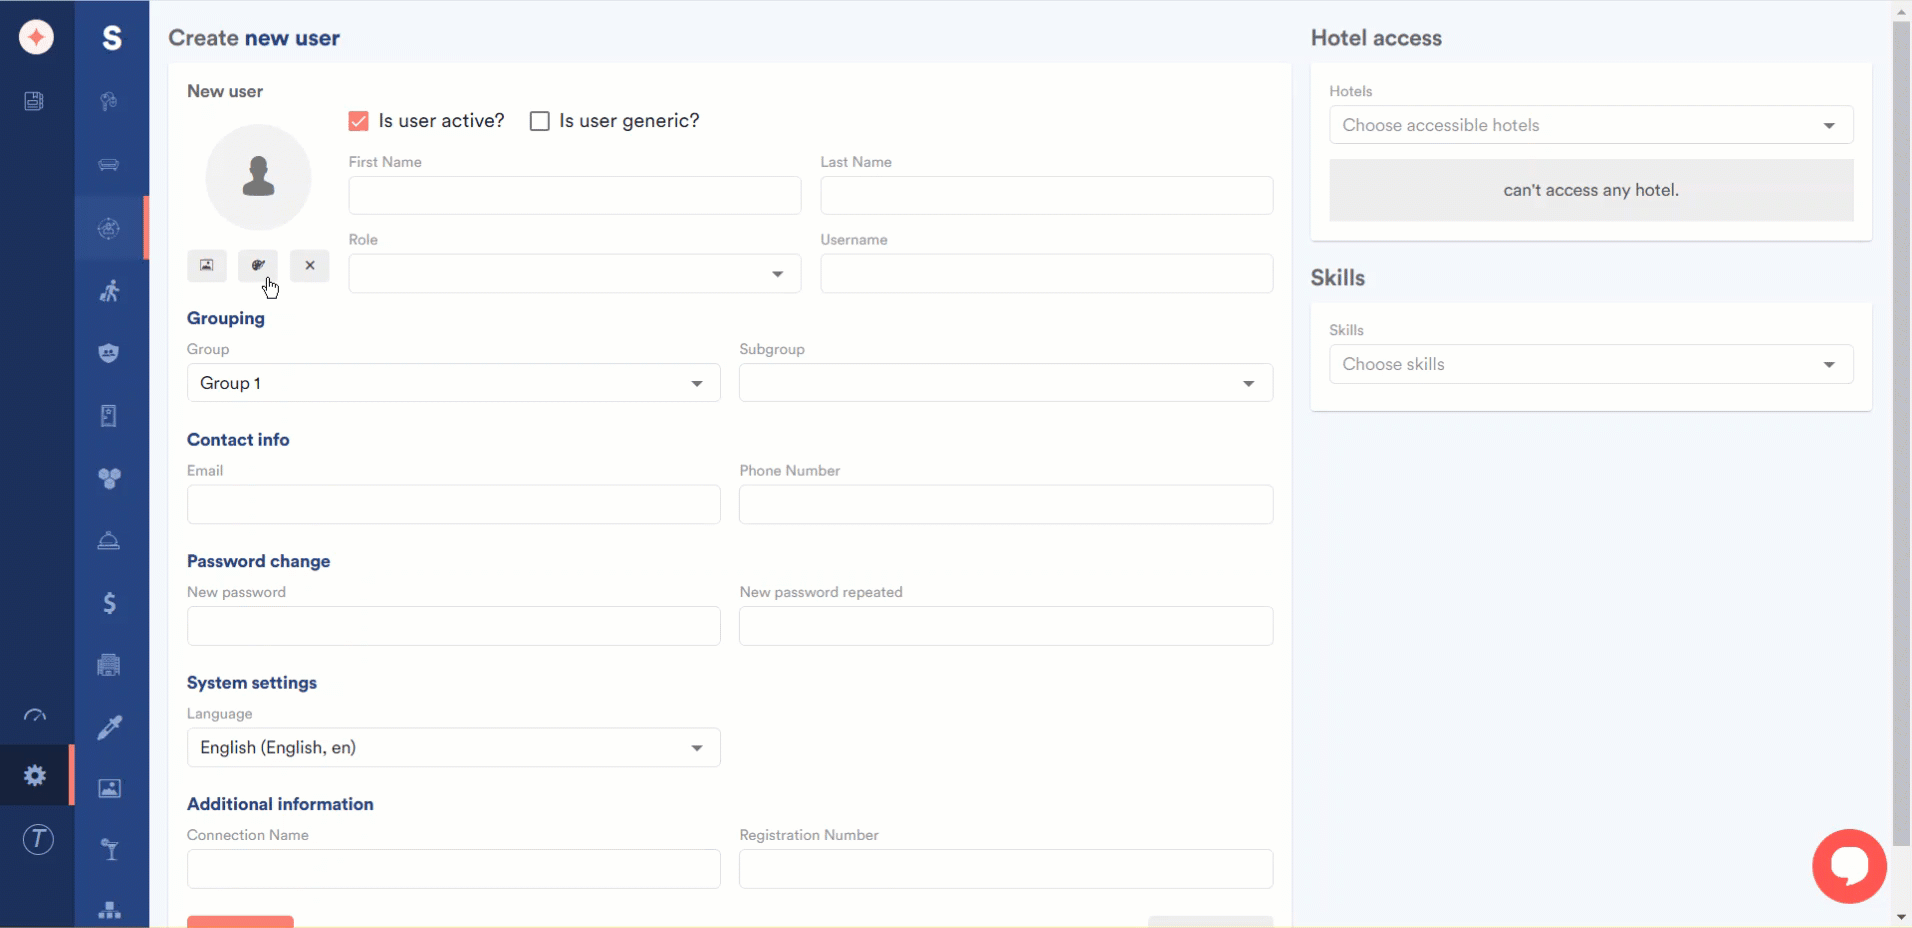
Choose a profile avatar for the user from your system storage by clicking the image icon.
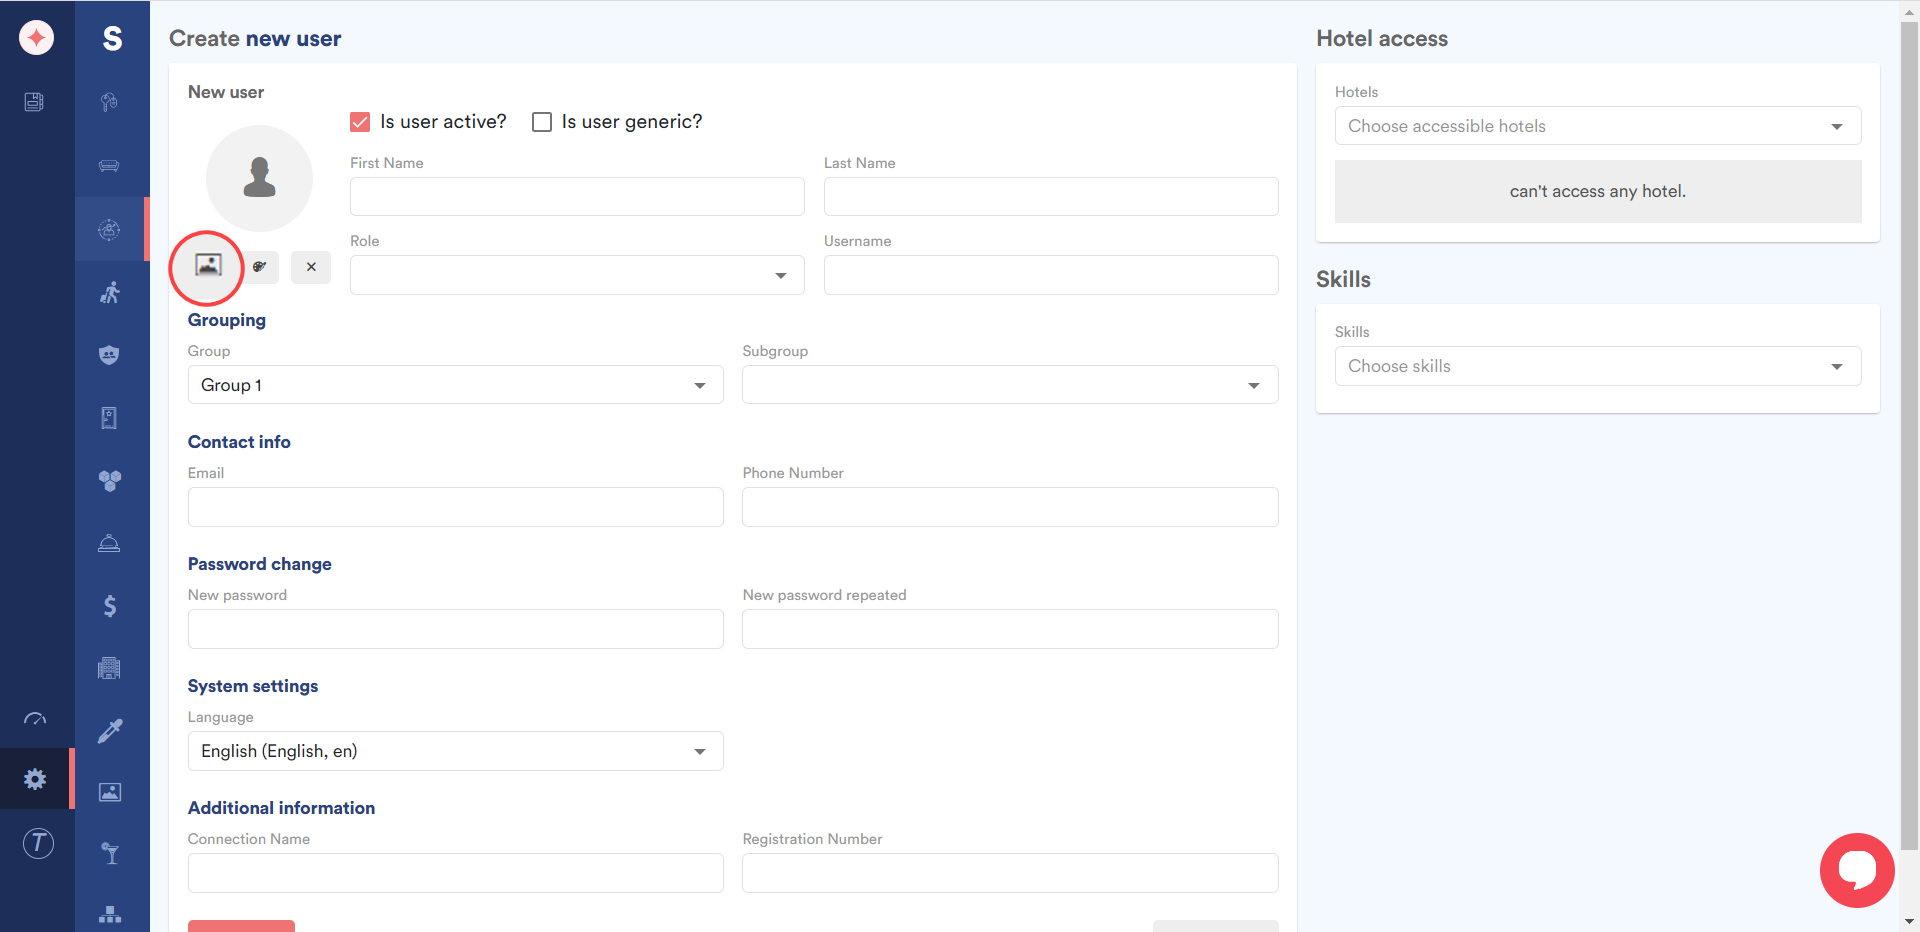
Click the icon next to the image icon to fill in the details for the user avatar.
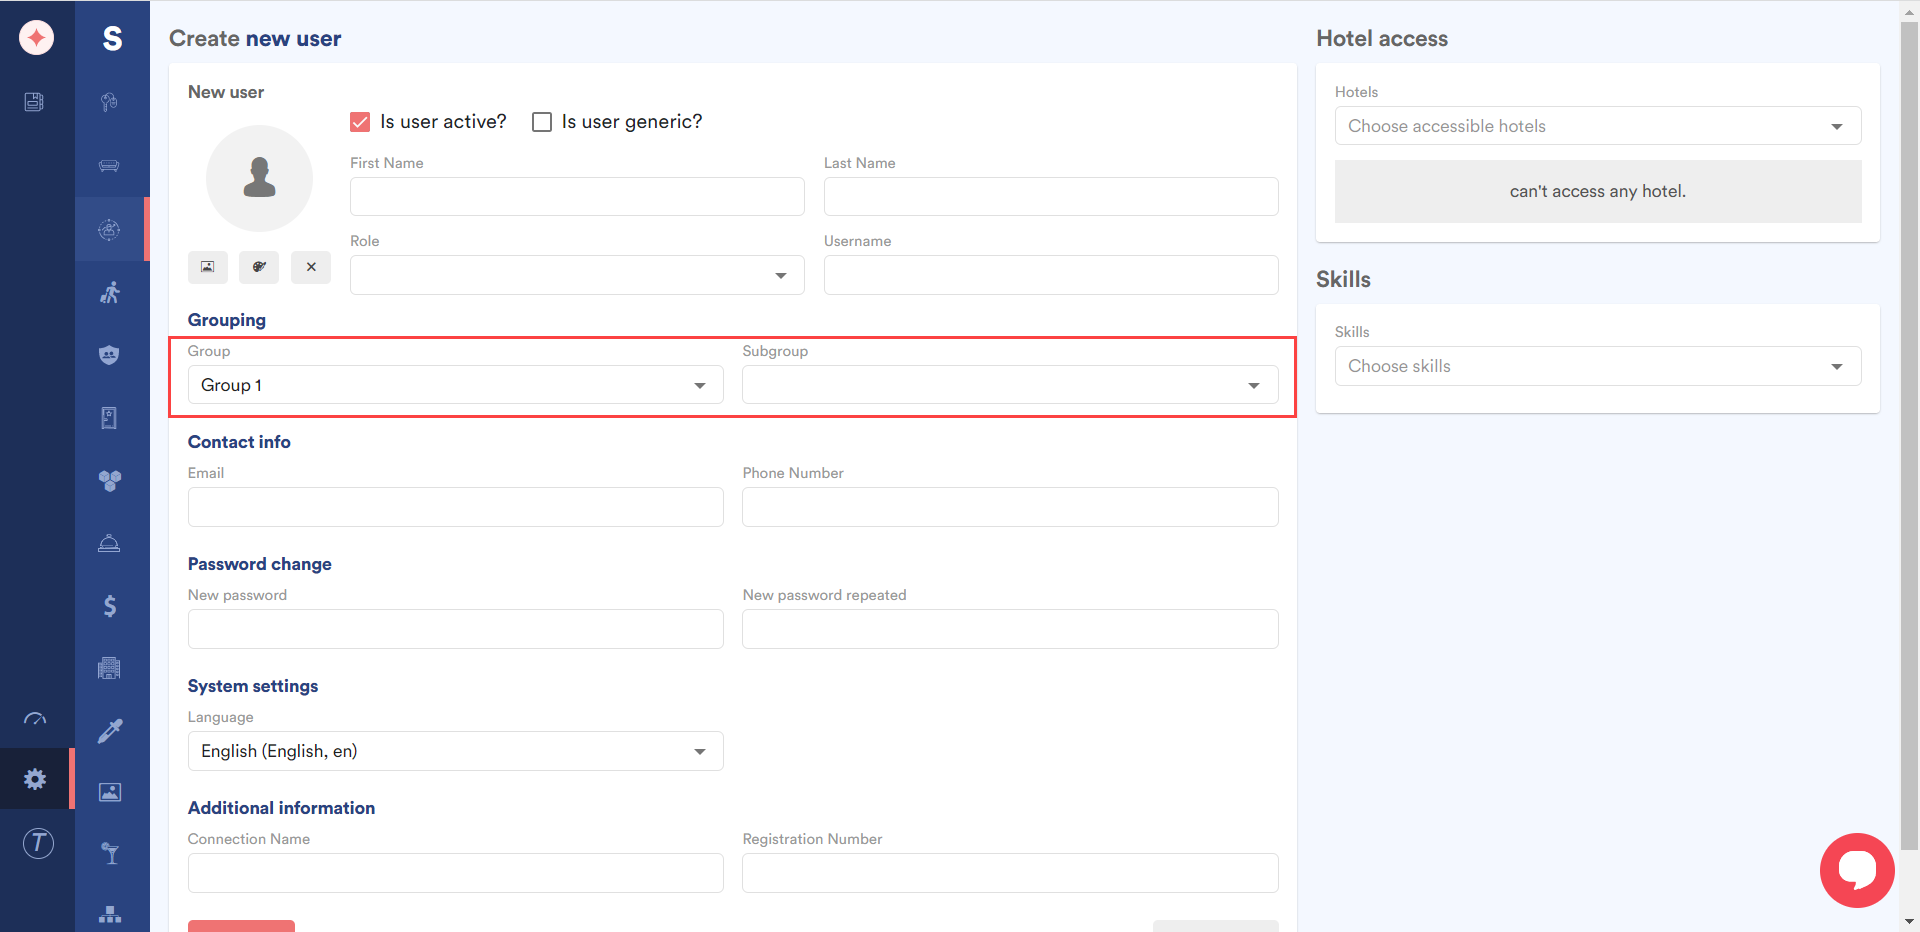
Use the Group and Subgroup dropdowns under the Grouping heading to place this user in the required group and subgroup.
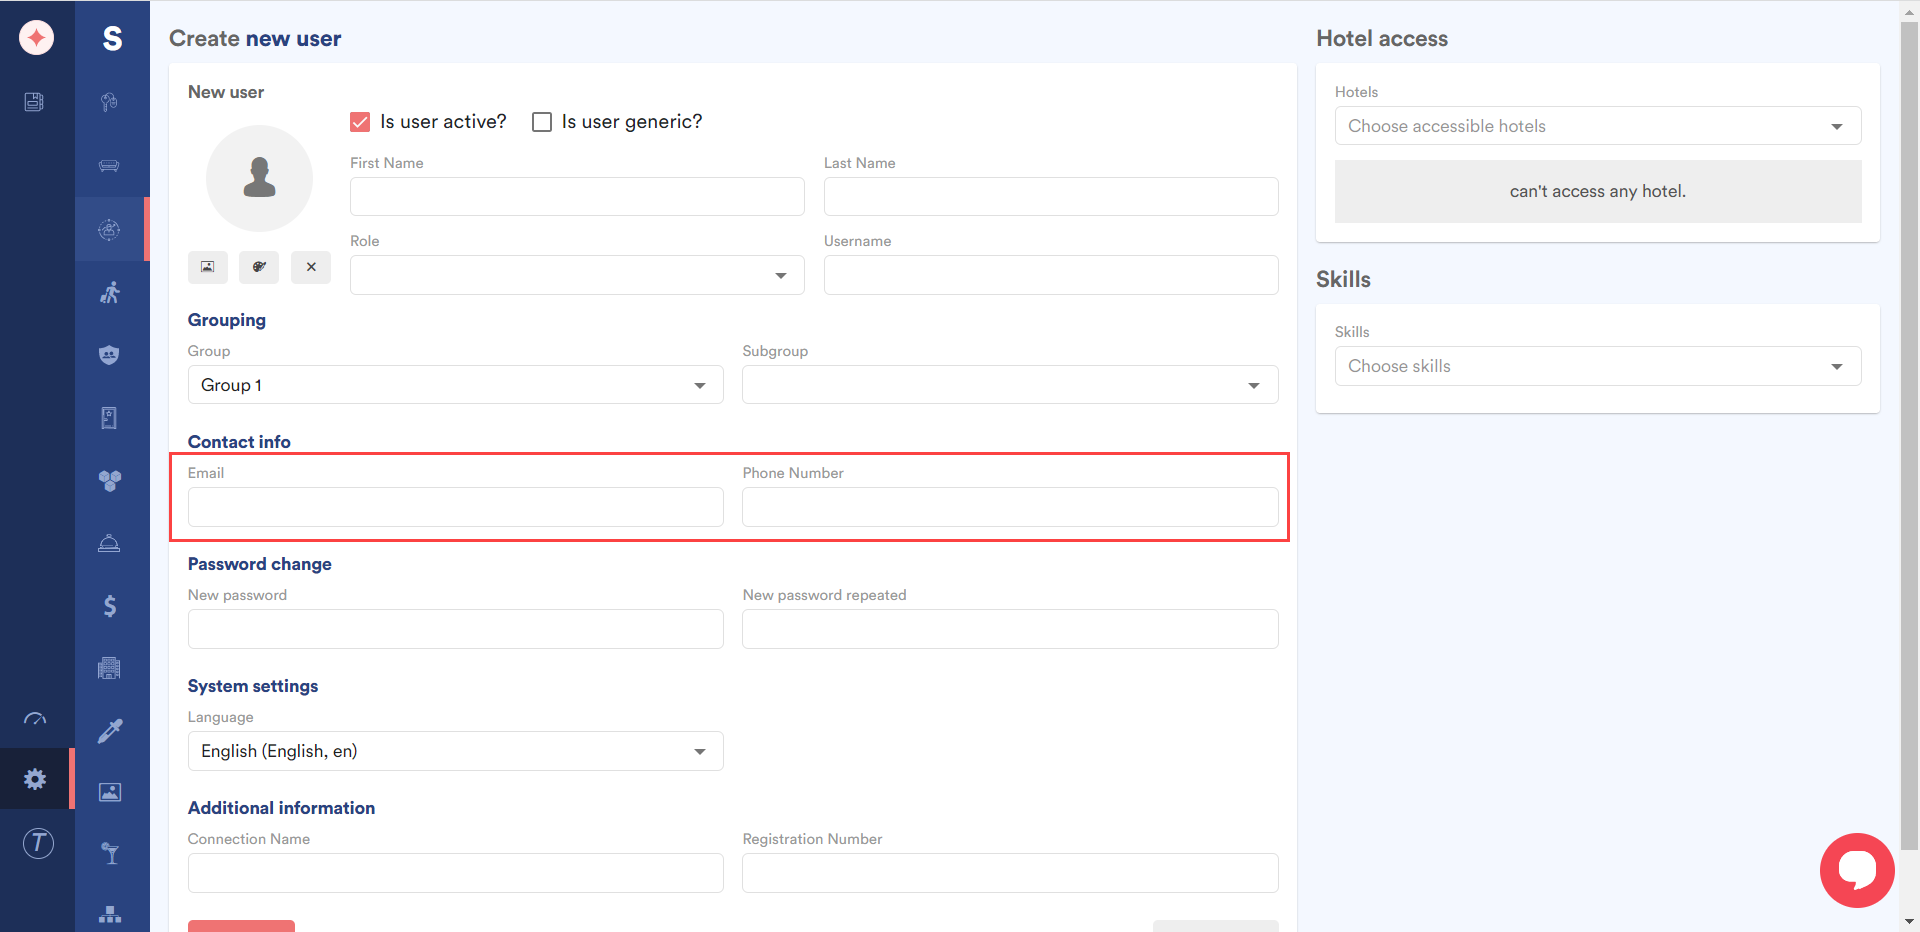
Use the Email and Phone Number fields under the Contact Info heading to record the email address and contact number of the user.
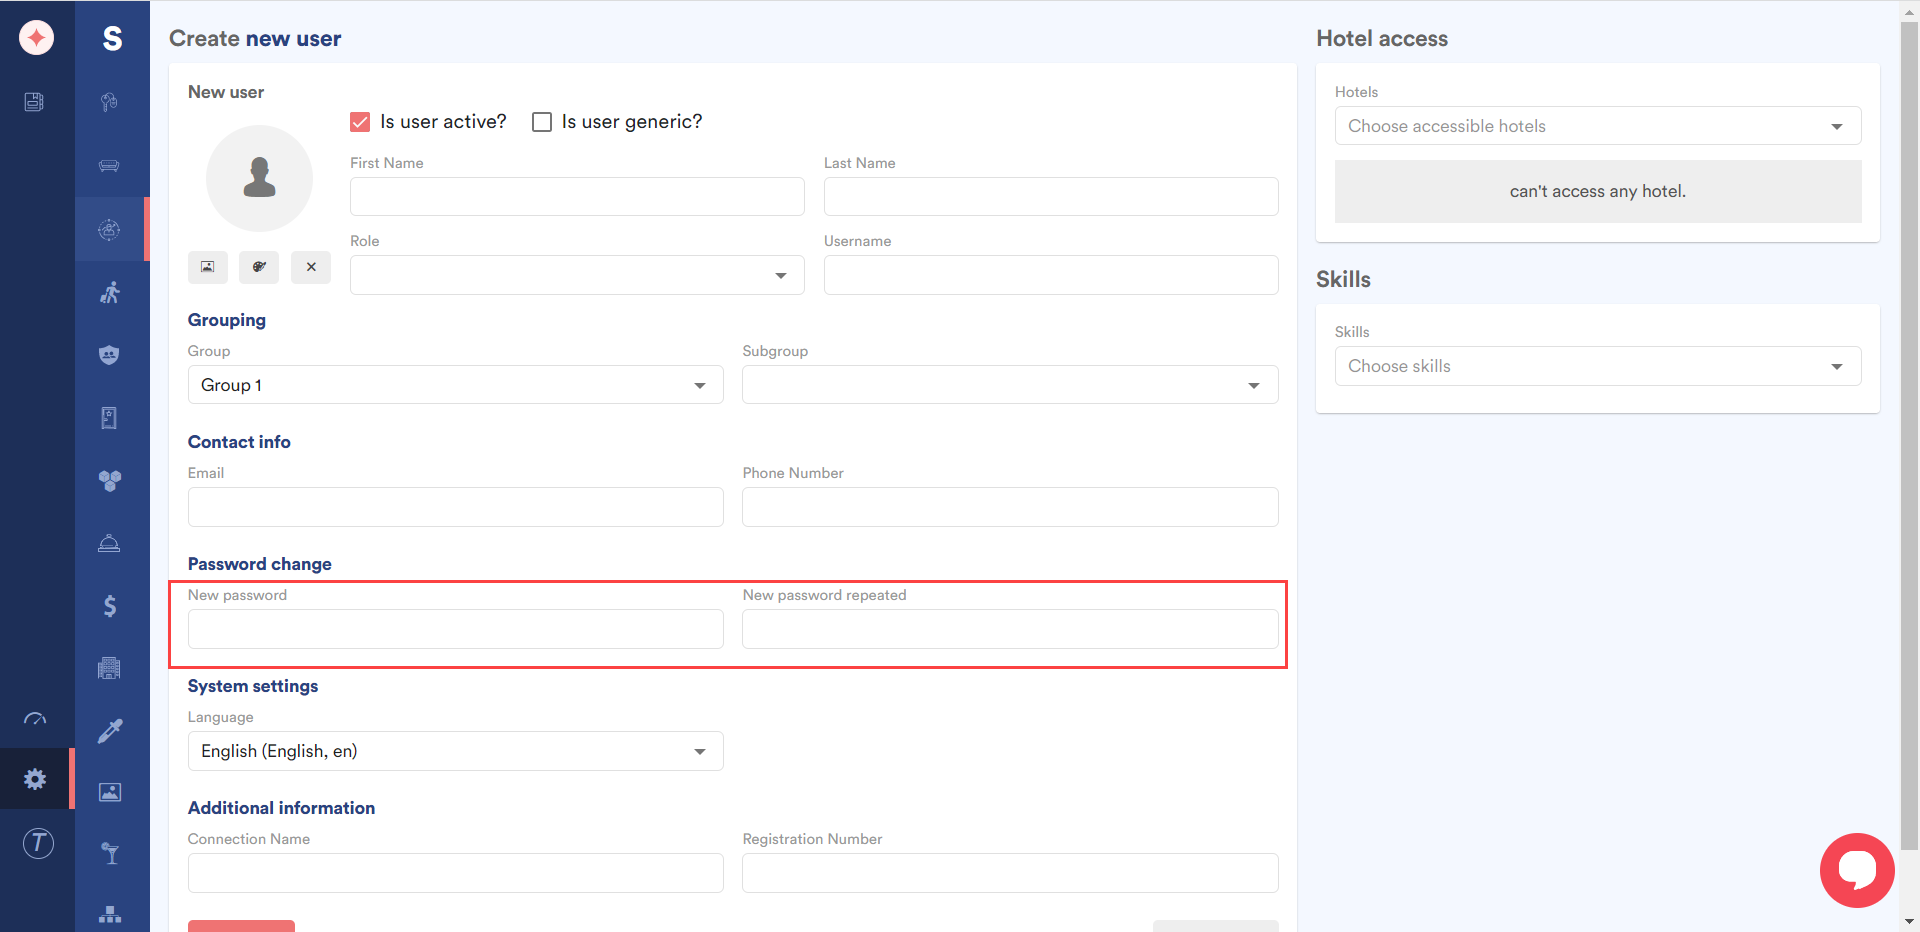
Enter the password in the New password field and retype it for confirmation in the New password repeated field under the Password change heading.
Under the System settings heading, choose the language for the created user from the Language dropdown.

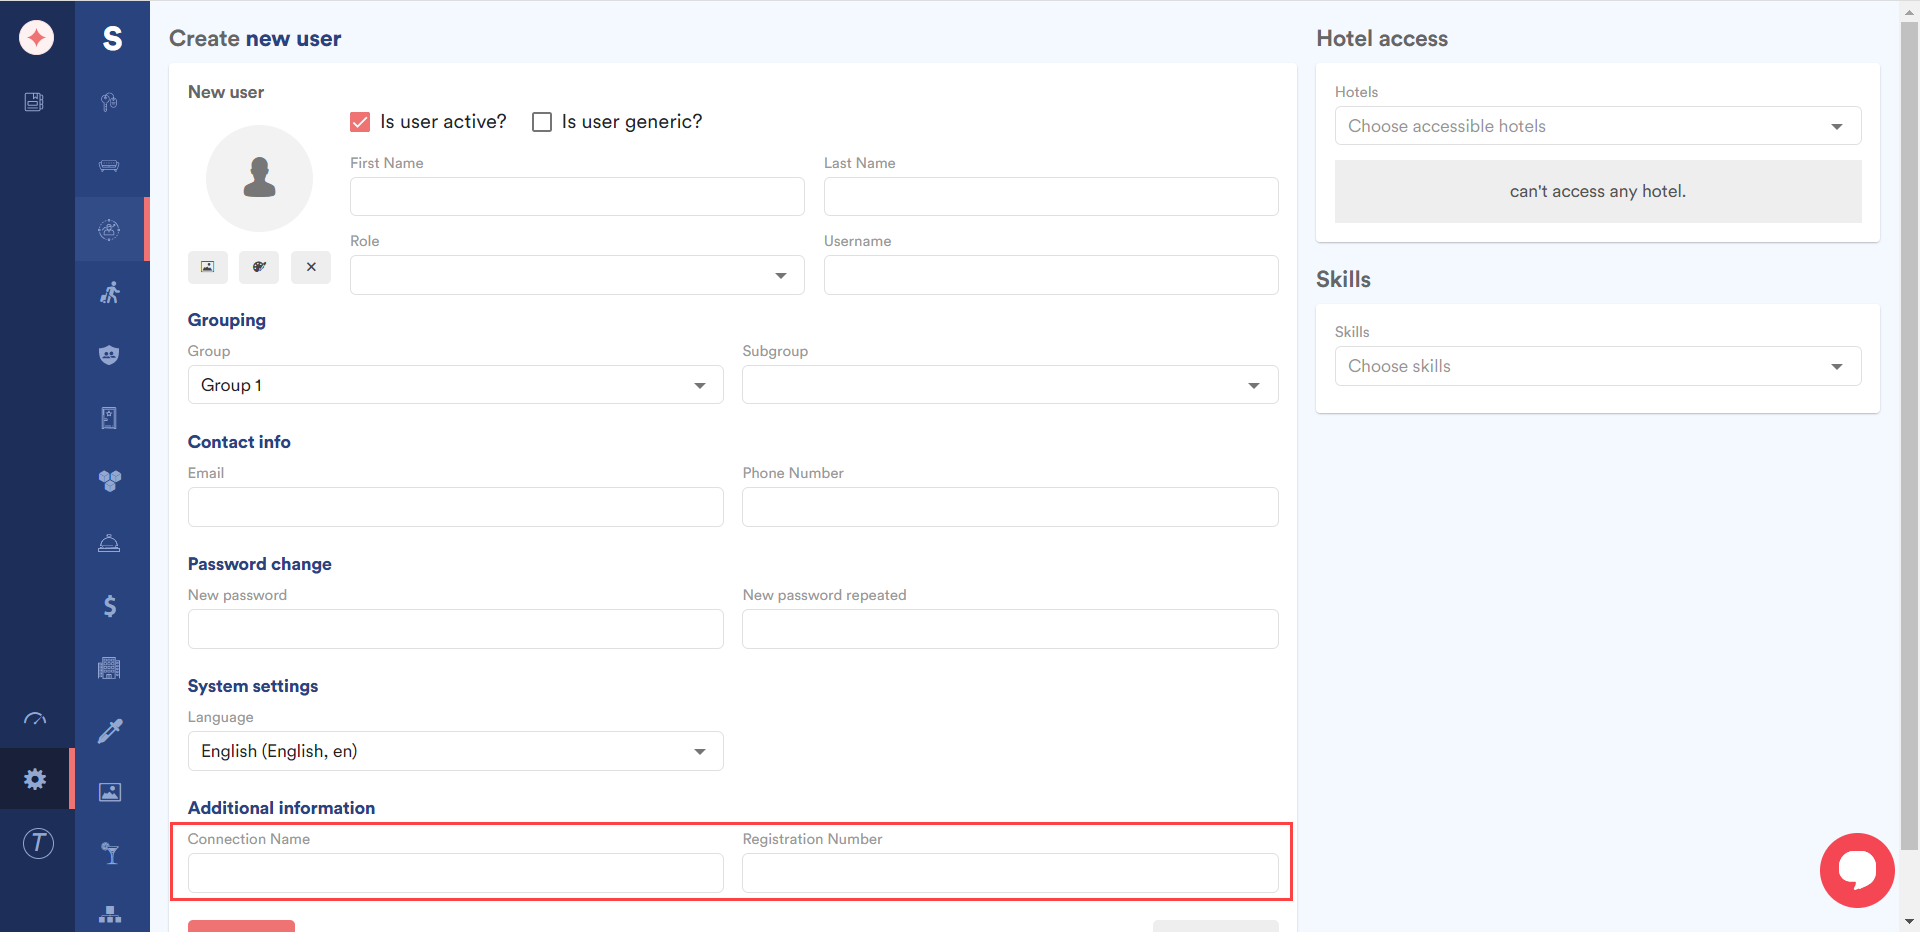
Use the Connection Name and Registration Number fields under the Additional Information heading to record the connection name and registration number of the user.
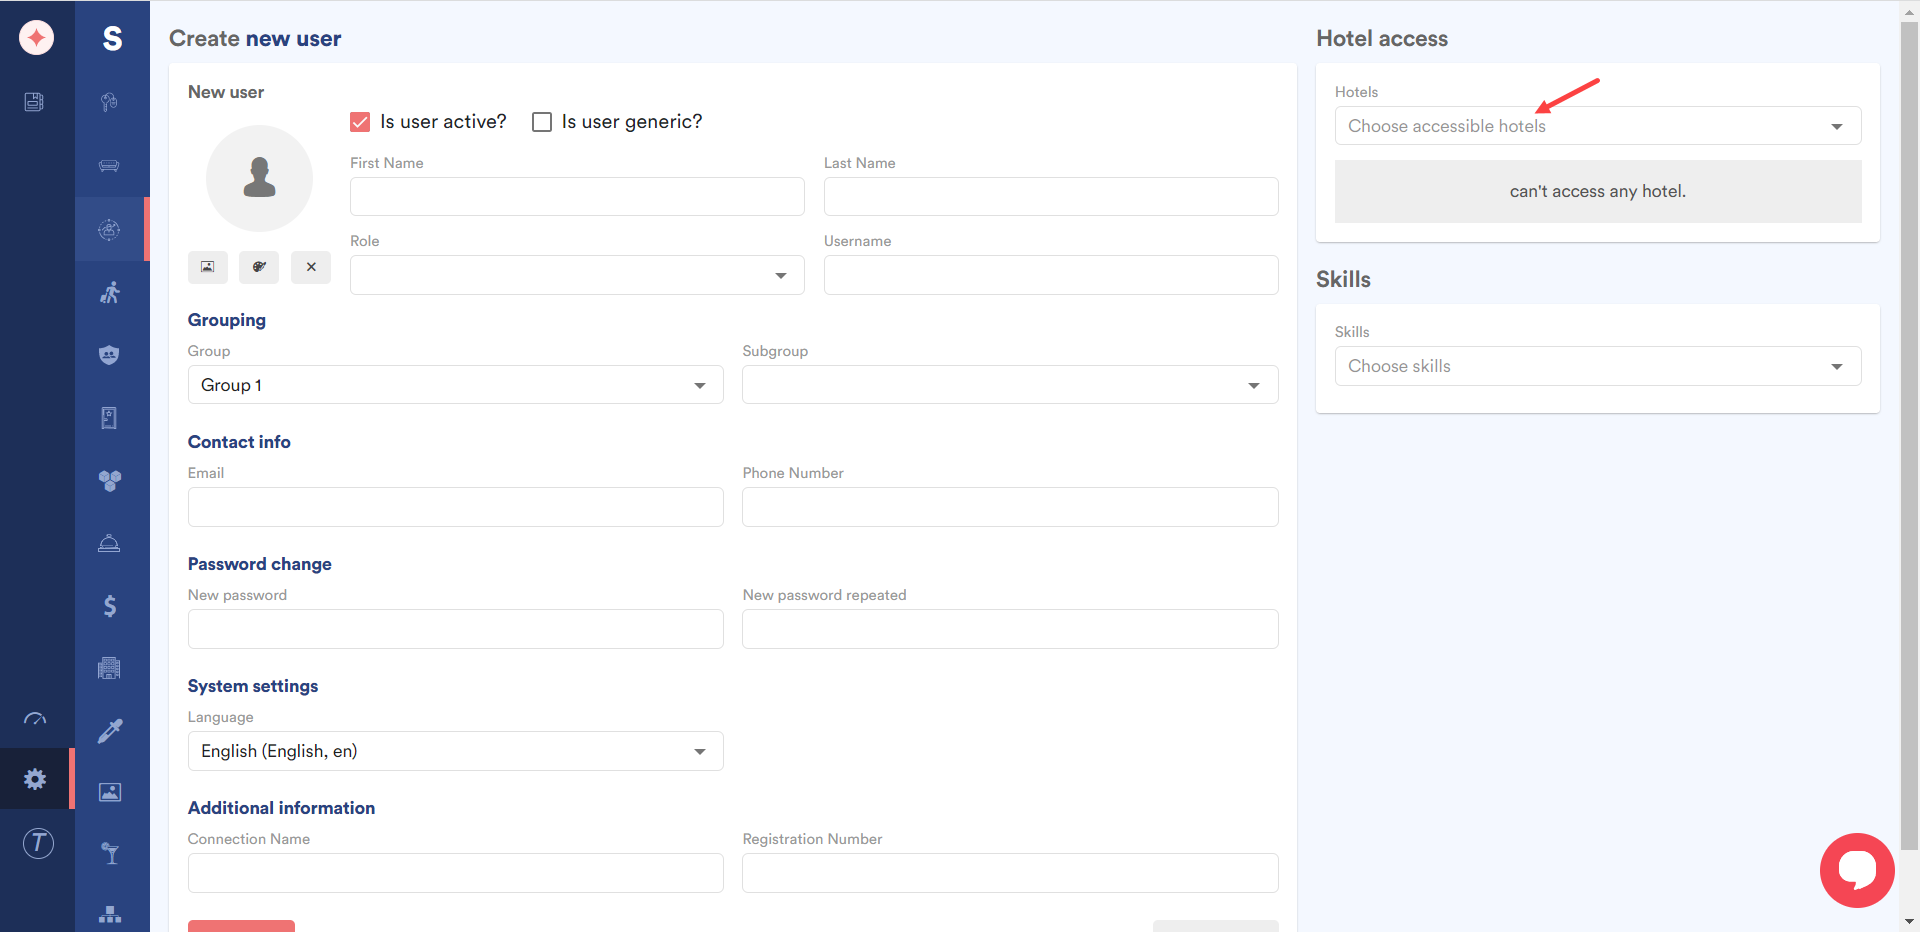
Choose the hotel(s) you want to make accessible to this user using the Hotels dropdown.
Choose the skills you want to associate to this user using the Choose skills dropdown.

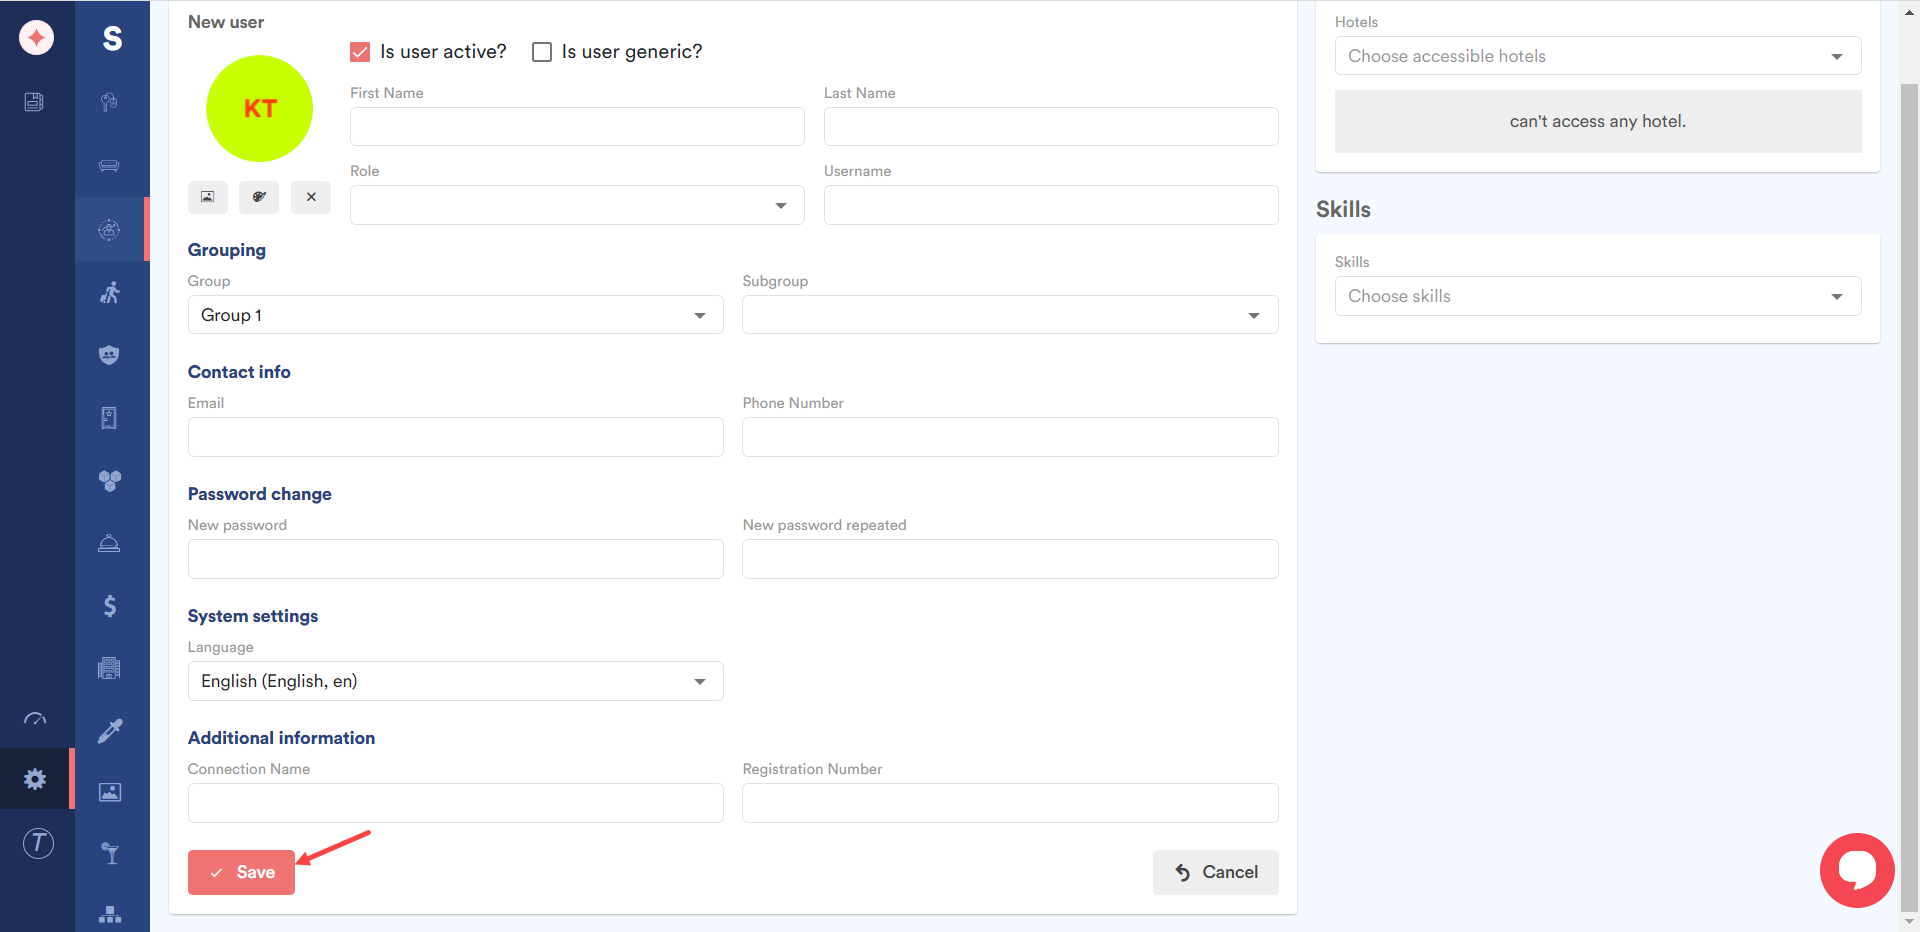
Once the required selections are made, click the Save button.
Leave a Reply