
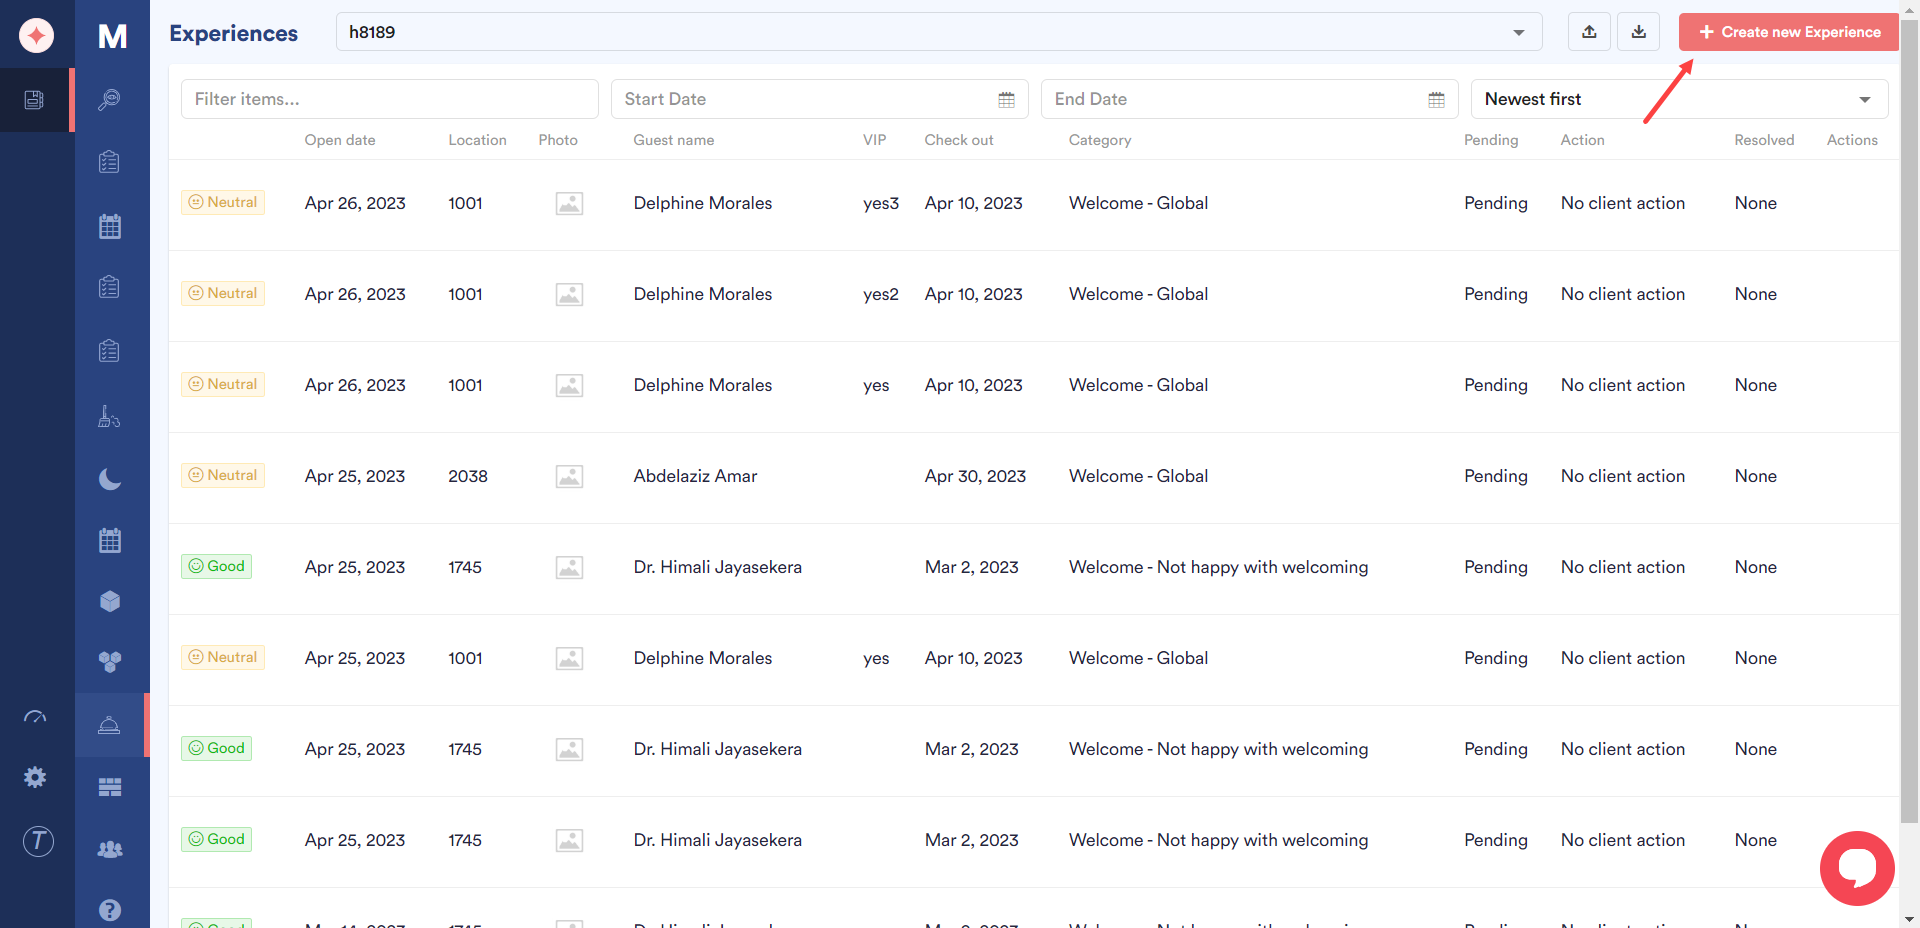
HOPR > Left Navigation Bar > Management > Experiences
Follow the above-mentioned workflow to land on the Experiences screen.
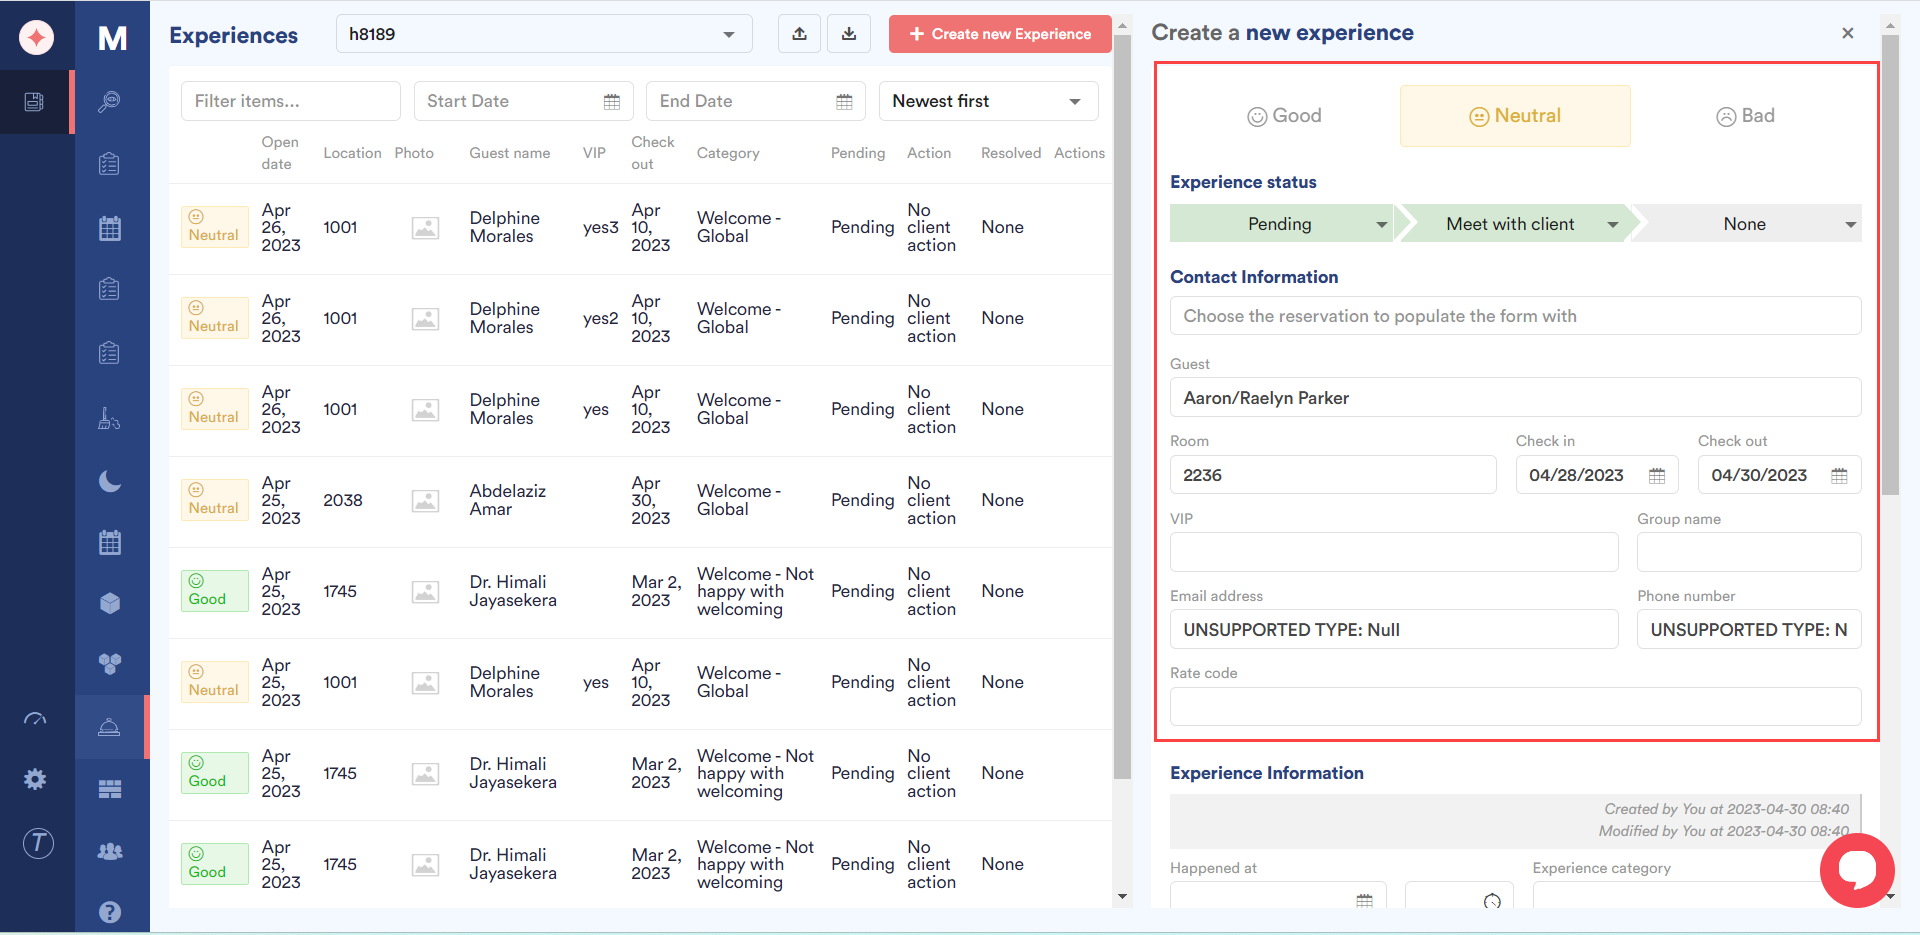
Click the +Create New Experience button located at the top-right corner of the screen. This opens the Create a new experience panel on the right side of the screen.
Here, choose your feedback from the Good, Neutral, and Bad options.
From the Experience Status heading, choose your action plan as per the feedback received using the dropdowns.
Under the Contact Information heading, select the reservation against which you want this experience form to be populated using the Choose the reservation to populate the form with dropdown.
As a selection is made, the guest details are automatically populated in the respective fields.
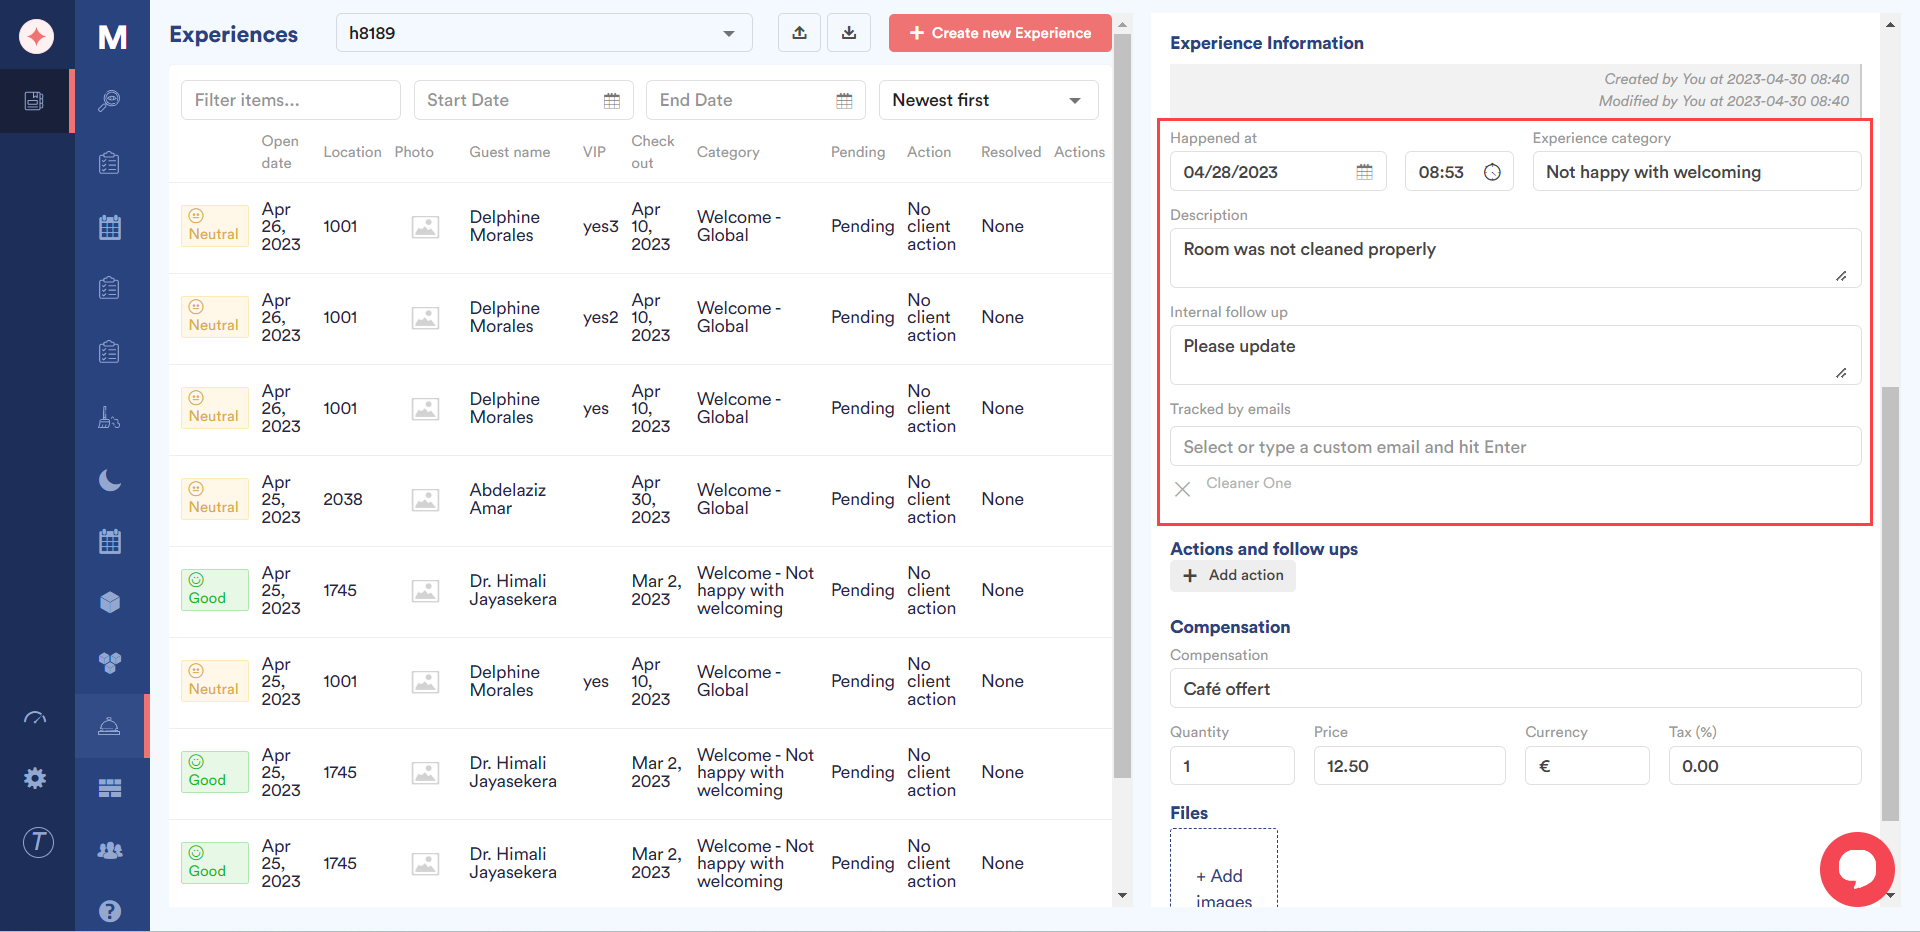
Under the Experience Information heading, select the date and time of the experience using the Happened At date and time selectors.
Choose a category in which you want to place the experience using the Experience Category dropdown. Options are populated in this dropdown from Experience category module in Settings. To know how an experience category is created, please visit the How to Create an Experience Category? article.
Enter a description about the experience in the Description field.
Use the Internal Follow Up textbox to record instructions for internal follow up.
Select the user group to keep a track via reporting experiences activity using the Tracked by emails dropdown. You can learn about how to create a report email subscription by reading the How to Enable Email Subscriptions for Experiences? article.
From the Action and Follow up heading, add an action by clicking the +Add action button. This reveals a textbox in which you can type in the action description. Once entered, click the tick mark icon to record action or x icon to remove.
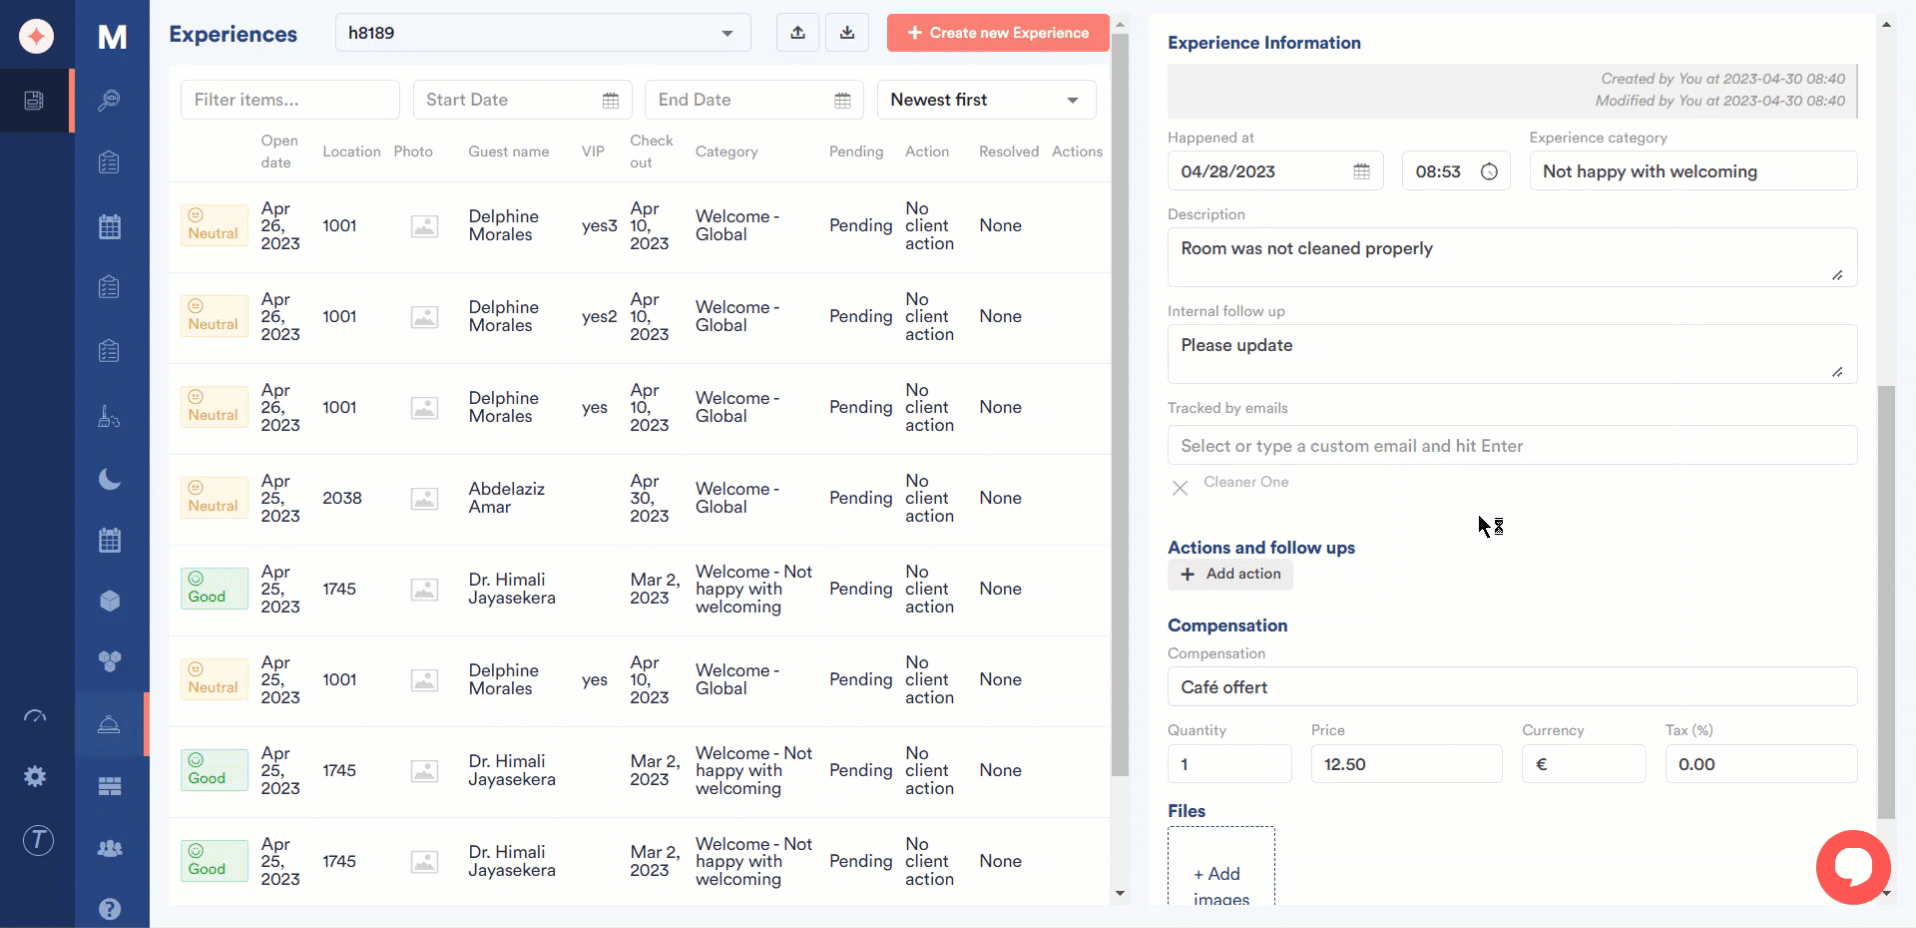
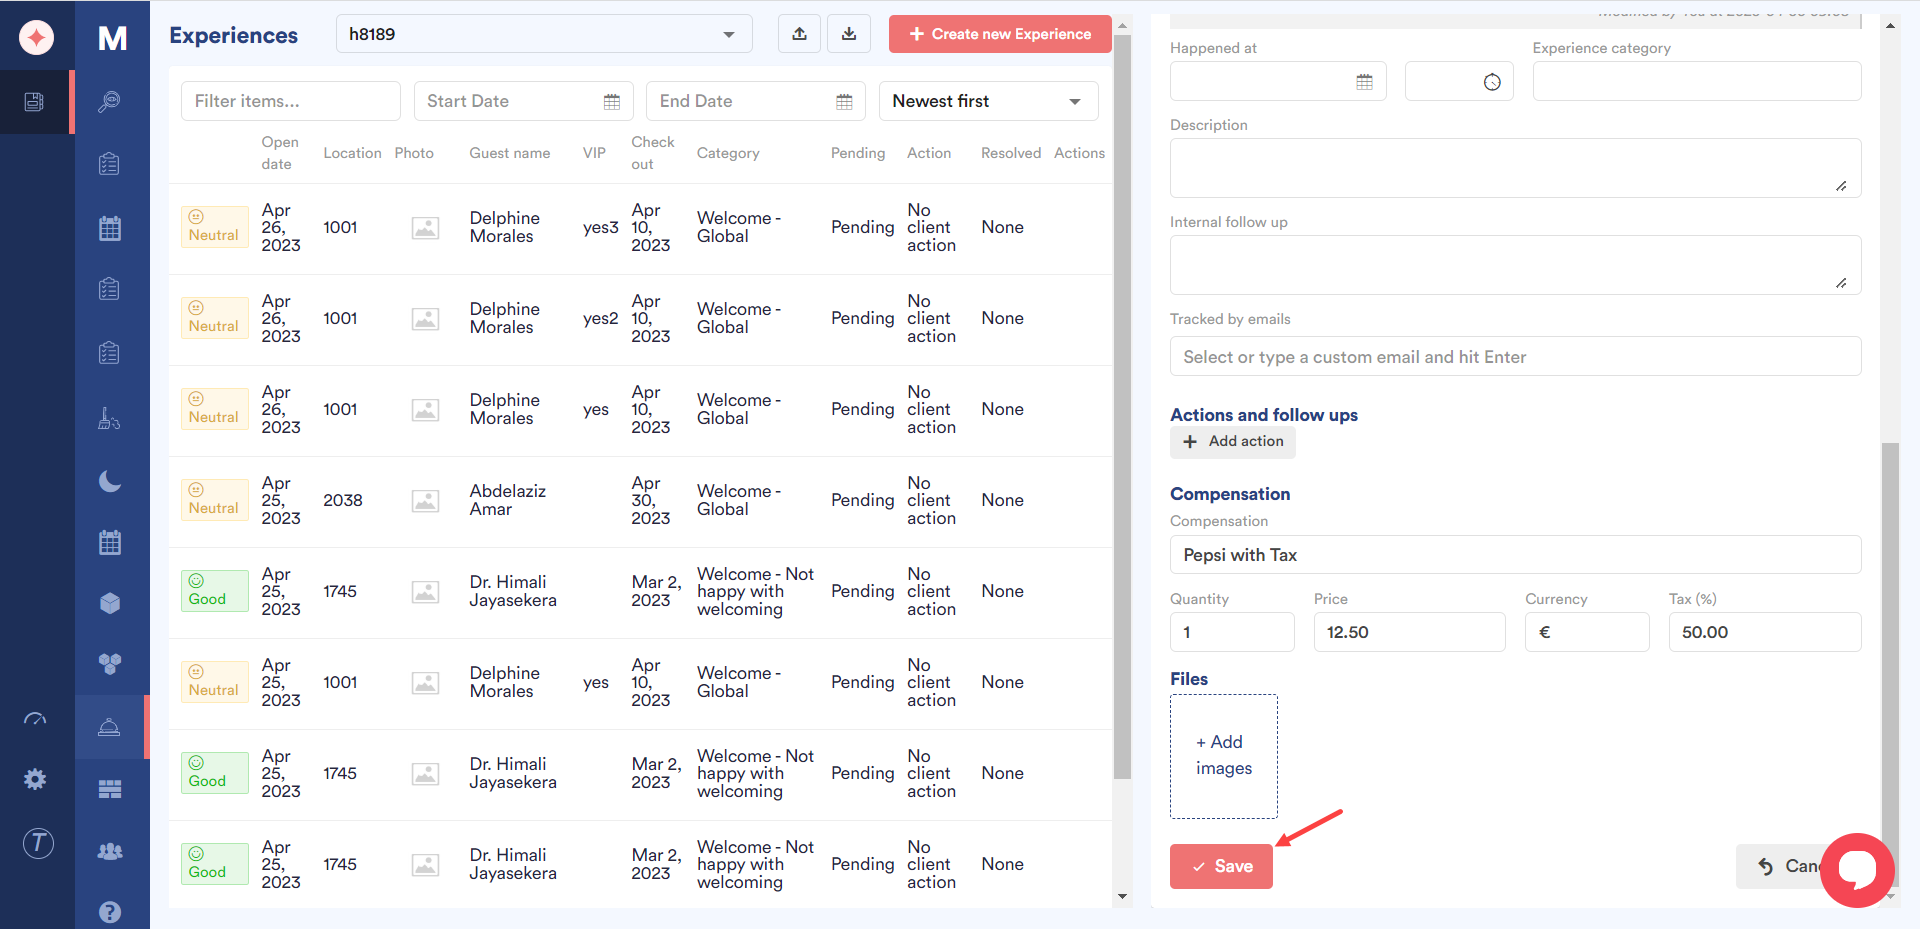
Under the Compensation heading, choose a compensation you want to send in response to the experience using the Compensation dropdown. Options in this dropdown are populated from Experience compensations settings. To know how to create a compensation, please visit the How to Create an Experience Compensation? article.
As a selection is made, the relevant details of the selected compensation populated automatically.
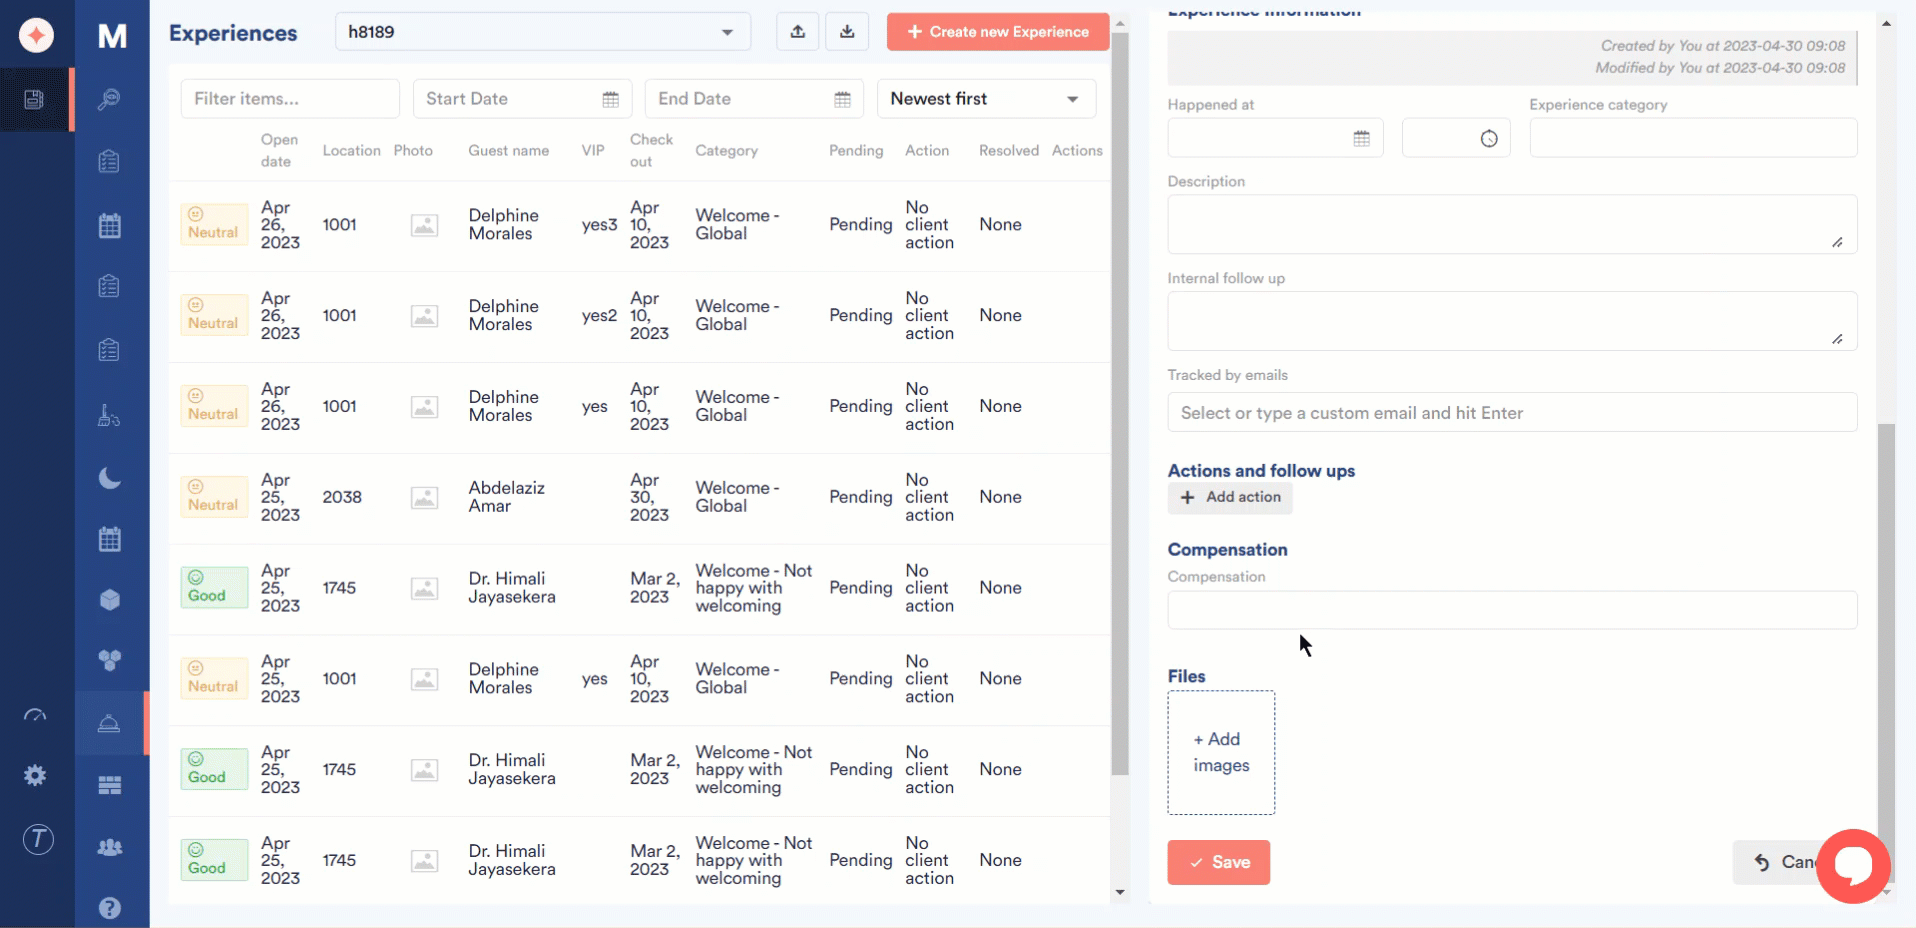
Attach any relevant images from your system storage by clicking the +Add Images button.
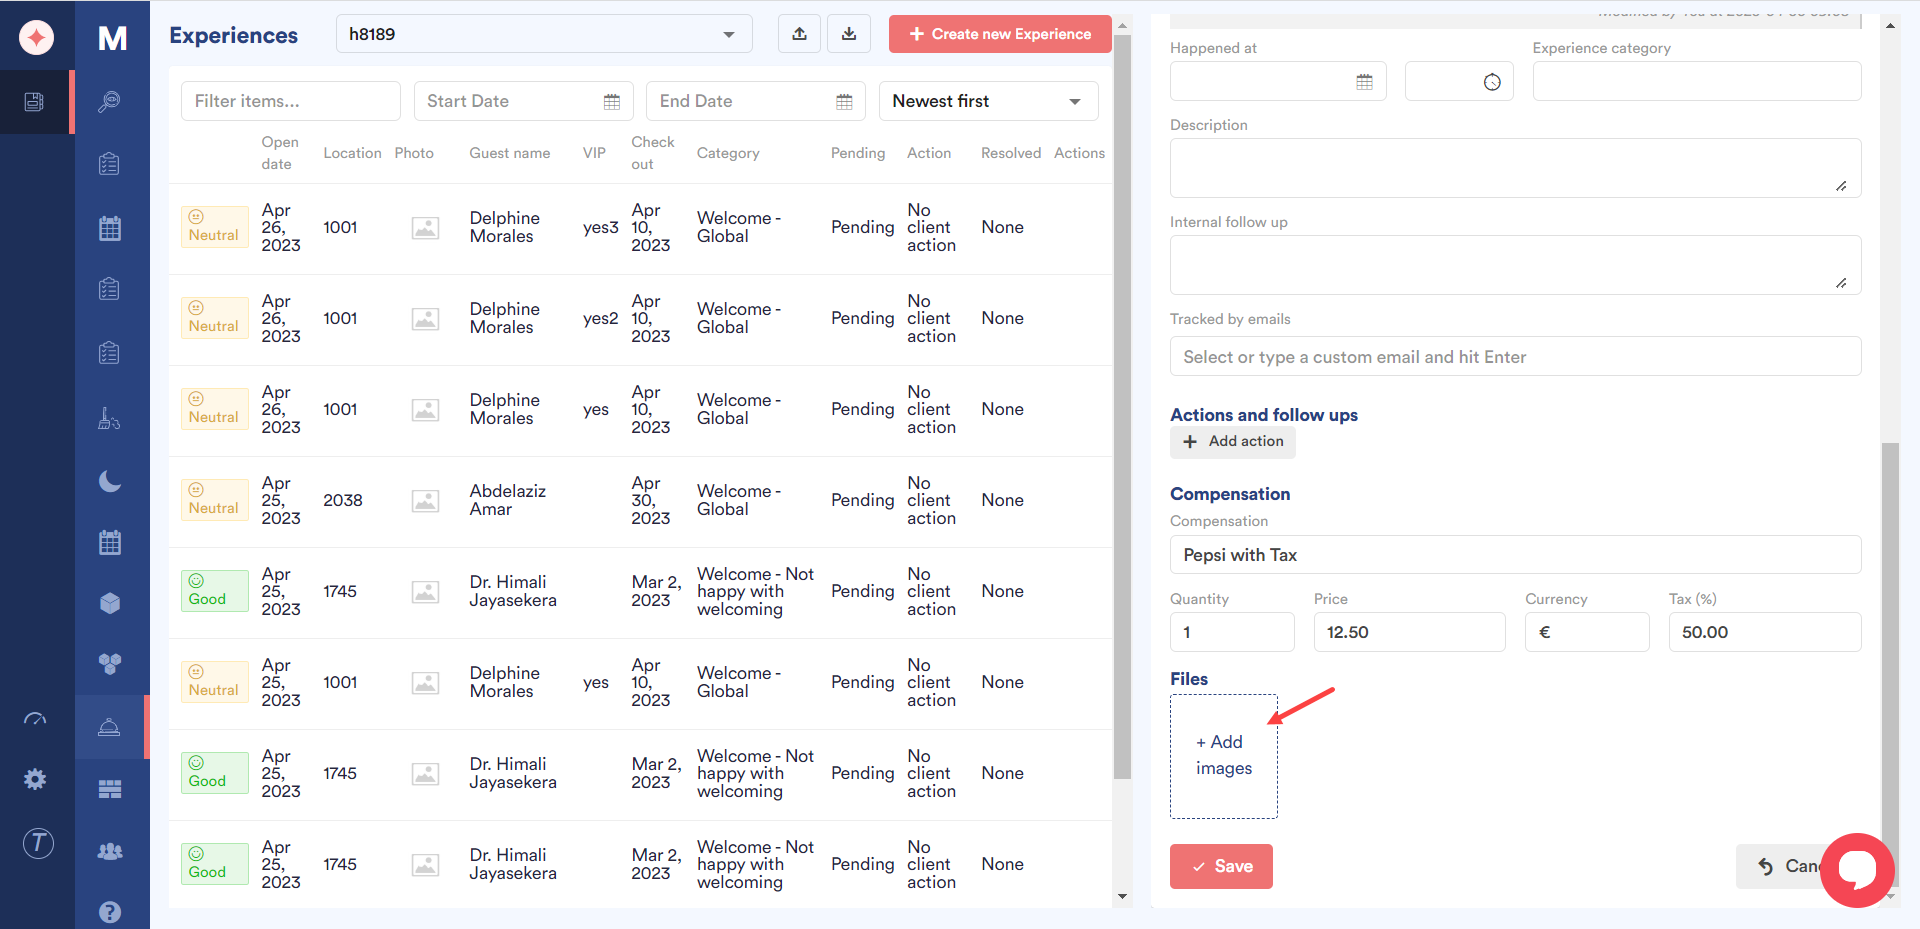
Once all the required selections are made, click the Save button.
Leave a Reply